It was the morning of Monday the 20th September and excitement was in the air. Between the hours of 8 and 10 AM the Anglian window fitters would be arriving, and five days later our house would finally have entirely new windows and doors! It had been a long, drawn-out process. From getting our first quote in April, being allowed to order windows in June, and ultimately being given our install date in July. We were done with waiting and the time had finally come!
DAY ONE
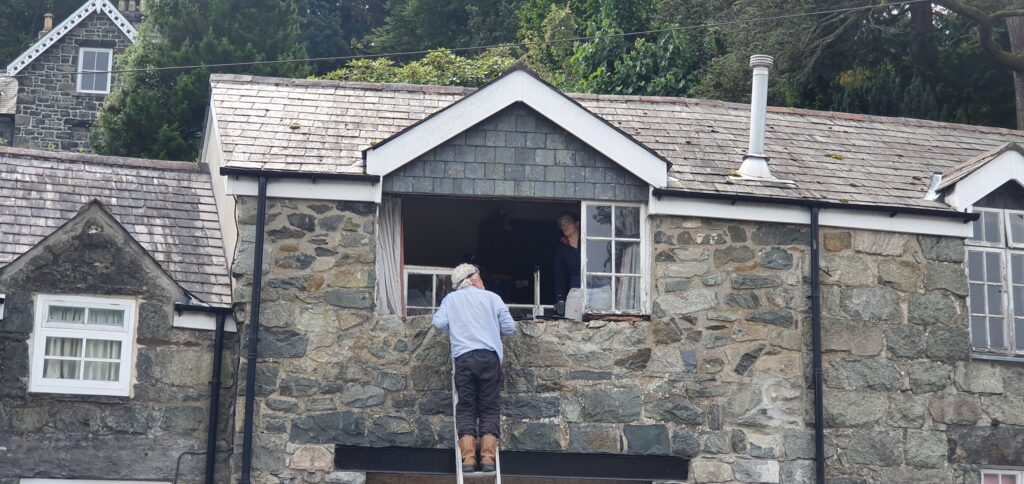
We had been told that a scaffolding company would be arriving on the Monday morning to erect and collapse the platforms necessary to install the three first floor windows and that this would take only one day. This meant that we would have three of our seven windows already installed on the first day, a sure sign that our ordeal was finally coming to an end. We anxiously awaited a call to signal the arrival of the window fitters.
But as had been the theme with this company… they kept us waiting. At 09:30, having not heard from them, we got impatient. Perhaps we had got the wrong message: What if the fitters had arrived but didn’t know to call us? So we headed to the house, happy to wait the last 20 minutes there if they weren’t already waiting outside.
As we drew closer we noticed a truck parked outside. There was no scaffolding up, but plenty of it in the back of the truck. The scaffolders had arrived! But no sign of the fitters yet. We were told that they were running late and that they would now be arriving at 11:30. This did not please the scaffolders; They had arrived at our house at 8am, having left their homes before 6am. We returned home to continue working after our 30 minute wasted journey.
At 11:30 we returned to the house. No fitters.
Ethan made a call. “We were told the fitters would be arriving between 8 and 10, do we know where they are?” “They are on their way. It IS a lot of windows to load and it IS a long journey, so they will be there at 13:30” Knowing that they had all this information before they gave us the original time window, we were a little peeved at the tone of her voice. It felt that she was implying that we were simply being unreasonably impatient, and that expecting them to actually arrive within the time window that the company gave us, well we really should have known better (even though they had more information than us, and clearly didn’t). Ethan reminded her again that we do not live at the property, so to please let the fitters know that they should call 30 minutes before they arrive so we could meet them there.
By 13:30 we had received no such call.
As I could not get away from work at this time, Ethan went to the house alone. Again, Ethan found the scaffolding truck, and no sign of anyone else. The scaffolders were less than pleased that they were still waiting to get started. Understandably, they did not want to be staying well into the evening.
When the fitters finally arrived at 2pm, Ethan tried to make sure the window fitters were aware of the fact that the scaffolding would not be there the next day, by asking the scaffolders when they would need to start tearing down, within earshot of the fitters. They responded “Now.” with no hint of humour. This prompted some negotiation, after which the two parties agreed that the scaffolding was only really needed for the large first floor window, and the fitters could install the two smaller ones on a ladder.
Once Ethan had passed on the required information, he returned home and to work. Despite the set-backs, we were still both excited to see what they would have managed to achieve in the few hours before the end of the work day. At 17:30, we could wait no more, and we were not disappointed; The three upper windows were all in! There were no handles yet, so we couldn’t test them out, but they looked good, already changing the whole look of the front of the house. They told us that the rest of the work would be finished some time the next day, which surprised us, as this would mean a five day job had taken 1.5 days, but if the job was done well, we would be happy.
They then handed us a little pack of papers including a blank envelope. While the handles had been forgotten at the depot, the bill, however, had not. The bill we received was 125% of what we were expecting it to be – because why would they let any part of this process be simple? It matched the quote that we had received for triple glazing but that they had not been able to fulfil – “nobody makes triple-glazing with georgian bars”. After quoting for both together, they had told us that we had to choose between triple glazing and georgian bars. When we chose the georgian bars we naively assumed that the price would drop back to the otherwise identical double glazing quote that we had previously received. So we paid nothing, called the sales person and left it with him.
DAY TWO
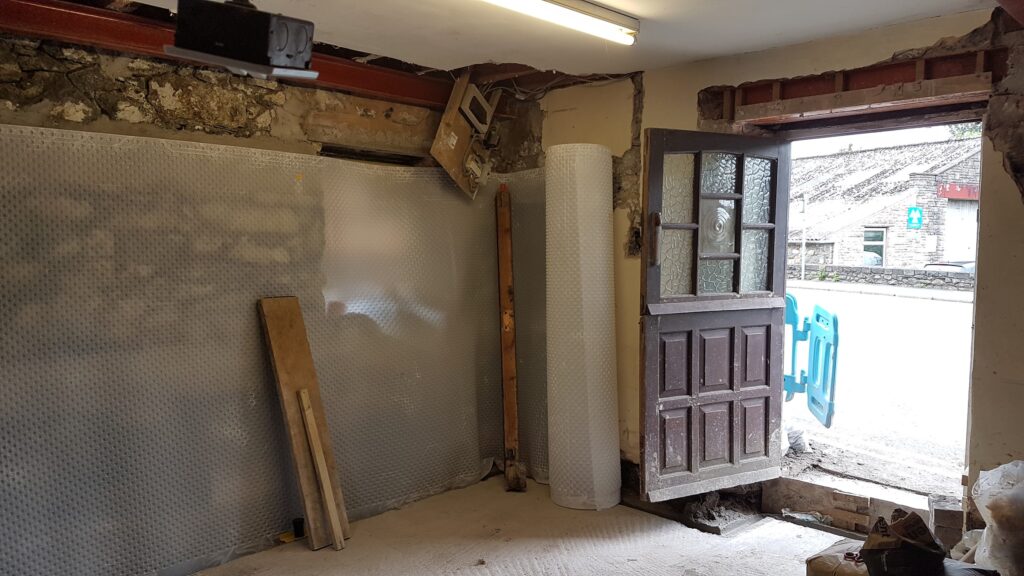
On our visit at lunchtime on the 2nd day, we were given our new front door keys – a momentous occasion!! We had waited for this moment for months. Finally, we could unlock and enter our house with no door lifting, pulling, or manipulating of any kind! So it was a little upsetting that the door had not yet been installed, leaving us still waiting to experience this. However, they had mostly finished the dining room and kitchen windows and taken out the bathroom window, so we had a lot more to see. They were convinced they’d still be done by the end of the day… apart from the handles.
By the time we finished work, noone had called to let us know the job was complete. Either way, we wanted an opportunity to see the house without them there, so that I could get embarrassingly excited about the whole thing. We waited until 19:30, and then headed down.
They clearly had not finished. The back door was still a window and a board, and we couldn’t even try out our new front door keys as the installers were still there, apparently wrestling the front door into place. The frame had been warped, so it had required some persuasion to fit it and get it working correctly and he was currently just finishing off some adjustments. So we left, disappointed.
DAY THREE
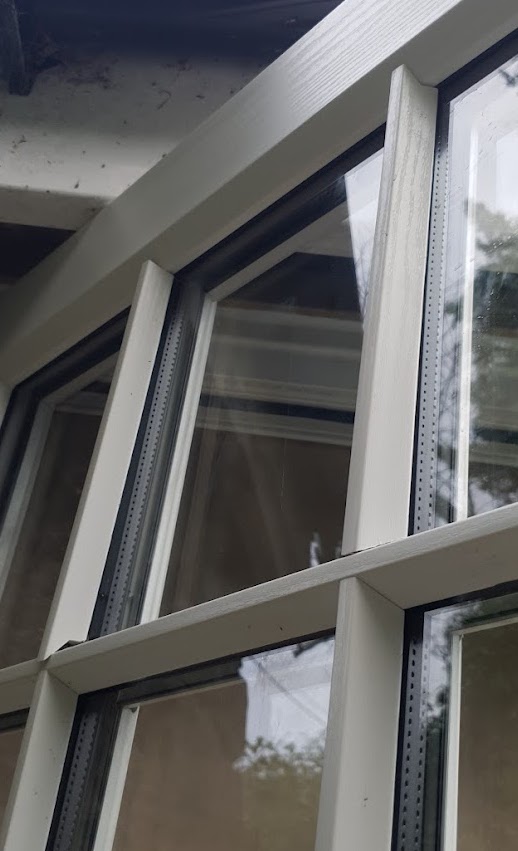
On the Wednesday they called around midday to let us know that they would soon be finished, if we’d like to take a look. When we arrived they were finishing off the back door and window combo – or at least they thought they were. We could immediately see that something was wrong. The georgian bars on the window and adjoining door, that the surveyor had painstakingly calculated to ensure were aligned, and we had carefully installed the sills to his measurements, were nowhere near each other. It turned out to be a simple fix as they had managed to install the window sash the wrong way up, apparently without thinking. Along with this careless mistake we noticed a large scratch on one of the bedroom windows:

They said they would order a new sash to be replaced at a later date. We also noticed a popping noise when opening and closing the dining room window, which they said would stop with a little adjustment.
Less helpful were they when we expressed concern about the front door. Firstly, through all their wrestling they had made some pretty substantial scratches and dents in the frame. They claimed these could be ‘wax repaired out’ when the new window sash was installed. Having never heard of wax repair, and still thinking of them as the experts, I was inclined to believe them. However, when we gave the door a little test and discovered that it was not that easy to open or close, leaving our hands actually hurting after two or three attempts, the illusion came crashing down. Their answer to our concerns: “Thats just how these doors are, you will have to take it up with manufacturers if you aren’t happy”.

Despite all the previous hassle and the few adjustments and repairs that we will still need to argue for and wait to be done, the house is certainly looking much better, and it certainly more habitable than it was!

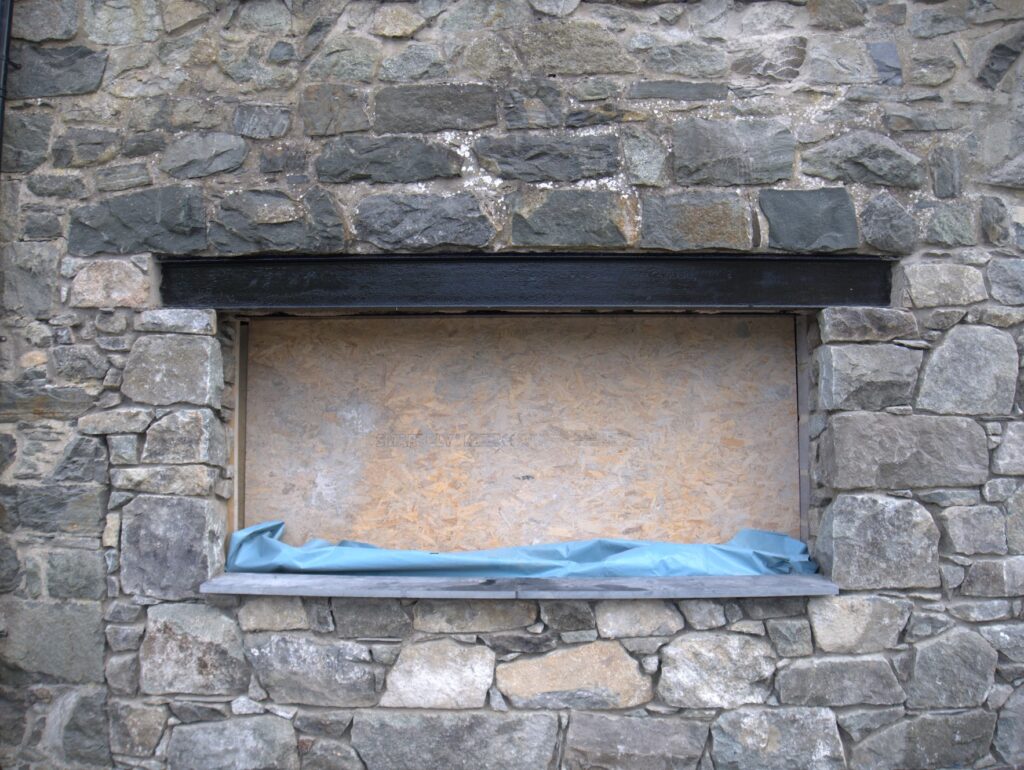
Before 
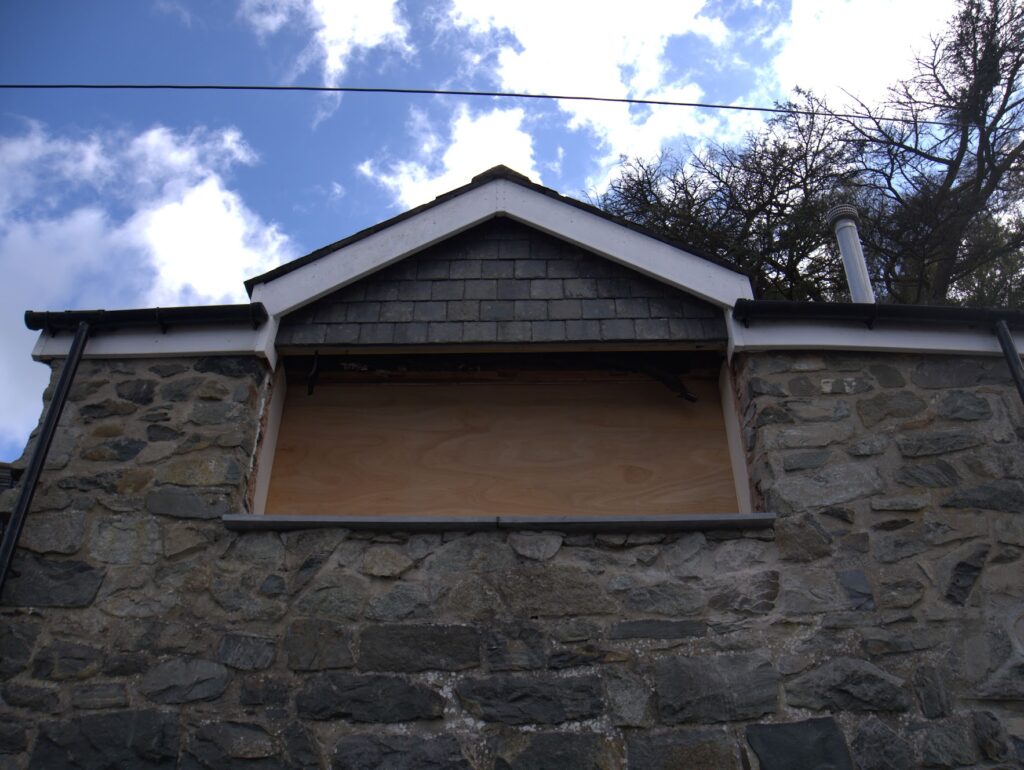
After
AFTER THE INSTALL
The day after the install had been “completed” we received a call. The company’s office were asking how it went, so I reiterated that we needed a new window and a new front door frame. I also mentioned the incorrect bill, as we had not heard from the salesman. She told me that they would order a new window and an entirely new door (apparently only making the frame to save on waste would be beyond them). She also agreed to send an adjustment to the price that we should have received earlier. Oh, and she just wondered if we could pay 90% of the bill now as the job was basically done? I told her that I would need to talk to Ethan, as I may have forgotten something.
THE INSPECTION AND BEYOND
That Thursday evening was the first time that we could look at the finished windows in detail and in the light. Having been told that the installers planned to clean the windows and frames before they left, we were disappointed to find that inspecting was made all the harder by plenty of dirt spattered on the windows, trying to disguise the numerous scratches and dents.
We found several more scratches and dents in the frames, as well as inconsistencies in the way they had installed each window. Most windows had at least one sash which sat wonkily in the frame, leaving gaps in the outer seal. The two identical bedroom windows had been installed in different positions relative to the fascias above. Some windows had been mastic sealed to the slate sills, others had not. To name a few.
In addition, the back door had scratches on the glazing itself and there were ripples in the trim, where clearly it hadn’t been properly put in place. Being the last item they were installing, clearly they were in a particular rush, leading to my favourite error made with the back door:
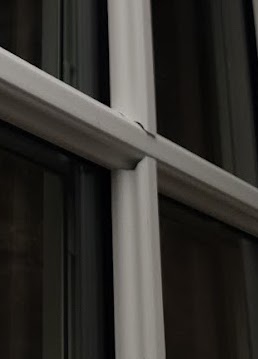

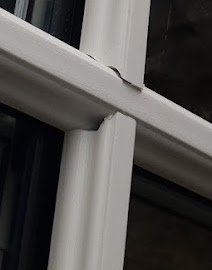
Several of the georgian bar pieces had been hammered on the wrong way round, OR in the wrong place entirely in a couple of cases. I was so tempted to put this right myself, but was too afraid that I’d cause some damage, and not be able to convince them to supply replacements.
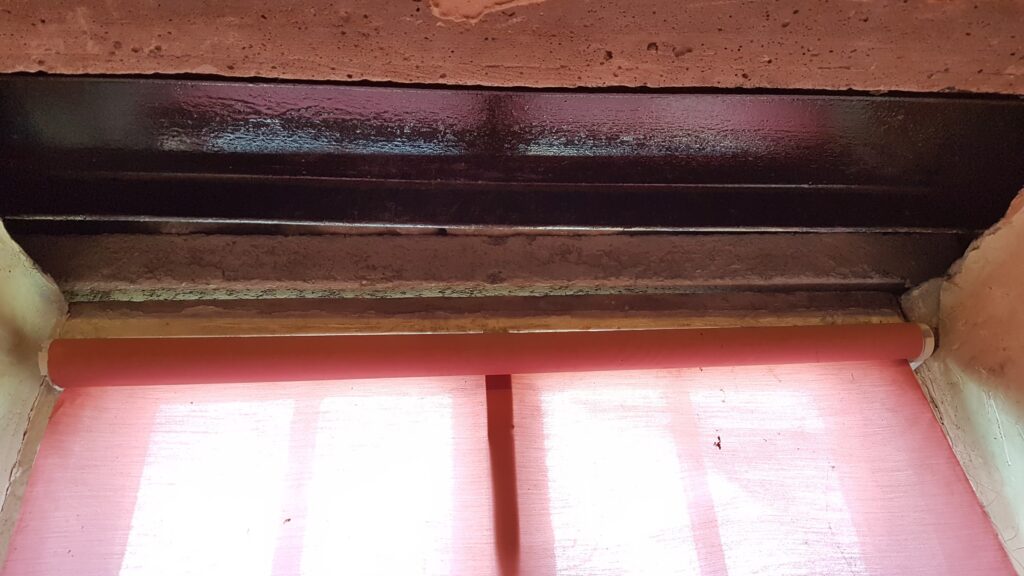
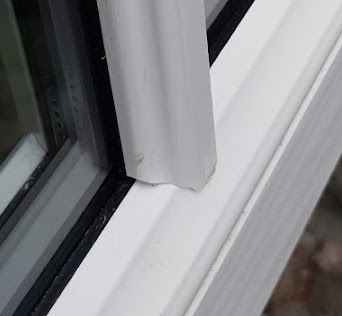
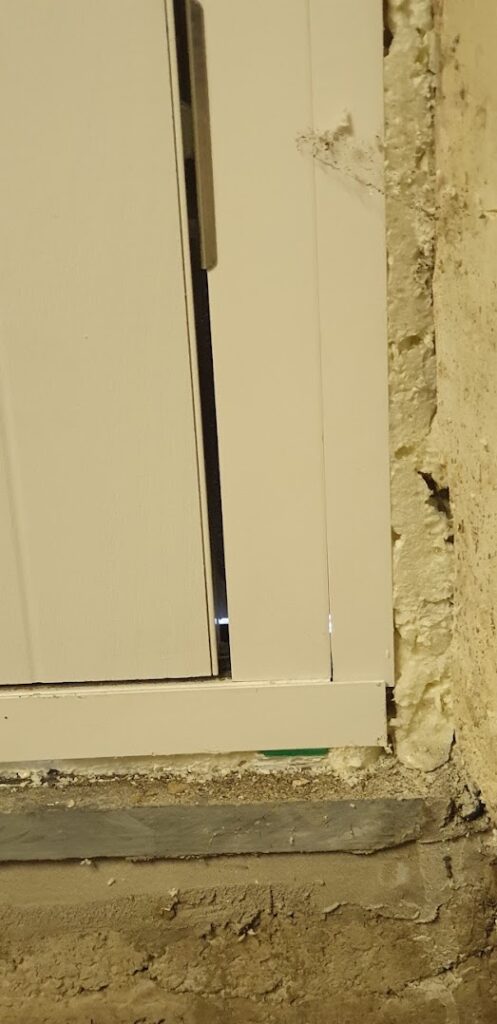
We have saved the best until last: the front door that we had been told was exactly as it should be. Let’s start with the warped frame that they ‘fixed’.
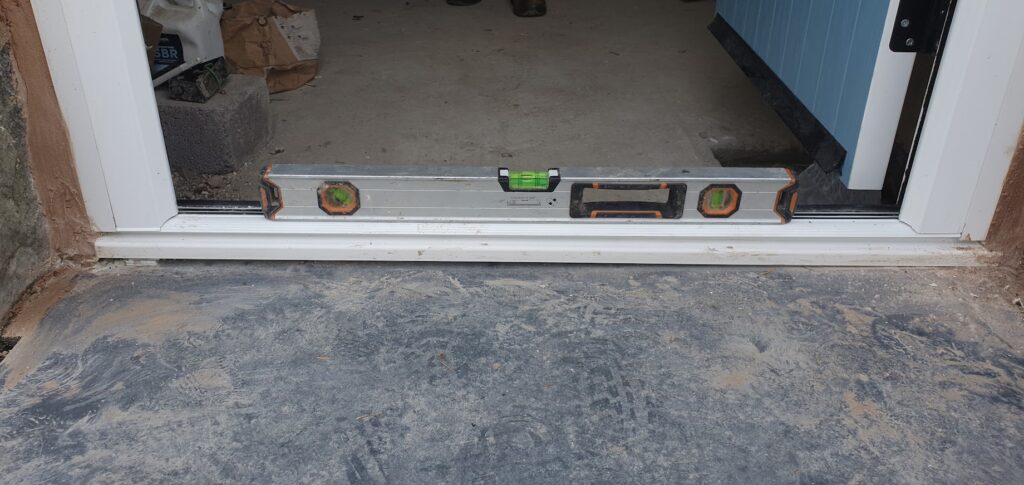
That bubble should be in the middle. That bubble IS in the middle when it’s on the slate doorstep. This is because the doorstep is level. The lintel above is also level. For unknown reasons they decided to lift one side of the door frame in order to ensure that the frame was neither level, nor square. They achieved this by shoving a pile of little bits of plastic in one end (visible on the left) and filling the rest with expanding foam.
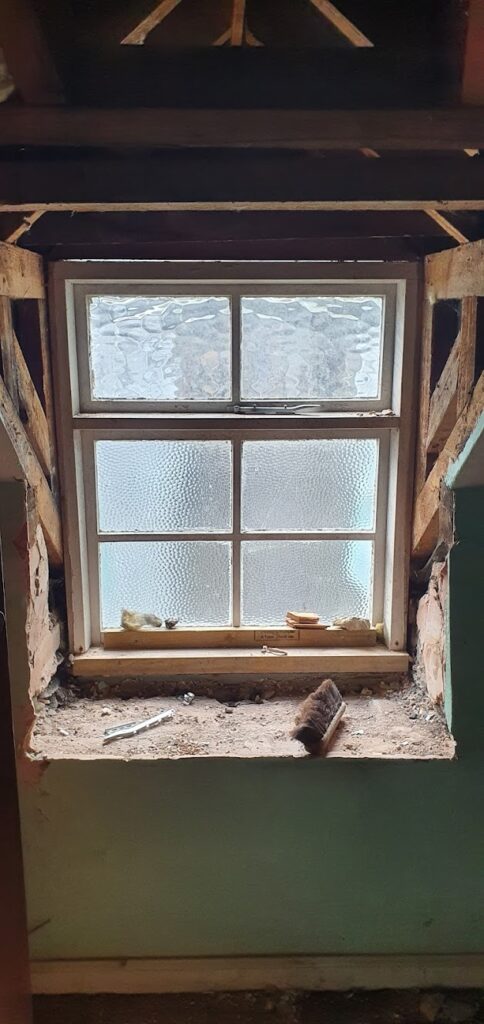
Here are some pictures from the inside:
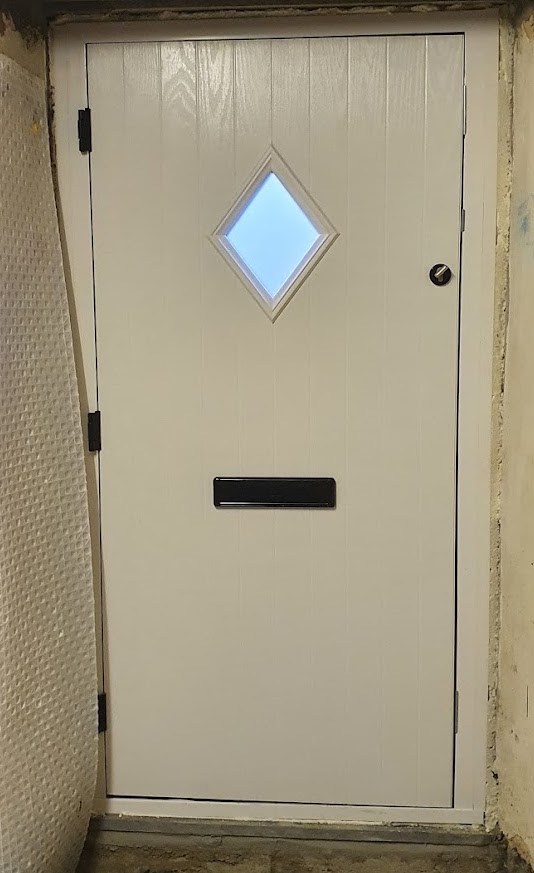

The door sits incredibly wonkily in its frame, meaning that it rubs every time its opened or closed. You normally need two hands to open the front door with the key as you need to make sure to pull it into place so you can fully turn the key before having to use your entire body weight, or an enthusiastic spartan kick, to fight the friction to open it.
Only a month later and sometimes even two hands haven’t been enough, leaving me wrestling with the key in the door for a substantial chunk of time. Passers by stopped to tell me how lovely the new windows and doors look while I wrestled – if only they weren’t form (from a distance) over function.
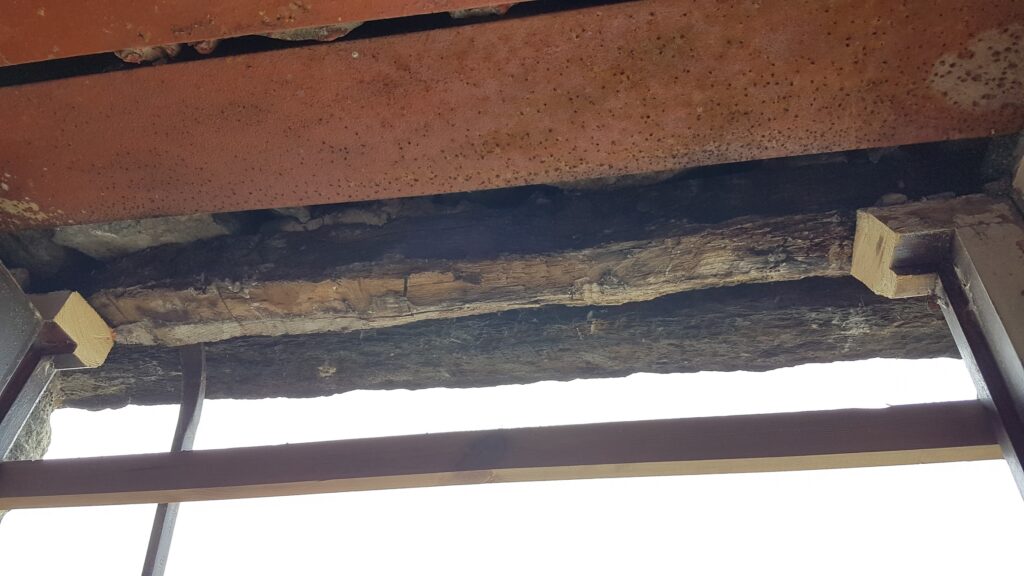
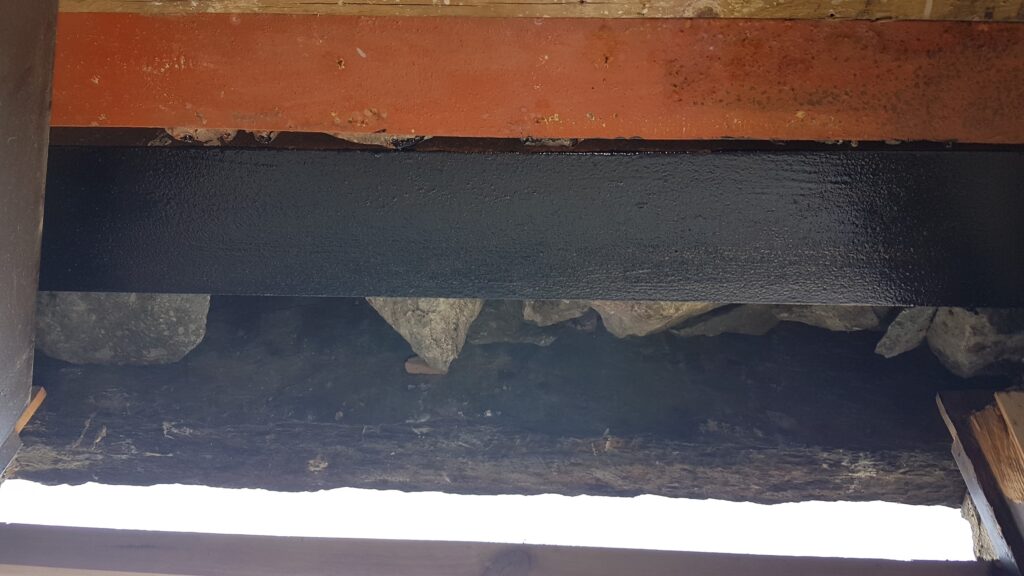
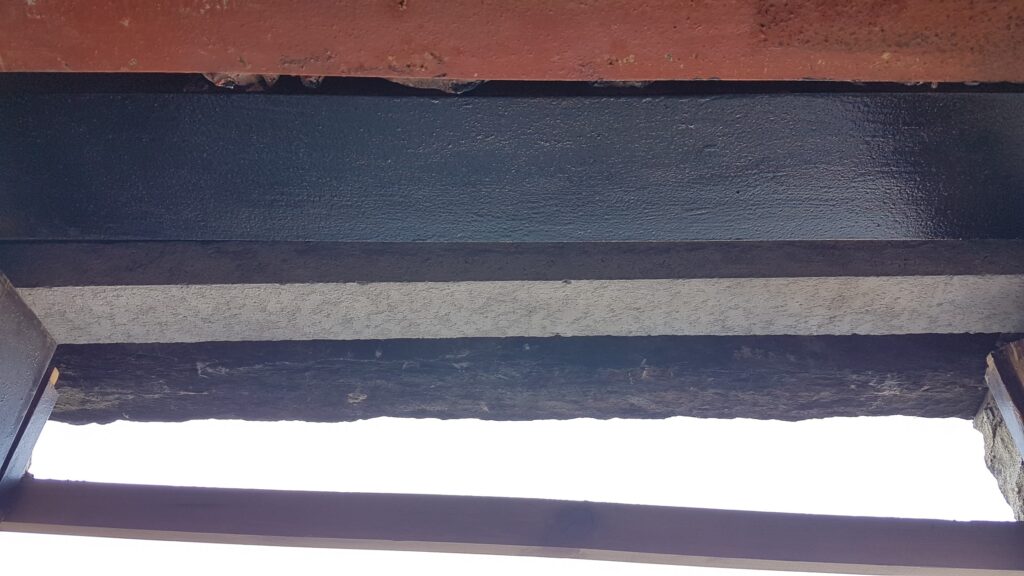
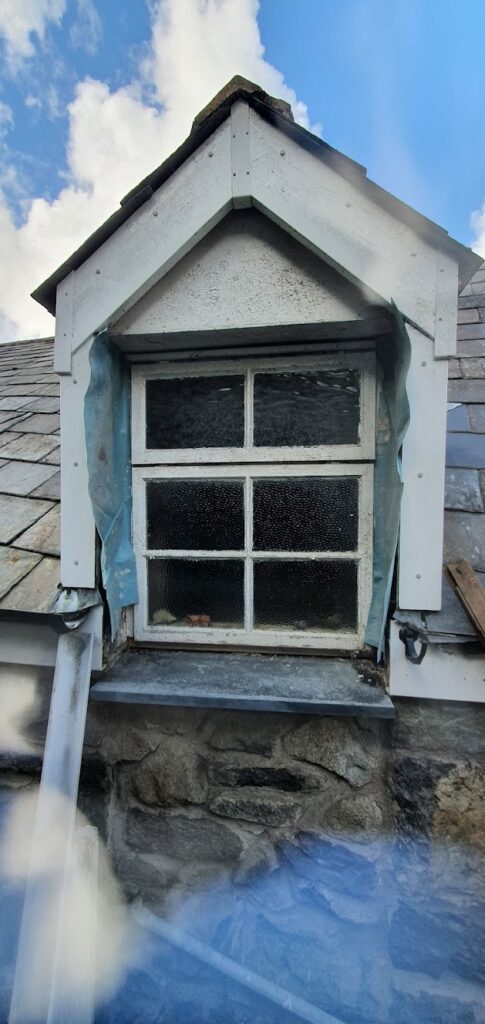
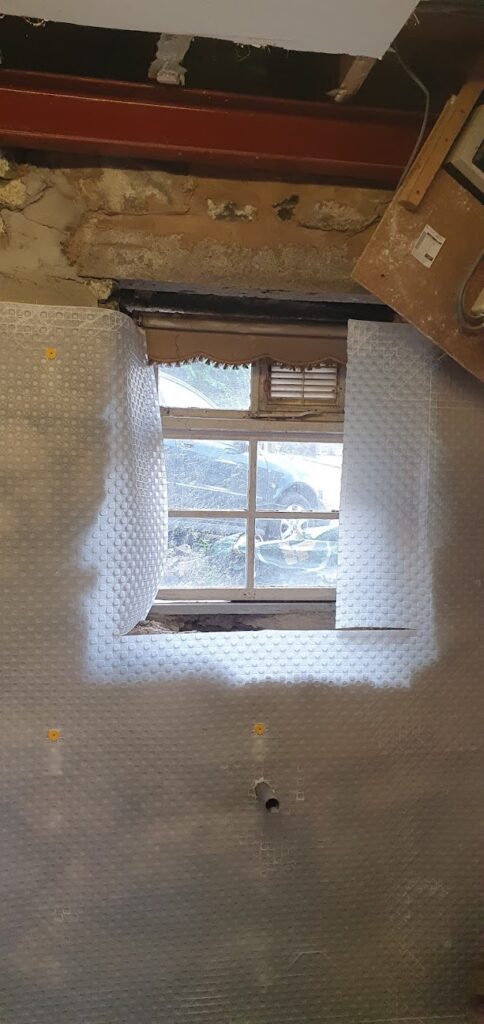
I even started to make attempts to climb in through the back door that currently just opens onto a void in the 1st floor:

Thankfully, after my second failed attempt to rally my dare-devil side, the front door finally gave into my demands and decided to open.
Given that one of the things we had been looking forward to most was finally having a door that would not cause us stress every time we arrived at or left the house, this has been a disappointing outcome. And I haven’t even mentioned the fact that the whole frame moves when you shut the door because they thought that two out of five screws in the side of the frame would probably cut it. AND that we can see light between the door and frame, and even around the edge of the frame. Oh, and we’ve had rain come under the door frame too.
There was also some missing expanding foam, cracks in sills, dodgy coloured pointing, one of the bedroom windows doesn’t lock… and probably some other things.
So that’s the list of issues. After a few emails and a visit from another surveyor type, we are now waiting for an entirely new front door, two entirely new bedroom windows, a new sash for the 3rd bedroom, a new frame for the dining room window, new glazing and trim for the back door, a couple of replacement cills and hopefully entirely new people to come to replace and adjust. They haven’t dared to ask us for that 90% of the balance again.
They were “pleased” to tell us that this remedial work could be started on the 1st of December, only 10 weeks after they were meant to have it all finished. Which made me chuckle, so thanks for that window guys… I guess.
So now we wait. At least we are in a position where the house is a lot more secure, and the windows are mostly watertight. This means that we could move in with the doors and windows as they are – IF we ever finish our downstairs floors.
FOR YOUR ENTERTAINMENT!
Some additional anecdotes about our incredibly skilled installers:
When we arrived one day, we saw that there was a block of wood stuck to our waterproof membrane on one of the walls. This was attached by a screw that had pierced the membrane – nowhere near any of the new windows. When questioned, they thought a perfectly reasonable answer was “I got annoyed when the door wasn’t going in right, so I flung it [that block of wood with a giant screw through it] behind me. Must have been quite a throw for it to do that!”… followed by a laugh.
Additional membrane piercings occurred where we had asked them to install membrane around one of the windows they were installing, so that we could later seal it to our wall membrane. They thought the best way to hold this new WATERPROOF membrane out of their was was to drive several screws through it and through our WATERPROOF wall membrane.
Thankfully we have tape that is meant for sealing holes in the membrane, but we had been trying to minimise the holes, as the tape is not as good as just having continuous plastic membrane!
Finally, when we arrived after they had left for the final time, we found not one, but two large spirit levels had been left behind, right next to the door along with a soiled white primark t-shirt.
The thing that shocked us most about this process was how entirely unsurprised the remedial work surveyor was. We don’t want to say that this is par for the course with Anglian, but… it kind of seems like this is par for the course with Anglian! Whelp, you live and learn.