It’s been three weeks since our previous exploration post. Further explorations were slow going as we’ve had to return to work. However, we have now managed to take a few steps forward in revealing what we will actually be working with. This is our attempt to share the rollercoaster with you.
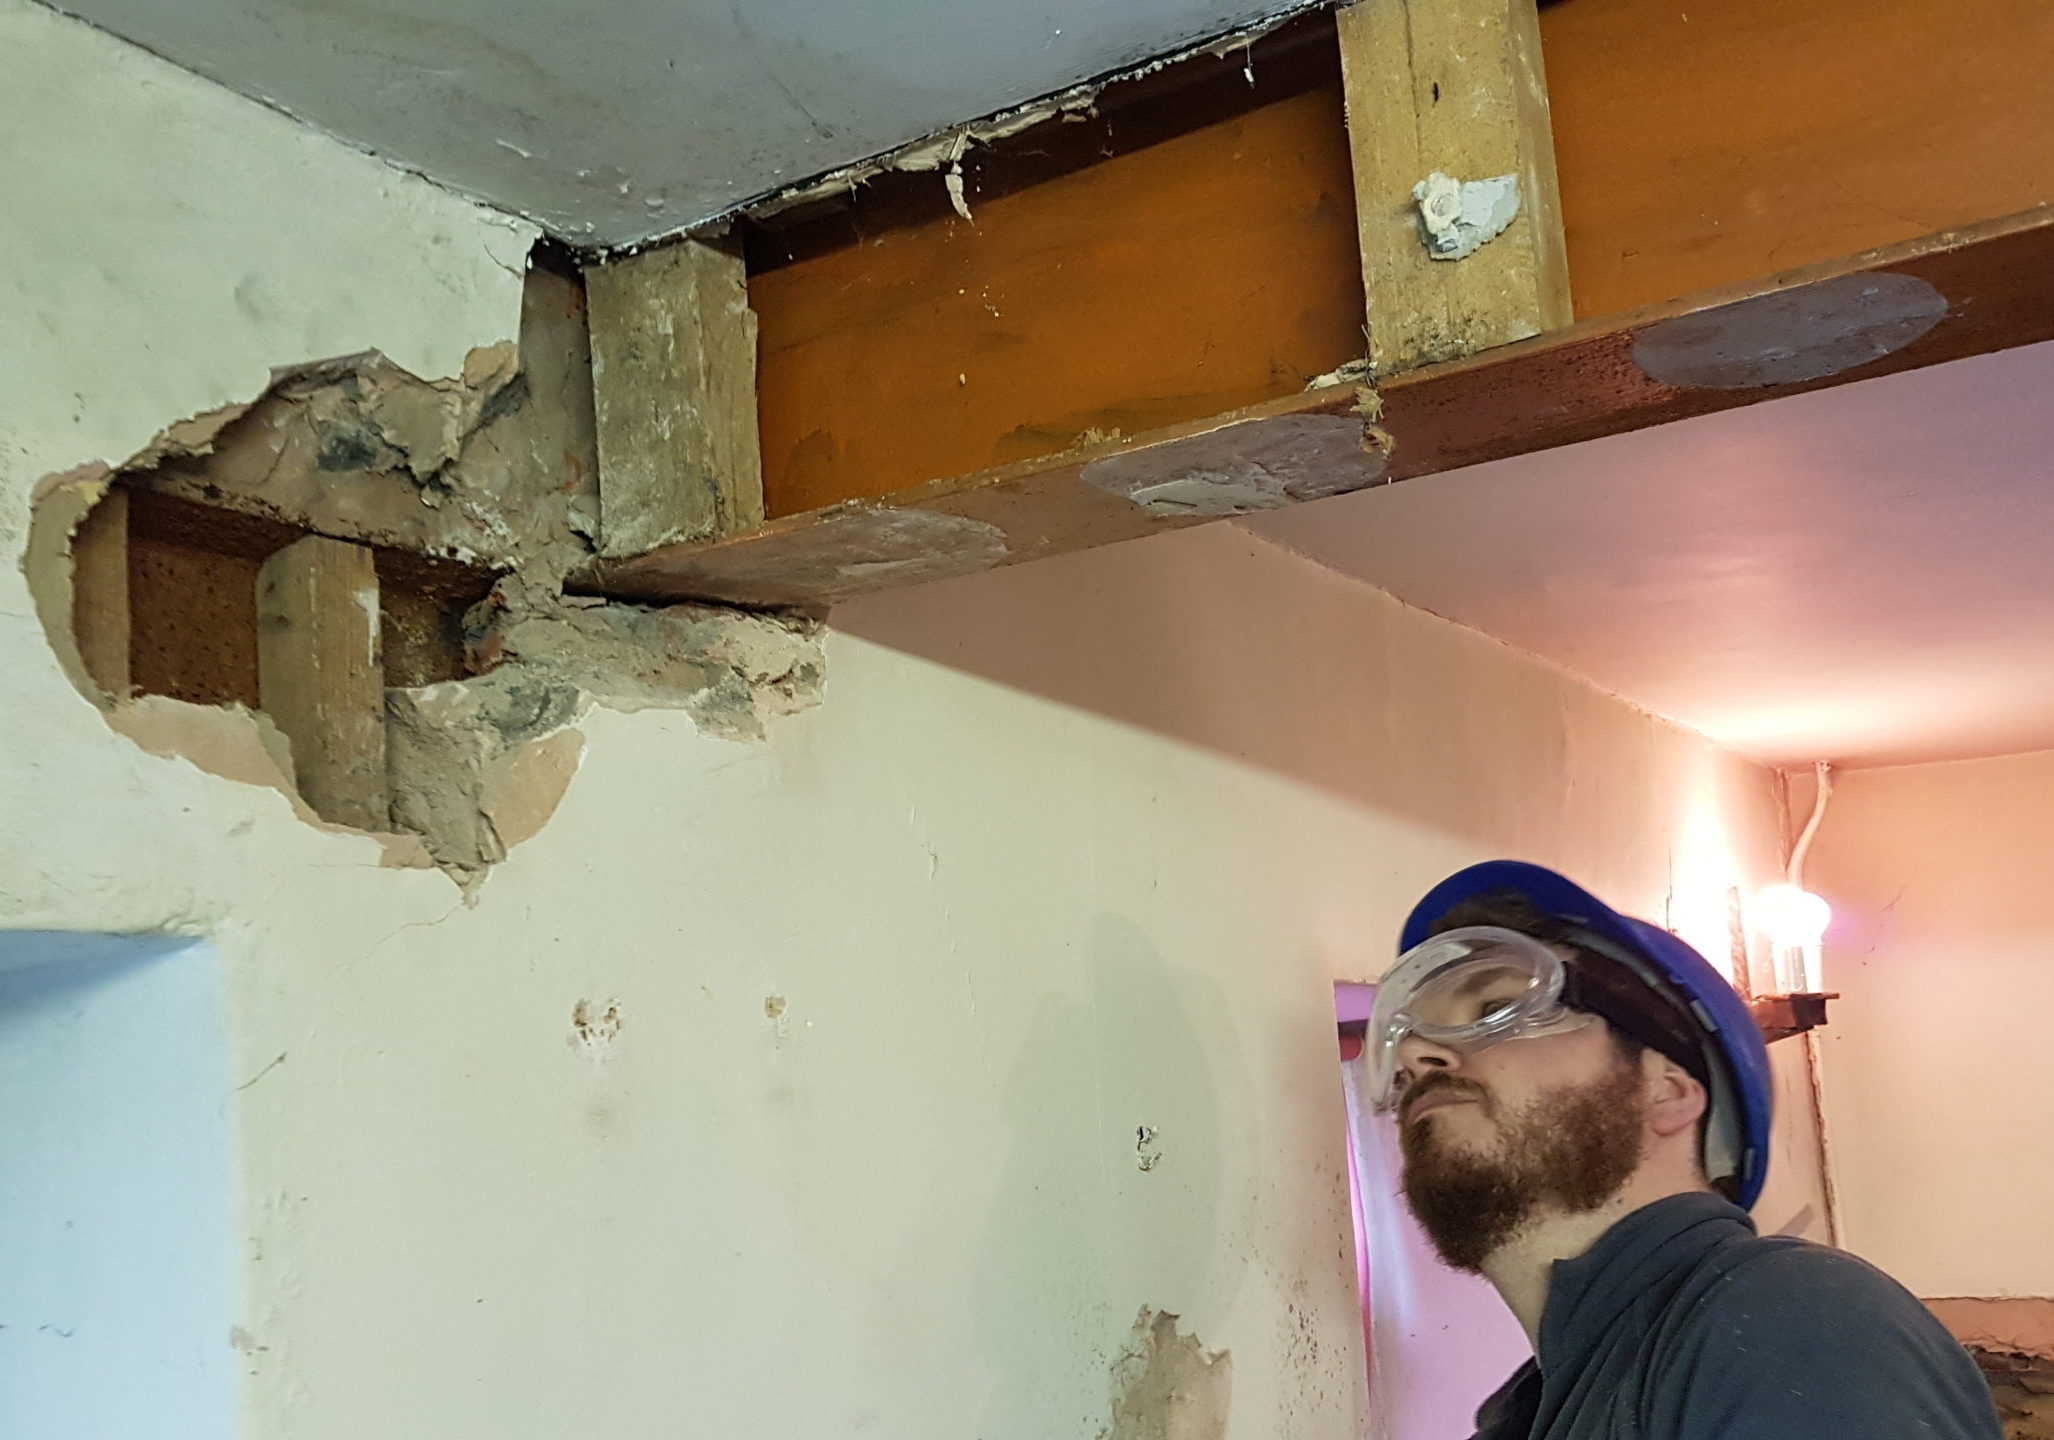
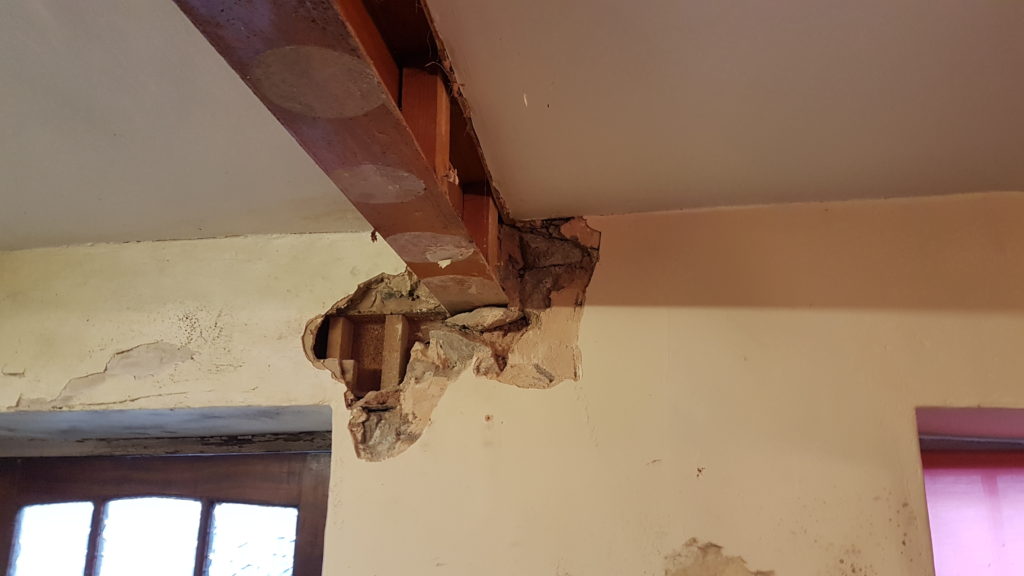
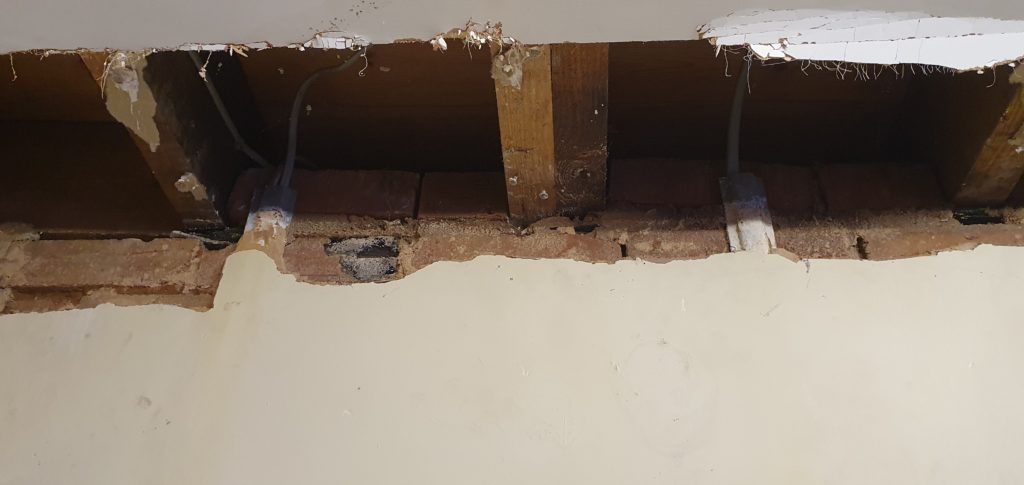
As hinted at previously, we found more brick. It was cunningly hidden behind plaster, where the kitchen had been installed. Despite having been told that these brick walls were purely cosmetic, it was obvious that the brick walls had been a failed attempt at trying to keep the water that is running through the underground walls at bay. A plastic sheet was… perched?.. behind the wall. It appeared crumpled and a little worse for wear. While this isn’t ideal, the attempt had been further thwarted by the decision to plaster the bare wet stone reveals of the kitchen window (remember that dripping stone?) and join it directly to the plaster on the brick. This created a lovely bridge for the moisture to bypass the plastic sheeting and make its way onto the inner wall. This decision did however make the plaster nice and soft for removal. A better solution will need to be thought of. It seems that damp will be a strong theme throughout this blog.
So, it seemed sensible to us to remove the brick walls. Why create yet another layer and make the room ever smaller? We would be redoing the damp proofing – the brick walls were obsolete. Weren’t they? Unless they were holding up the joists of the 1st floor. After some chiseling and hammering, and the ceiling now looking far less finished – of course they were.

Speaking of water (and we often are these days): It was January and we wanted to cut off our gas so that we could dig up the floors without fear of hitting a gas pipe and releasing flammables all over our new house. This meant that we needed to turn off the stopcock, and drain the water down in the house; No freezing and exploding pipes for us, thanks. But where was the stopcock? We knew we had a back boiler, a kitchen sink and a bathroom. Nothing under the sinks. It seemed all pipes lead to the loft. There we found a tank, and pipes that appeared to track behind it. Still no stopcock. The only tap we could see was for the refill on the tank. So a plan was formed: stop inflow to the tank, drain the tank down, remove the tank and follow the pipes behind. So, Ethan suited up and headed up into the fibreglass filled crawlspace of a loft – my hero.

The fear was that the sellers (who had previously owned both our house and the house next door) had never bothered to get a separate supply for our house. After draining as much of the tank as we could through the taps, Ethan manoeuvred it into position over the loft hatch and we caught the water with a washing up bowl we had found. The splashes on my face felt all the nicer having been told by Ethan that the tank appeared to contain a very waterlogged mouse. Once the tank was empty, Ethan could see that there were no pipes leaving the house through the loft. Back to square one.
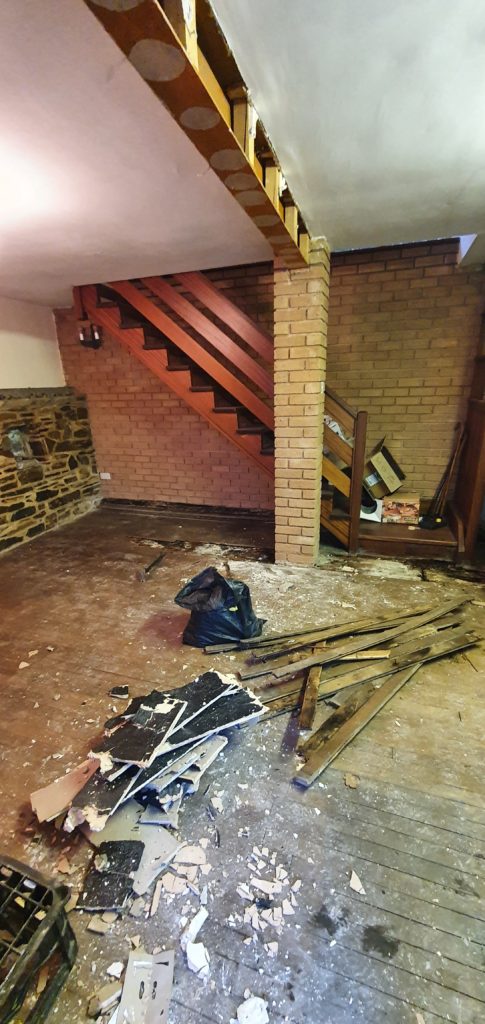
At this point Ethan’s Dad finally convinced us that perhaps it was time to start lifting floorboards.

Carpet up 
Pipe out the wall 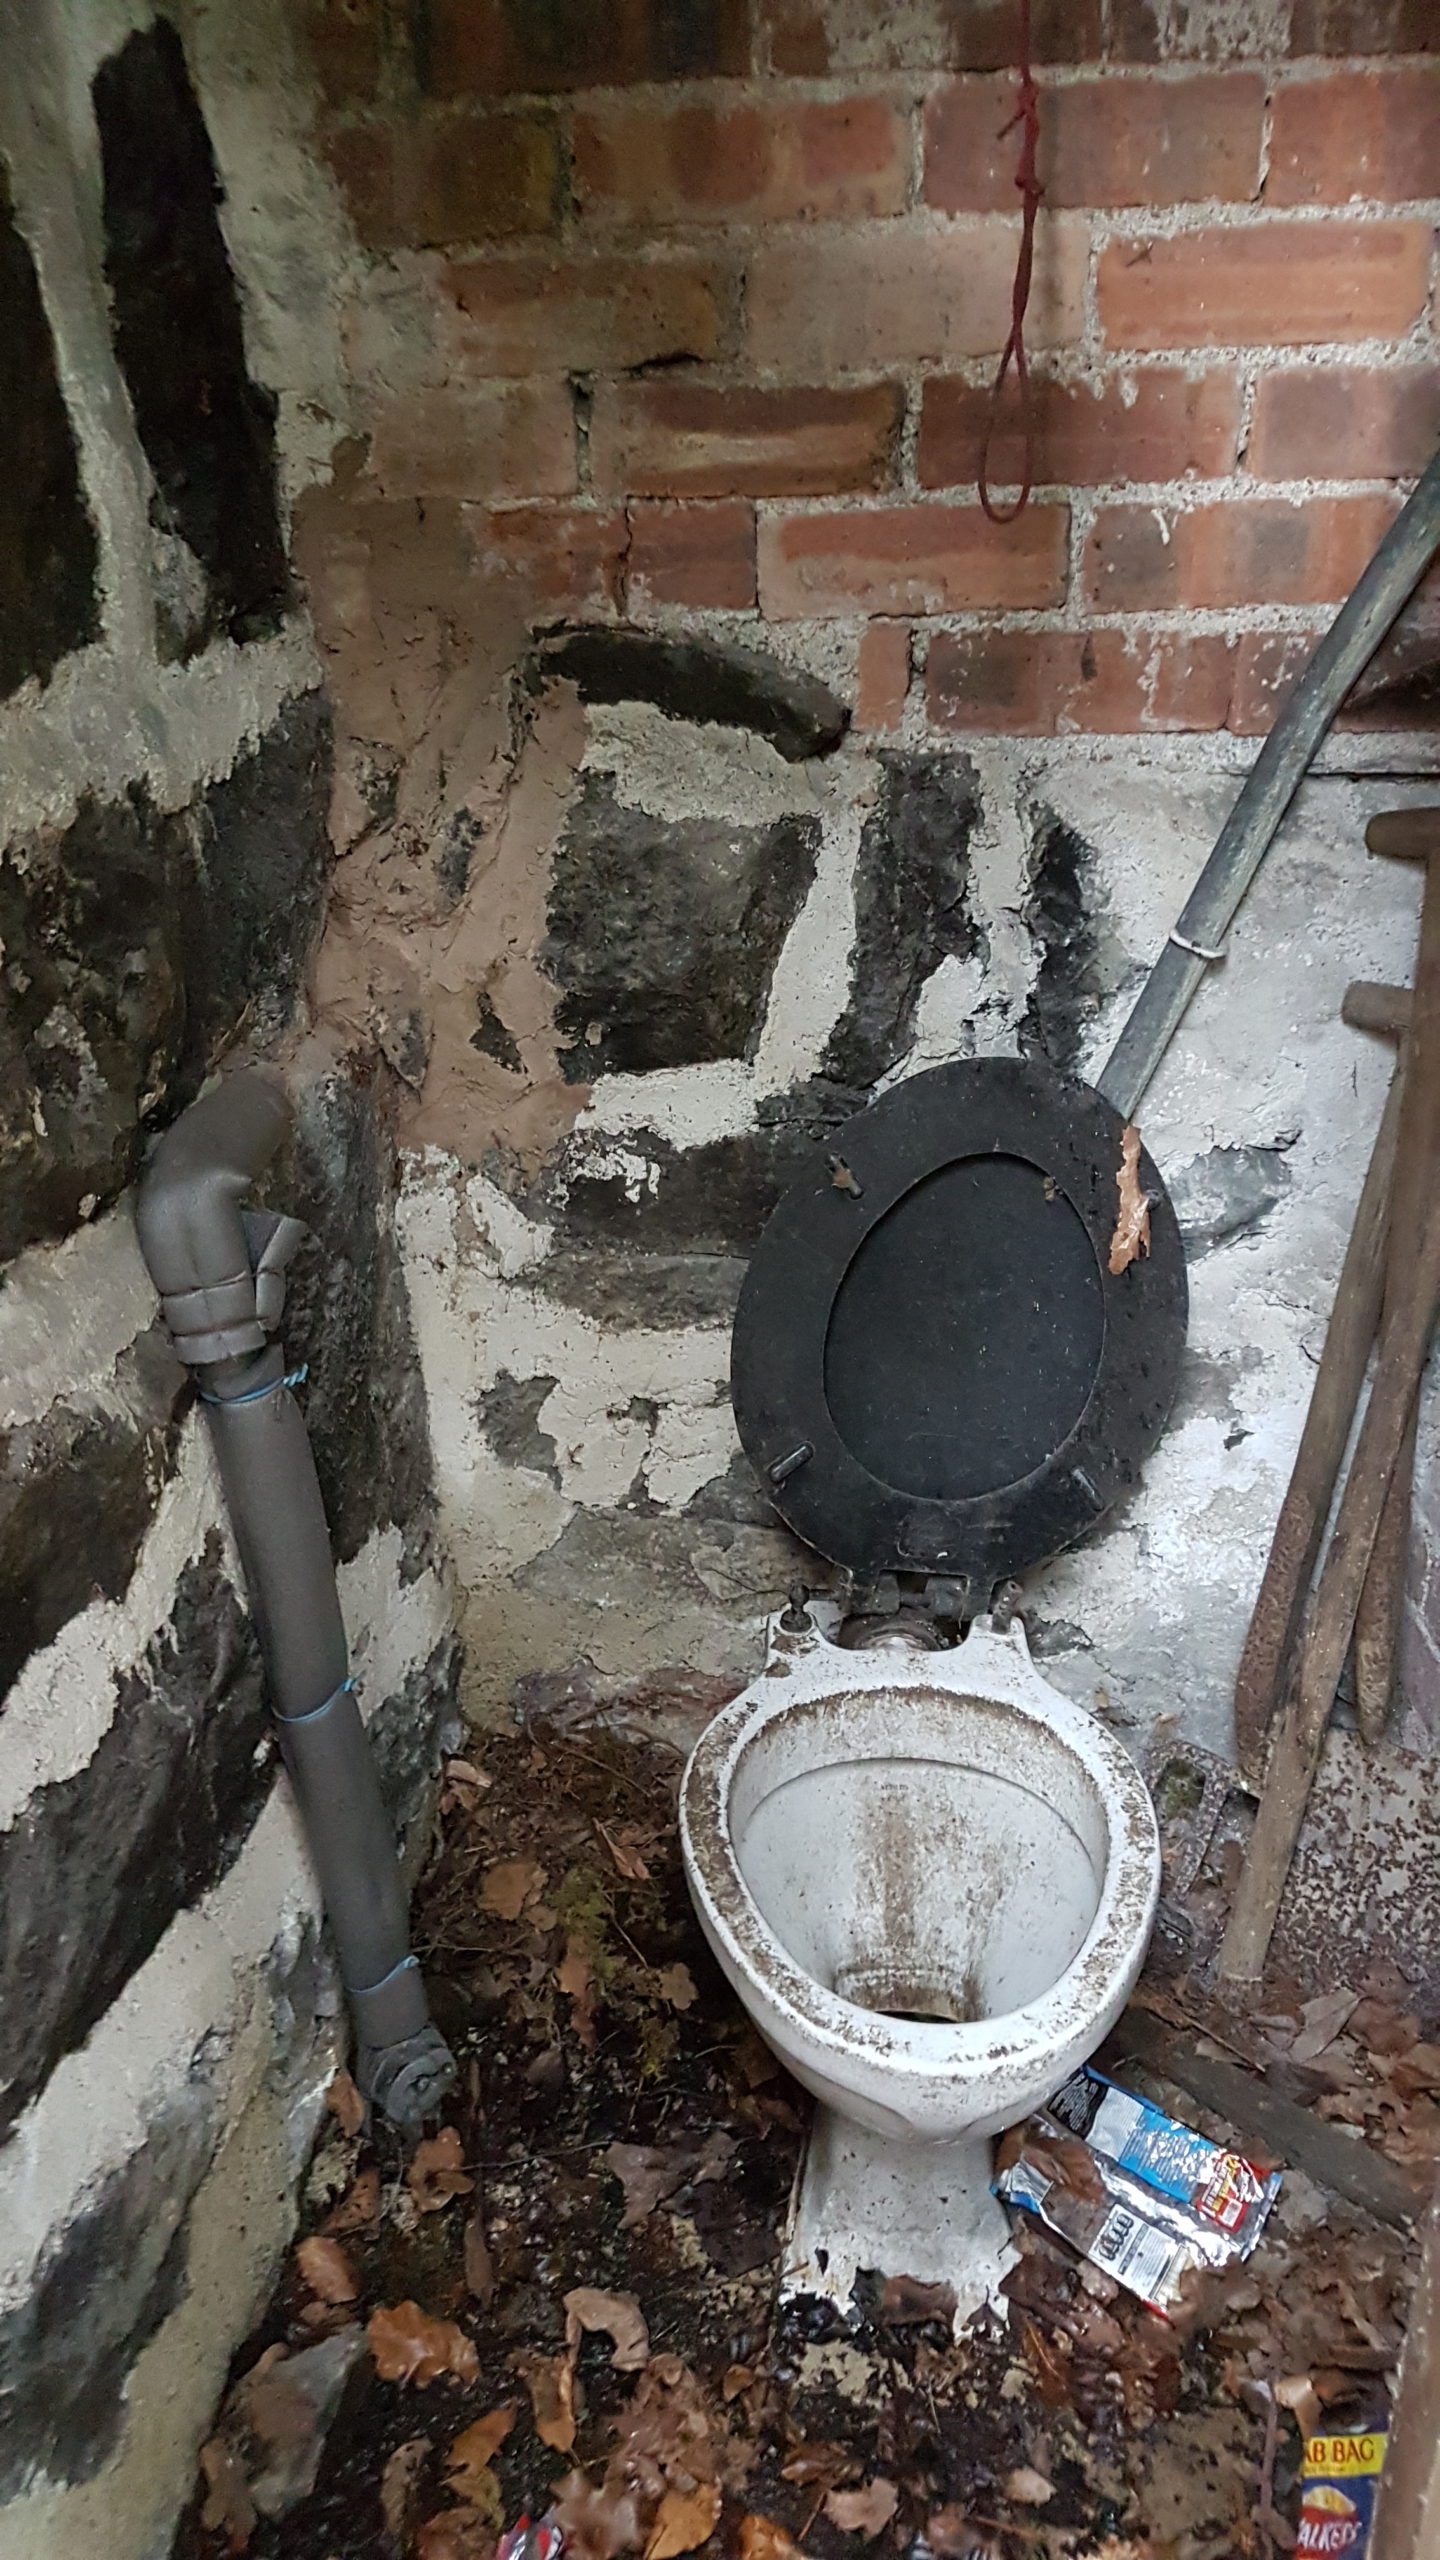
STOPCOCK!
We had forgotten we had an outdoor toilet – and there it was, a stopcock. Oh, did we mention there was brick in here too? Still no clue where it joins to the mains system, but we can at least cut off water to the house, and drain it down – let the fun begin…
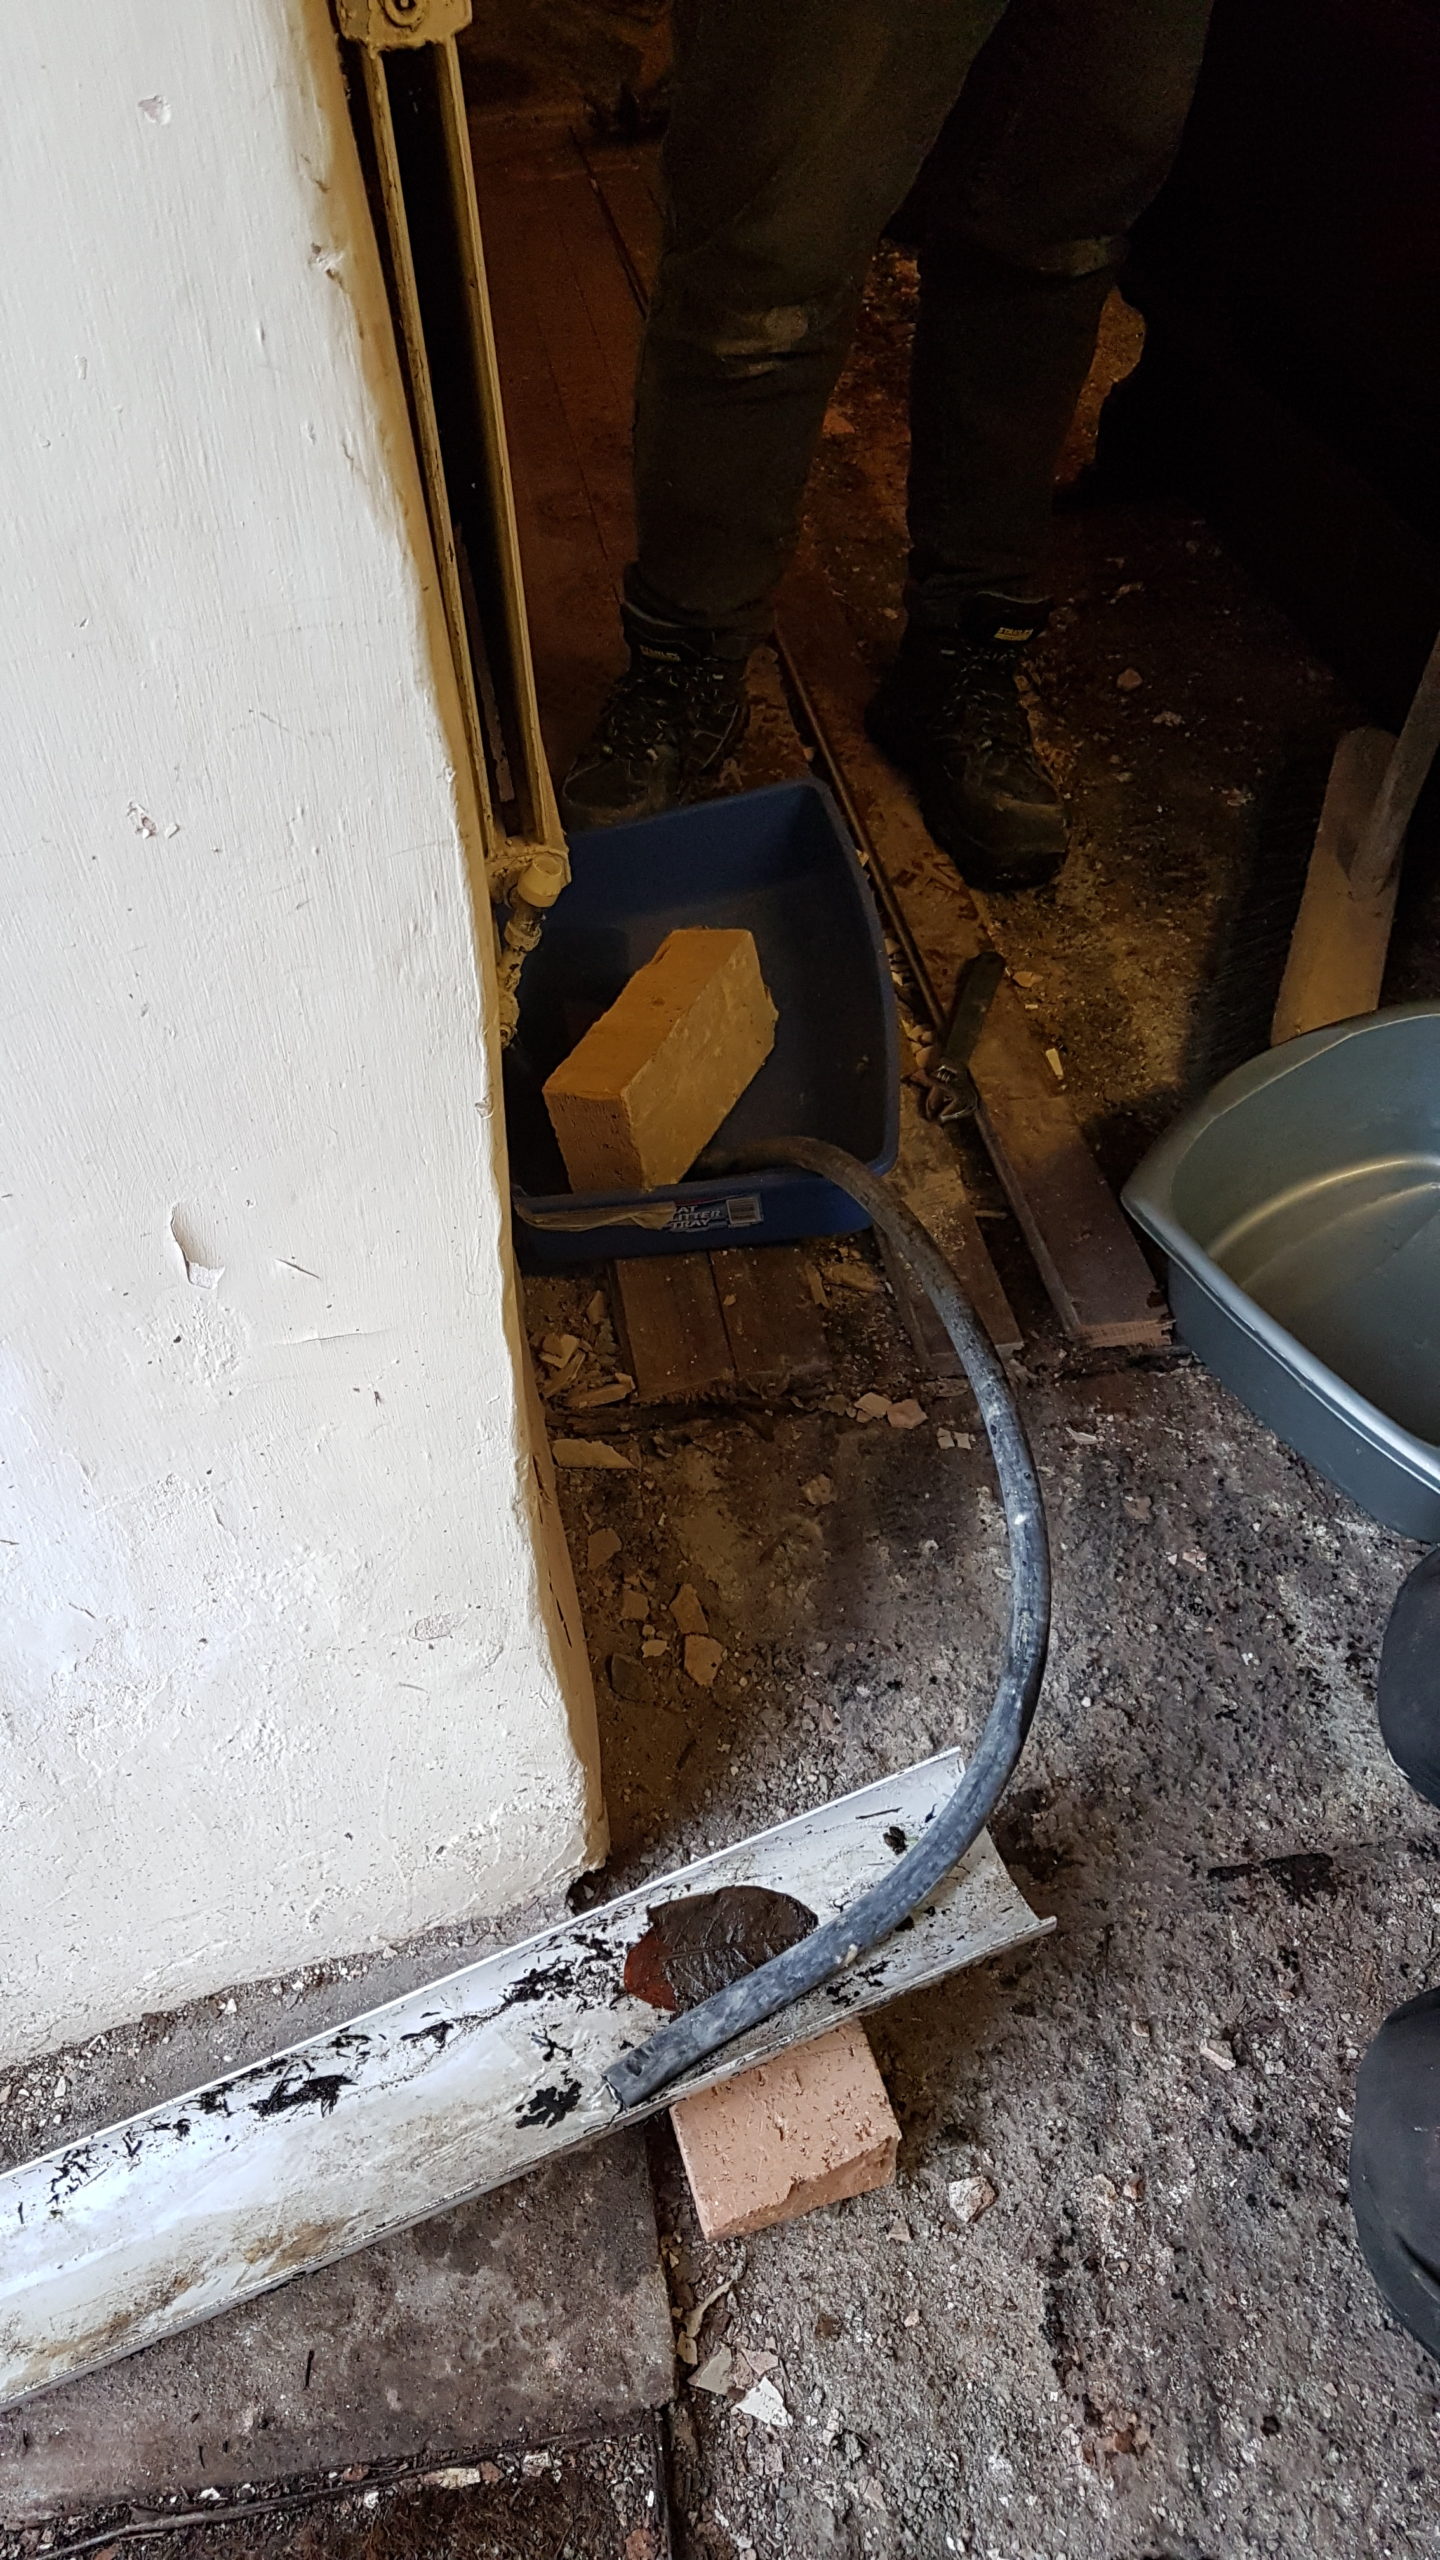
Central heating drained with spare guttering and the gas pipe for the oven 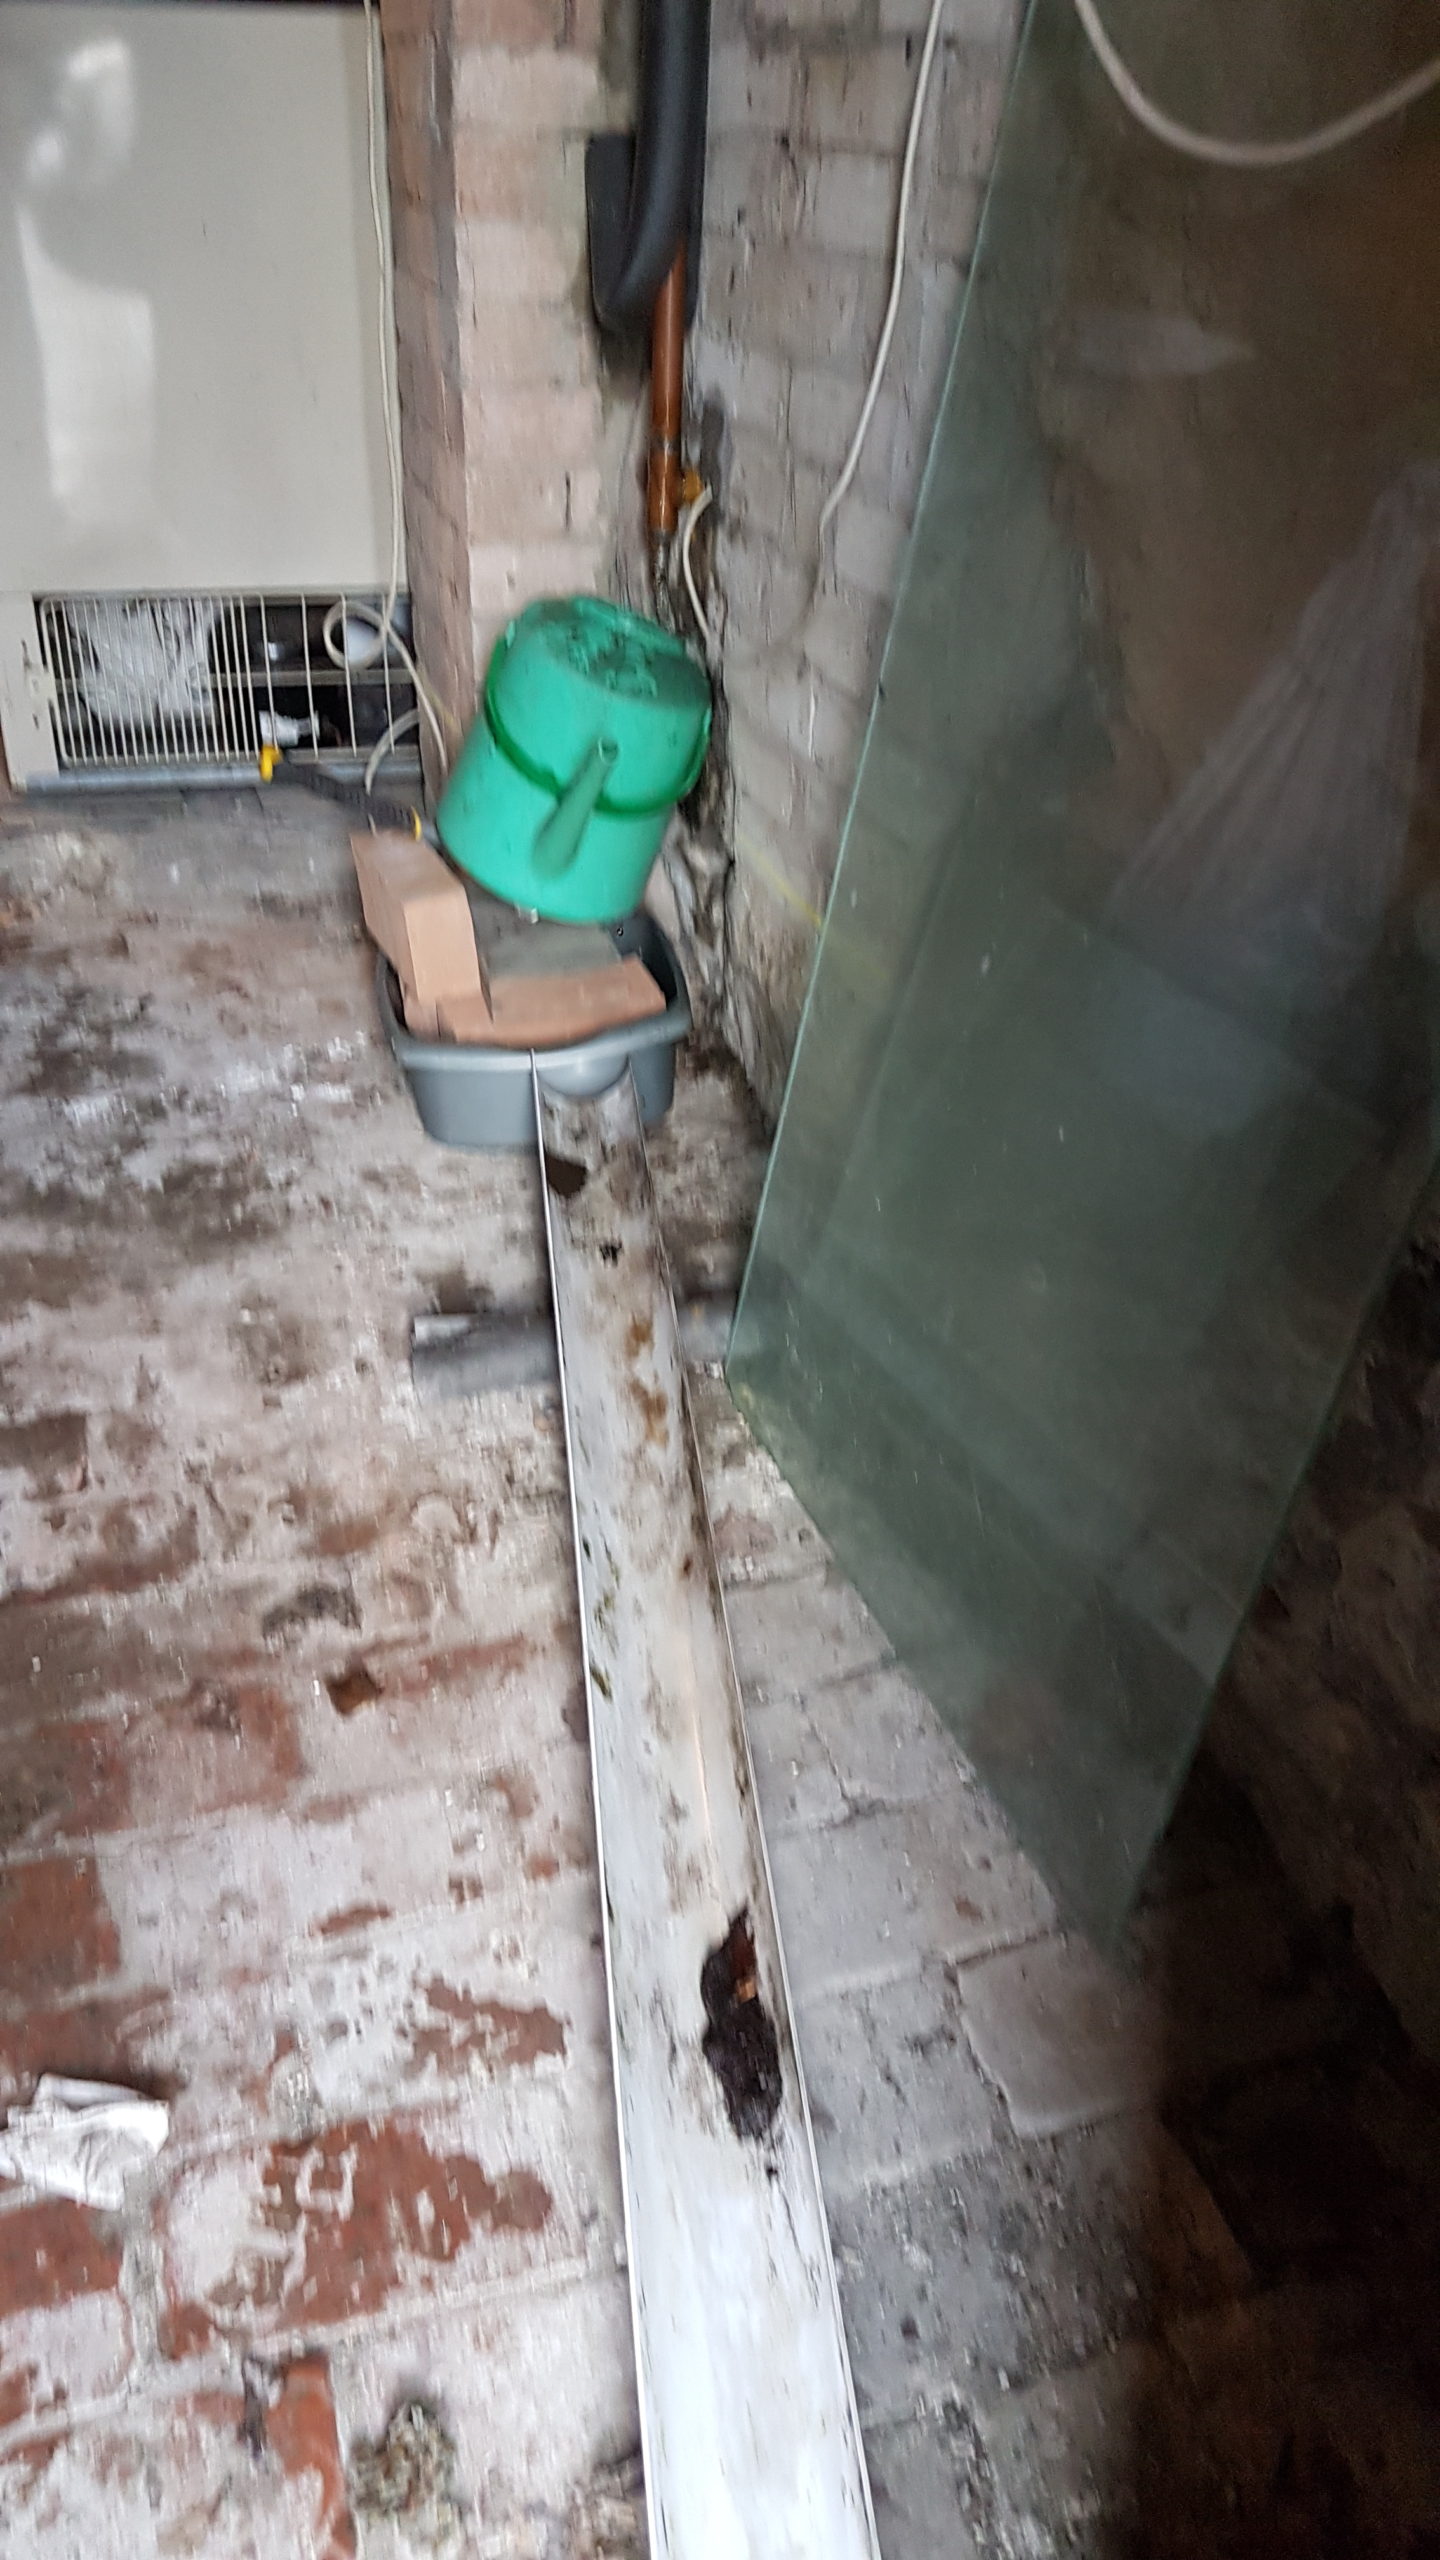
Convection heating loop – an attempt was made. 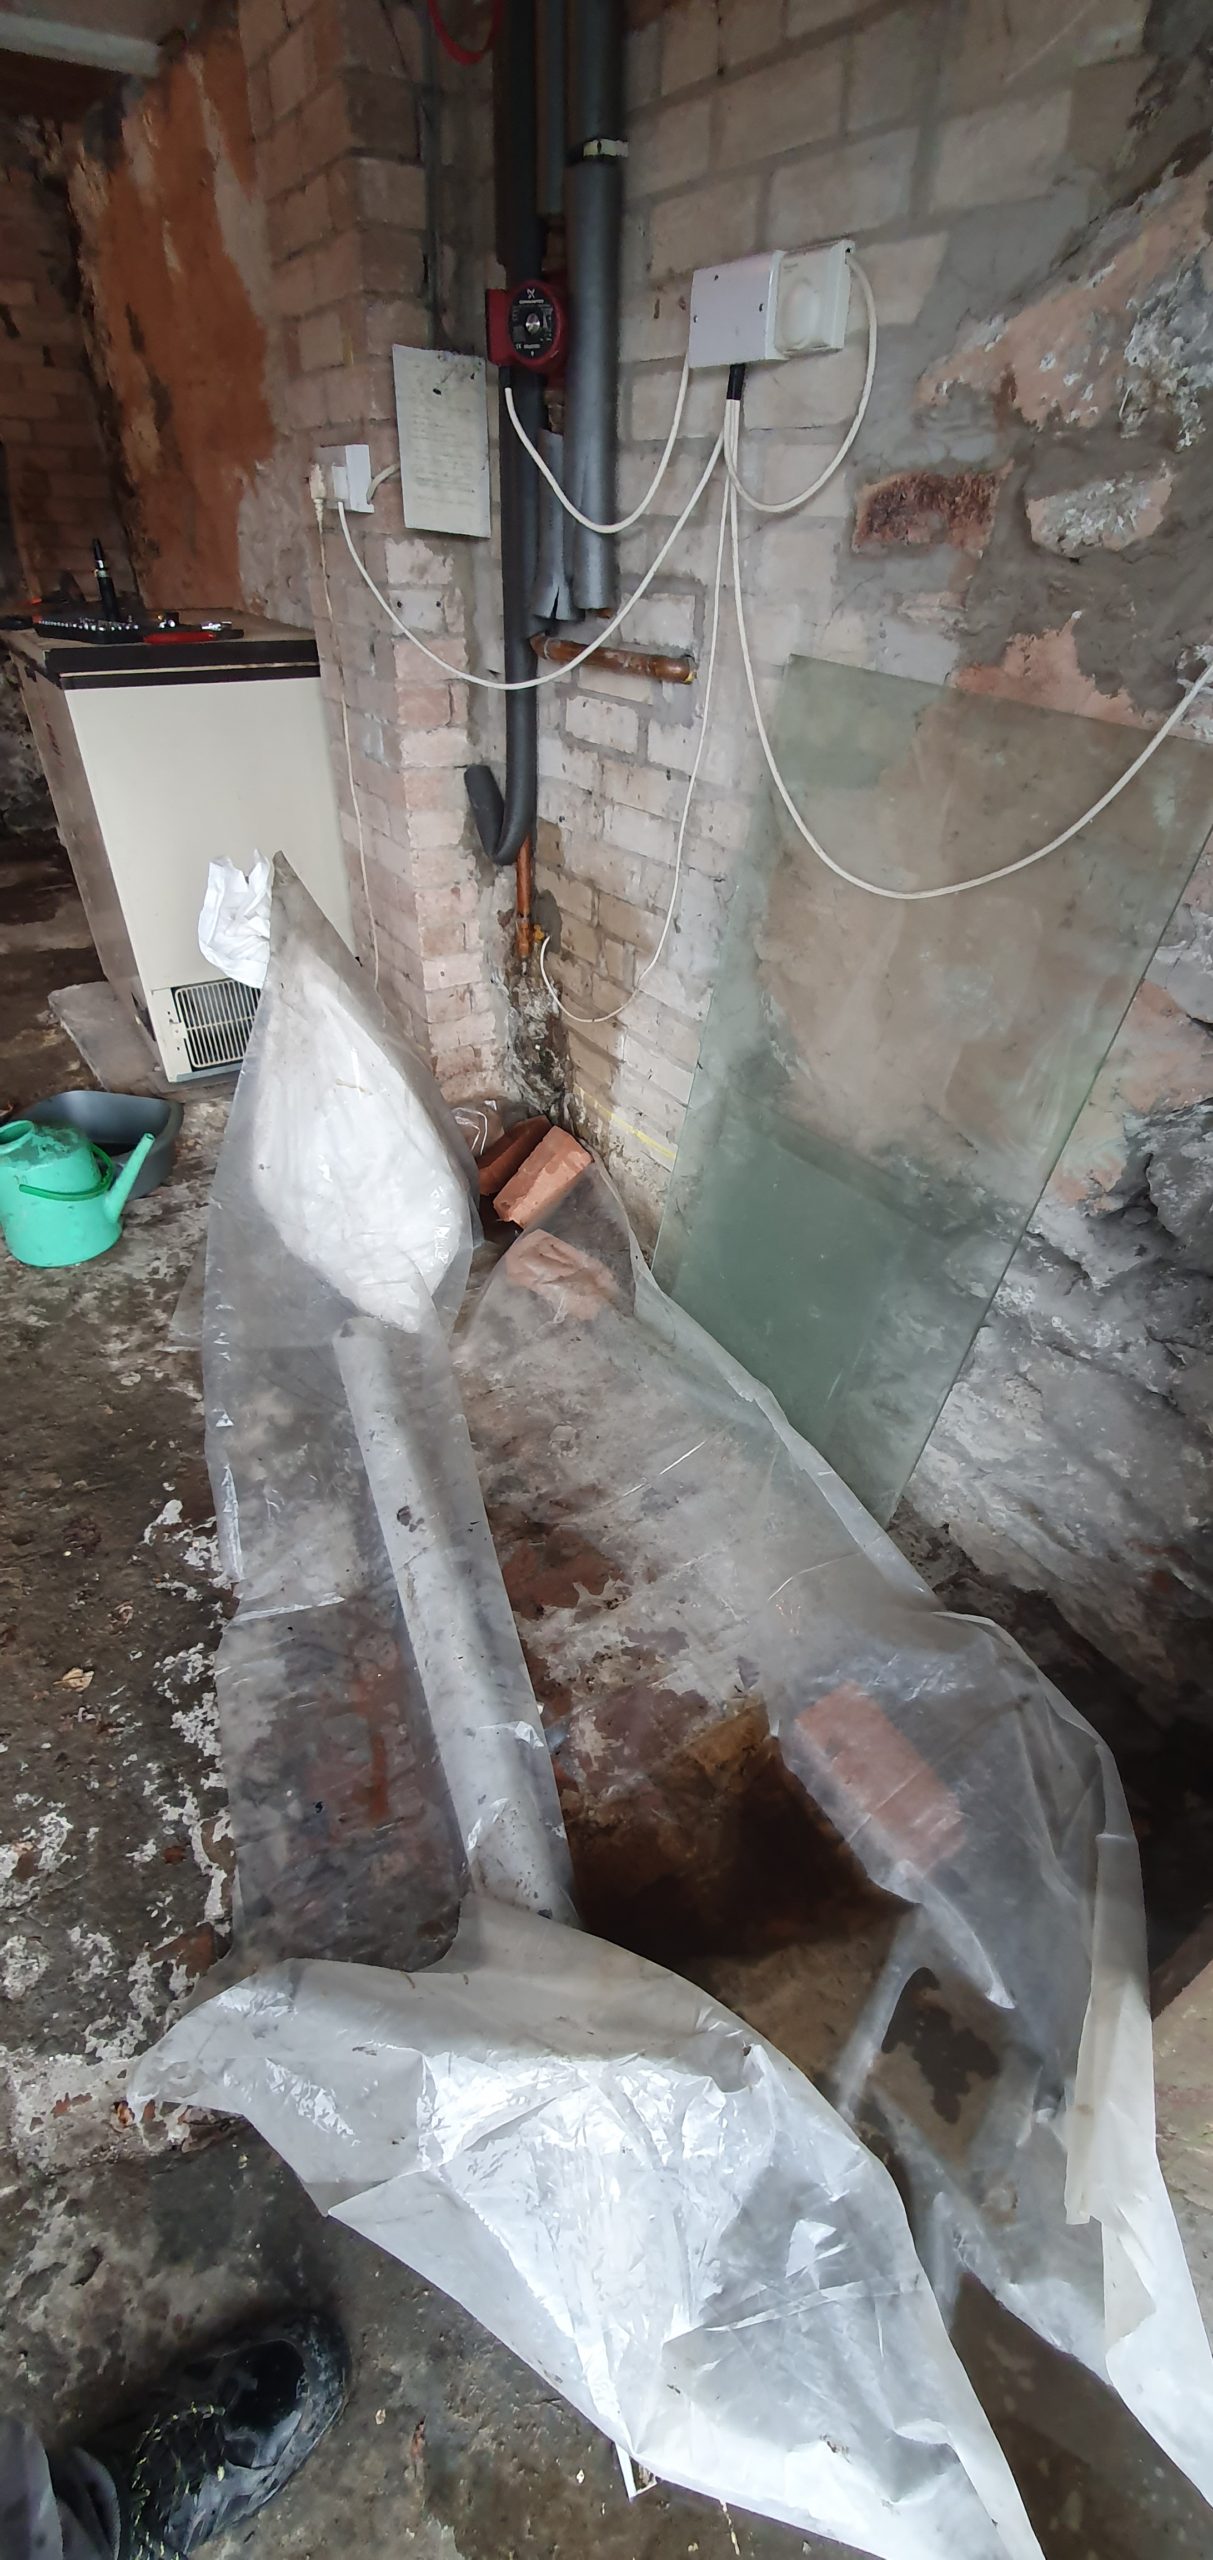
A better attempt was made! 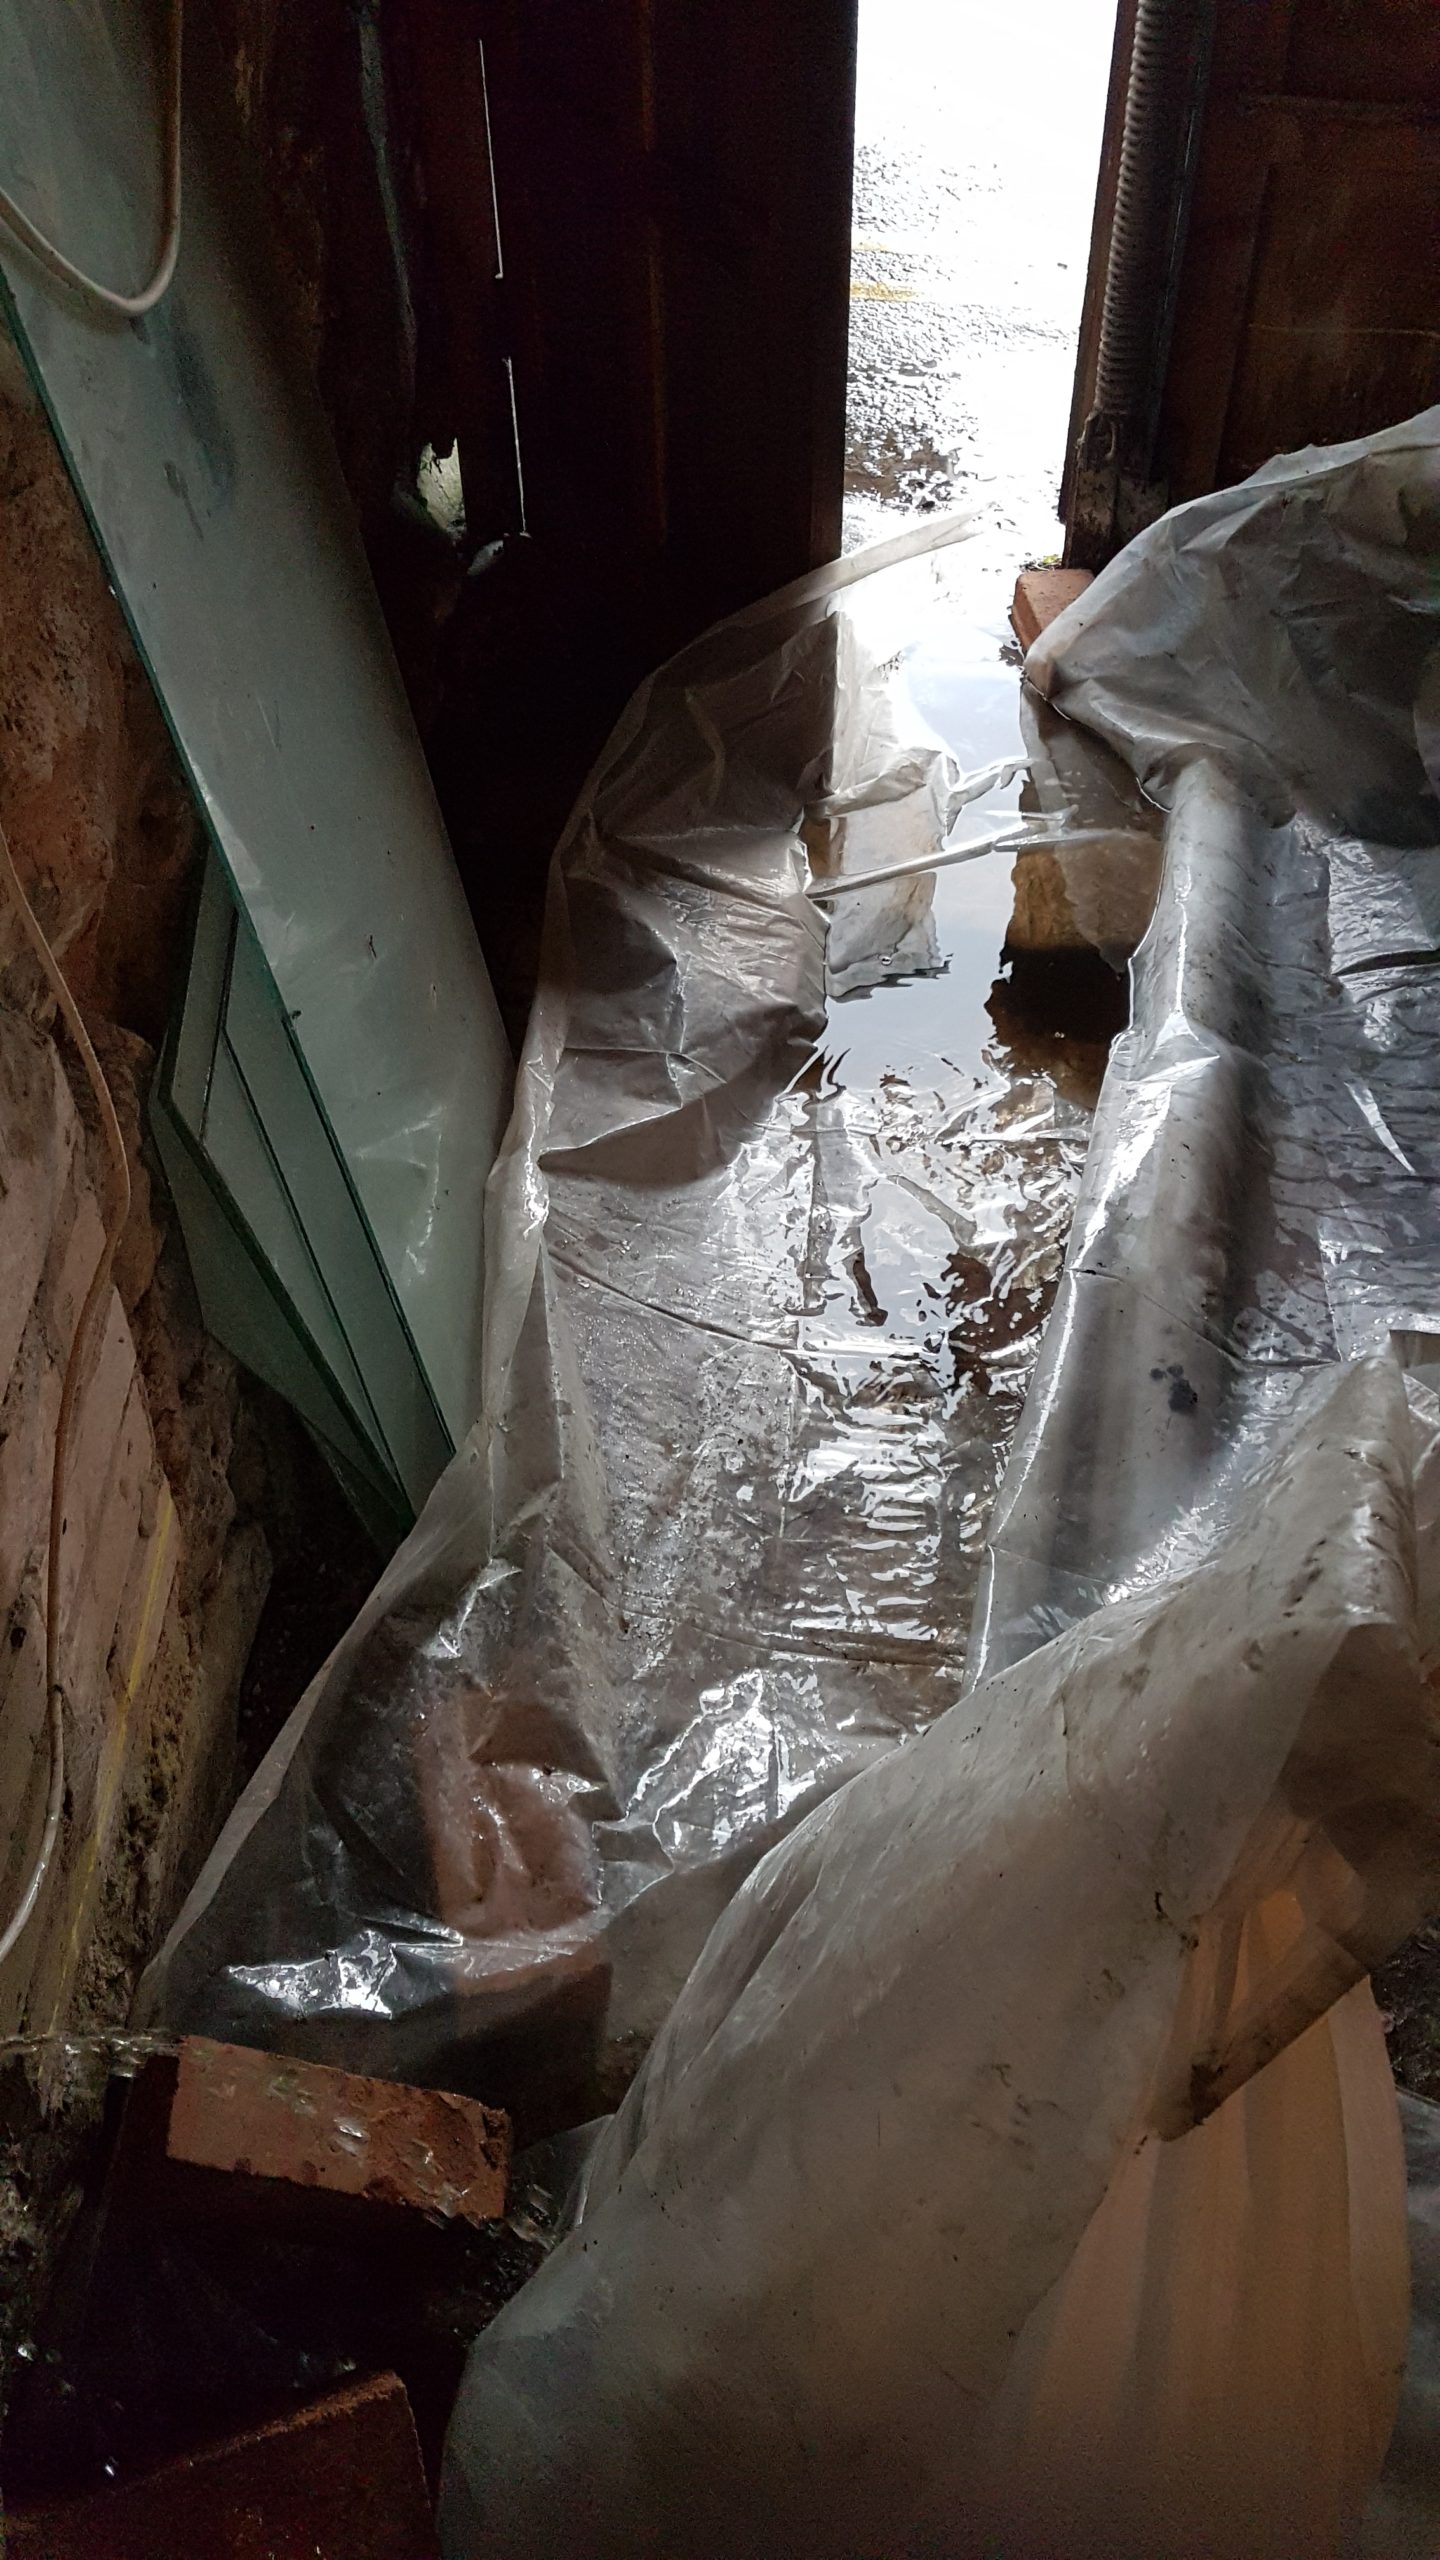
And another view of our inventive handiwork.
When it came time to drain the hot tank heating loop, the stopcock was completely uncooperative. Ethan’s Dad decided to puncture the pipe – which sort of worked – until he got impatient and hit it one last time:
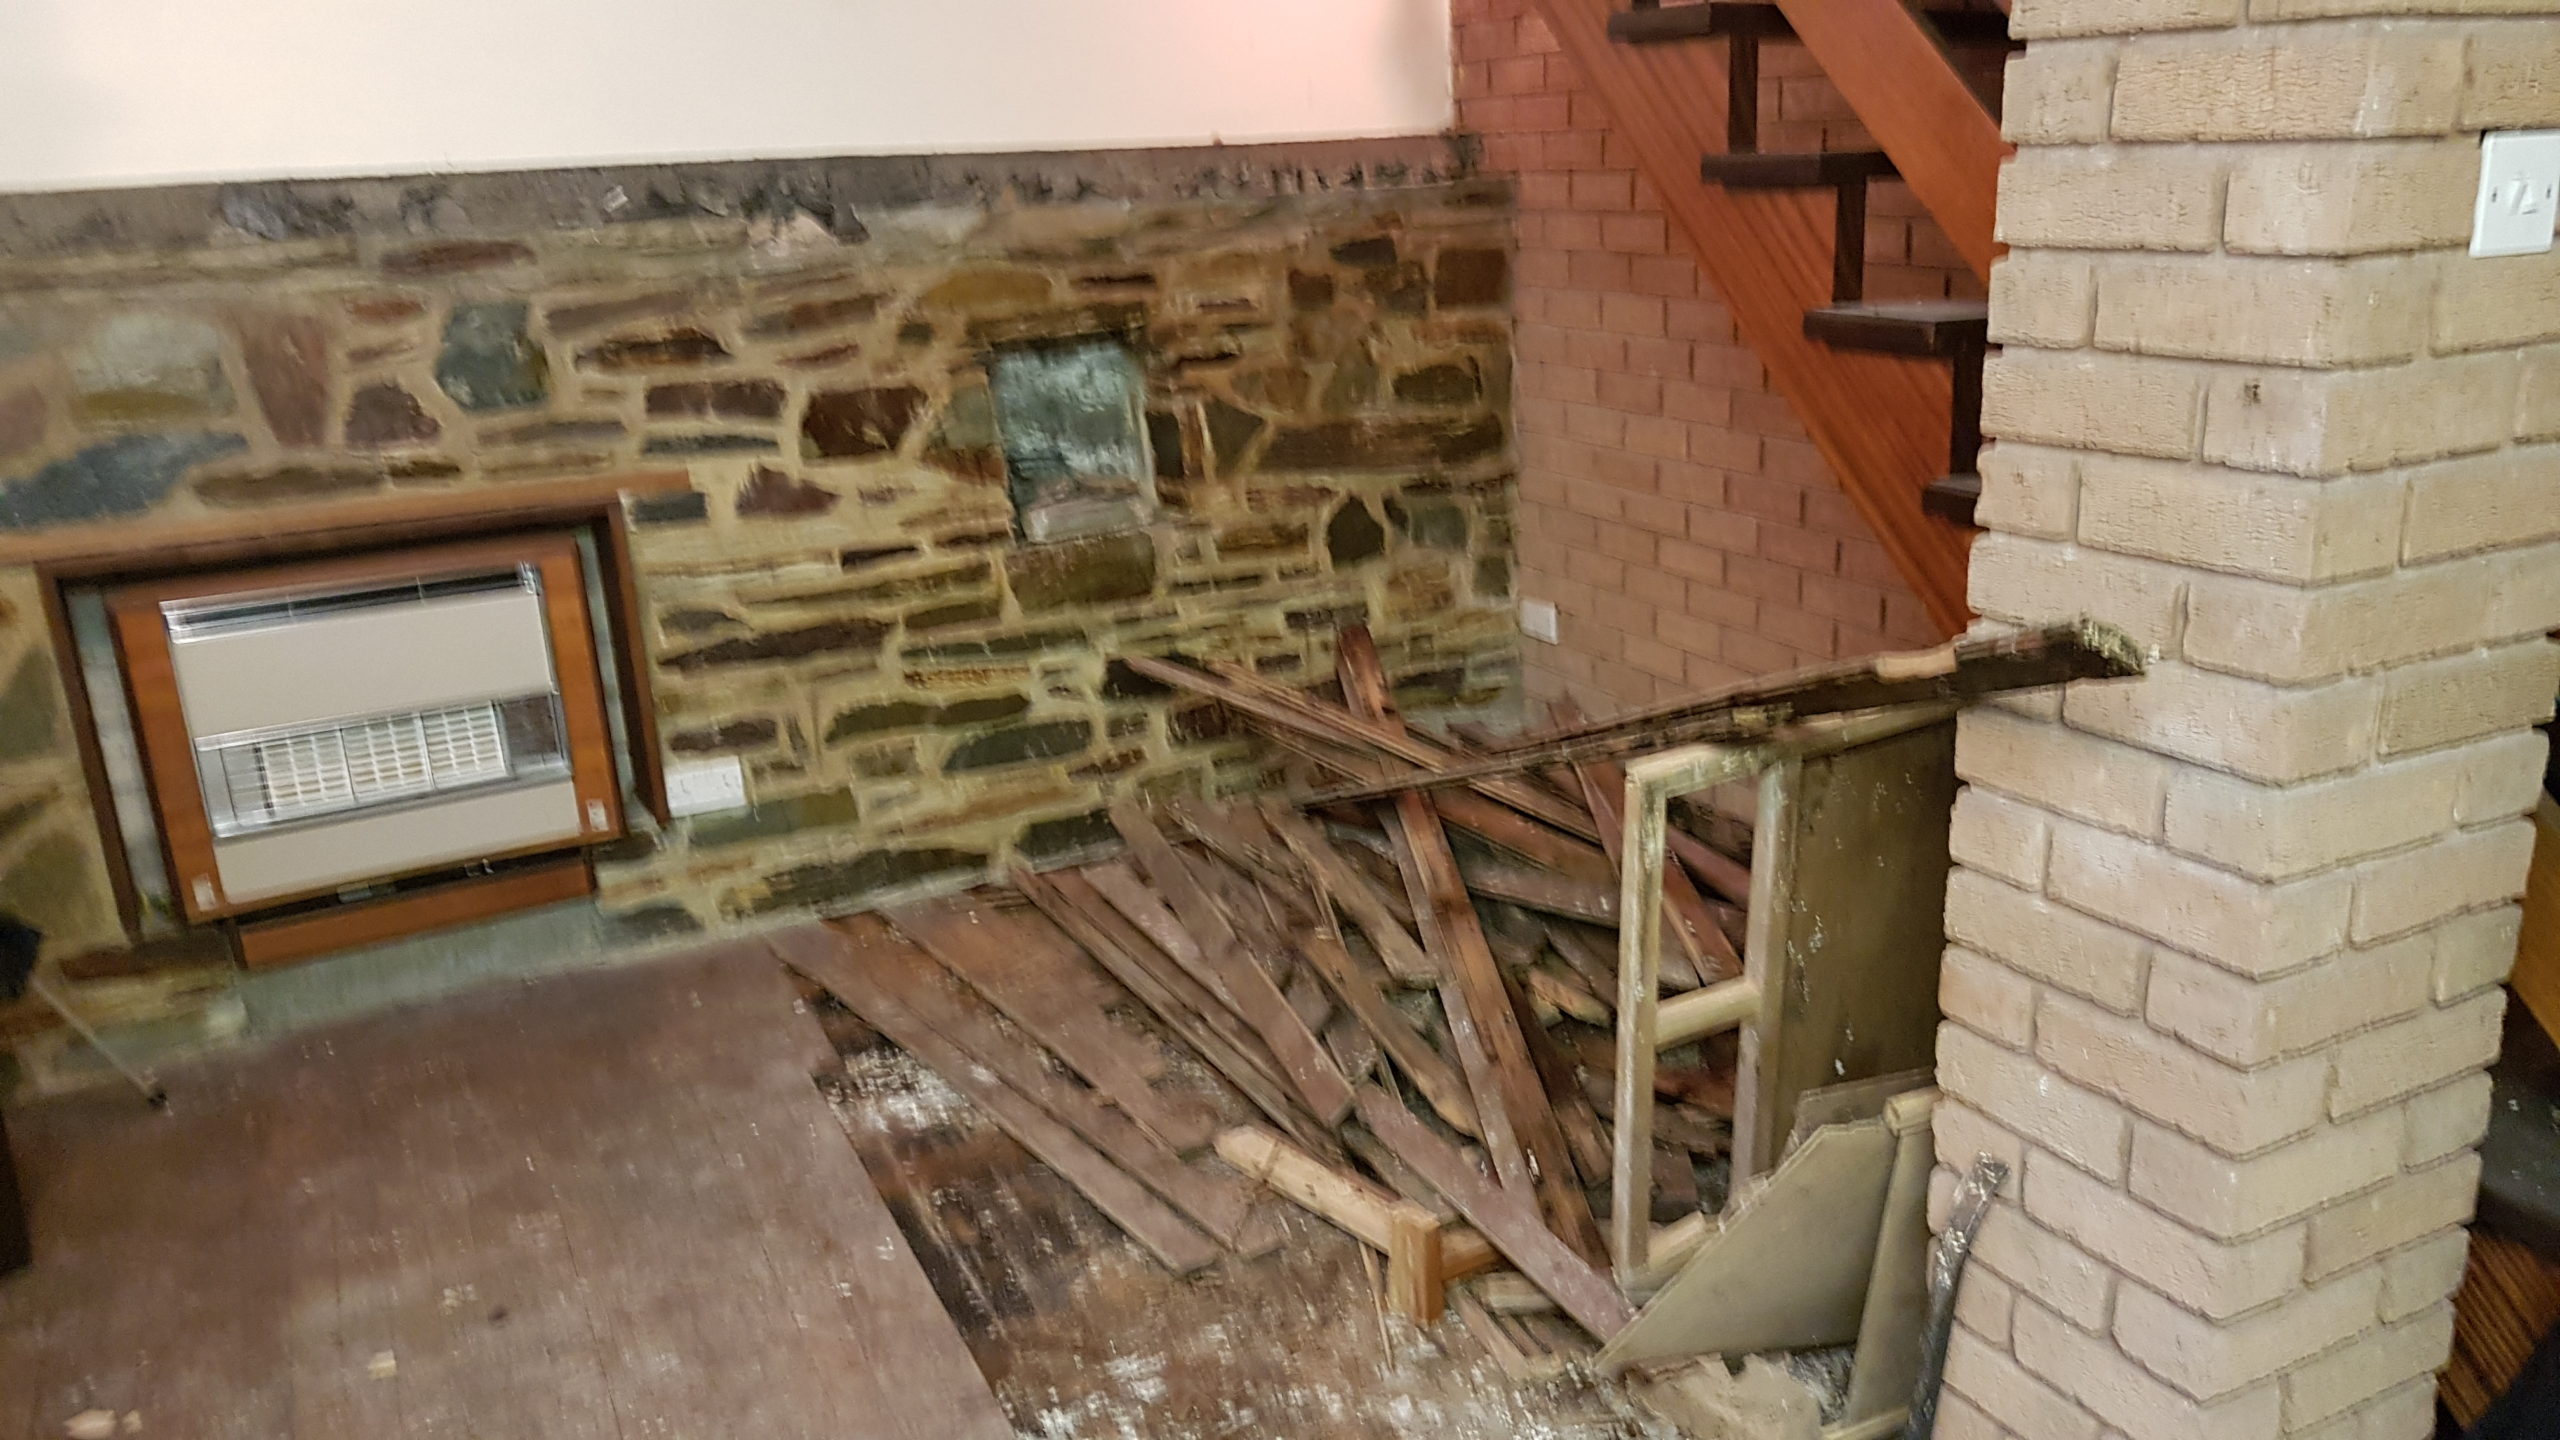
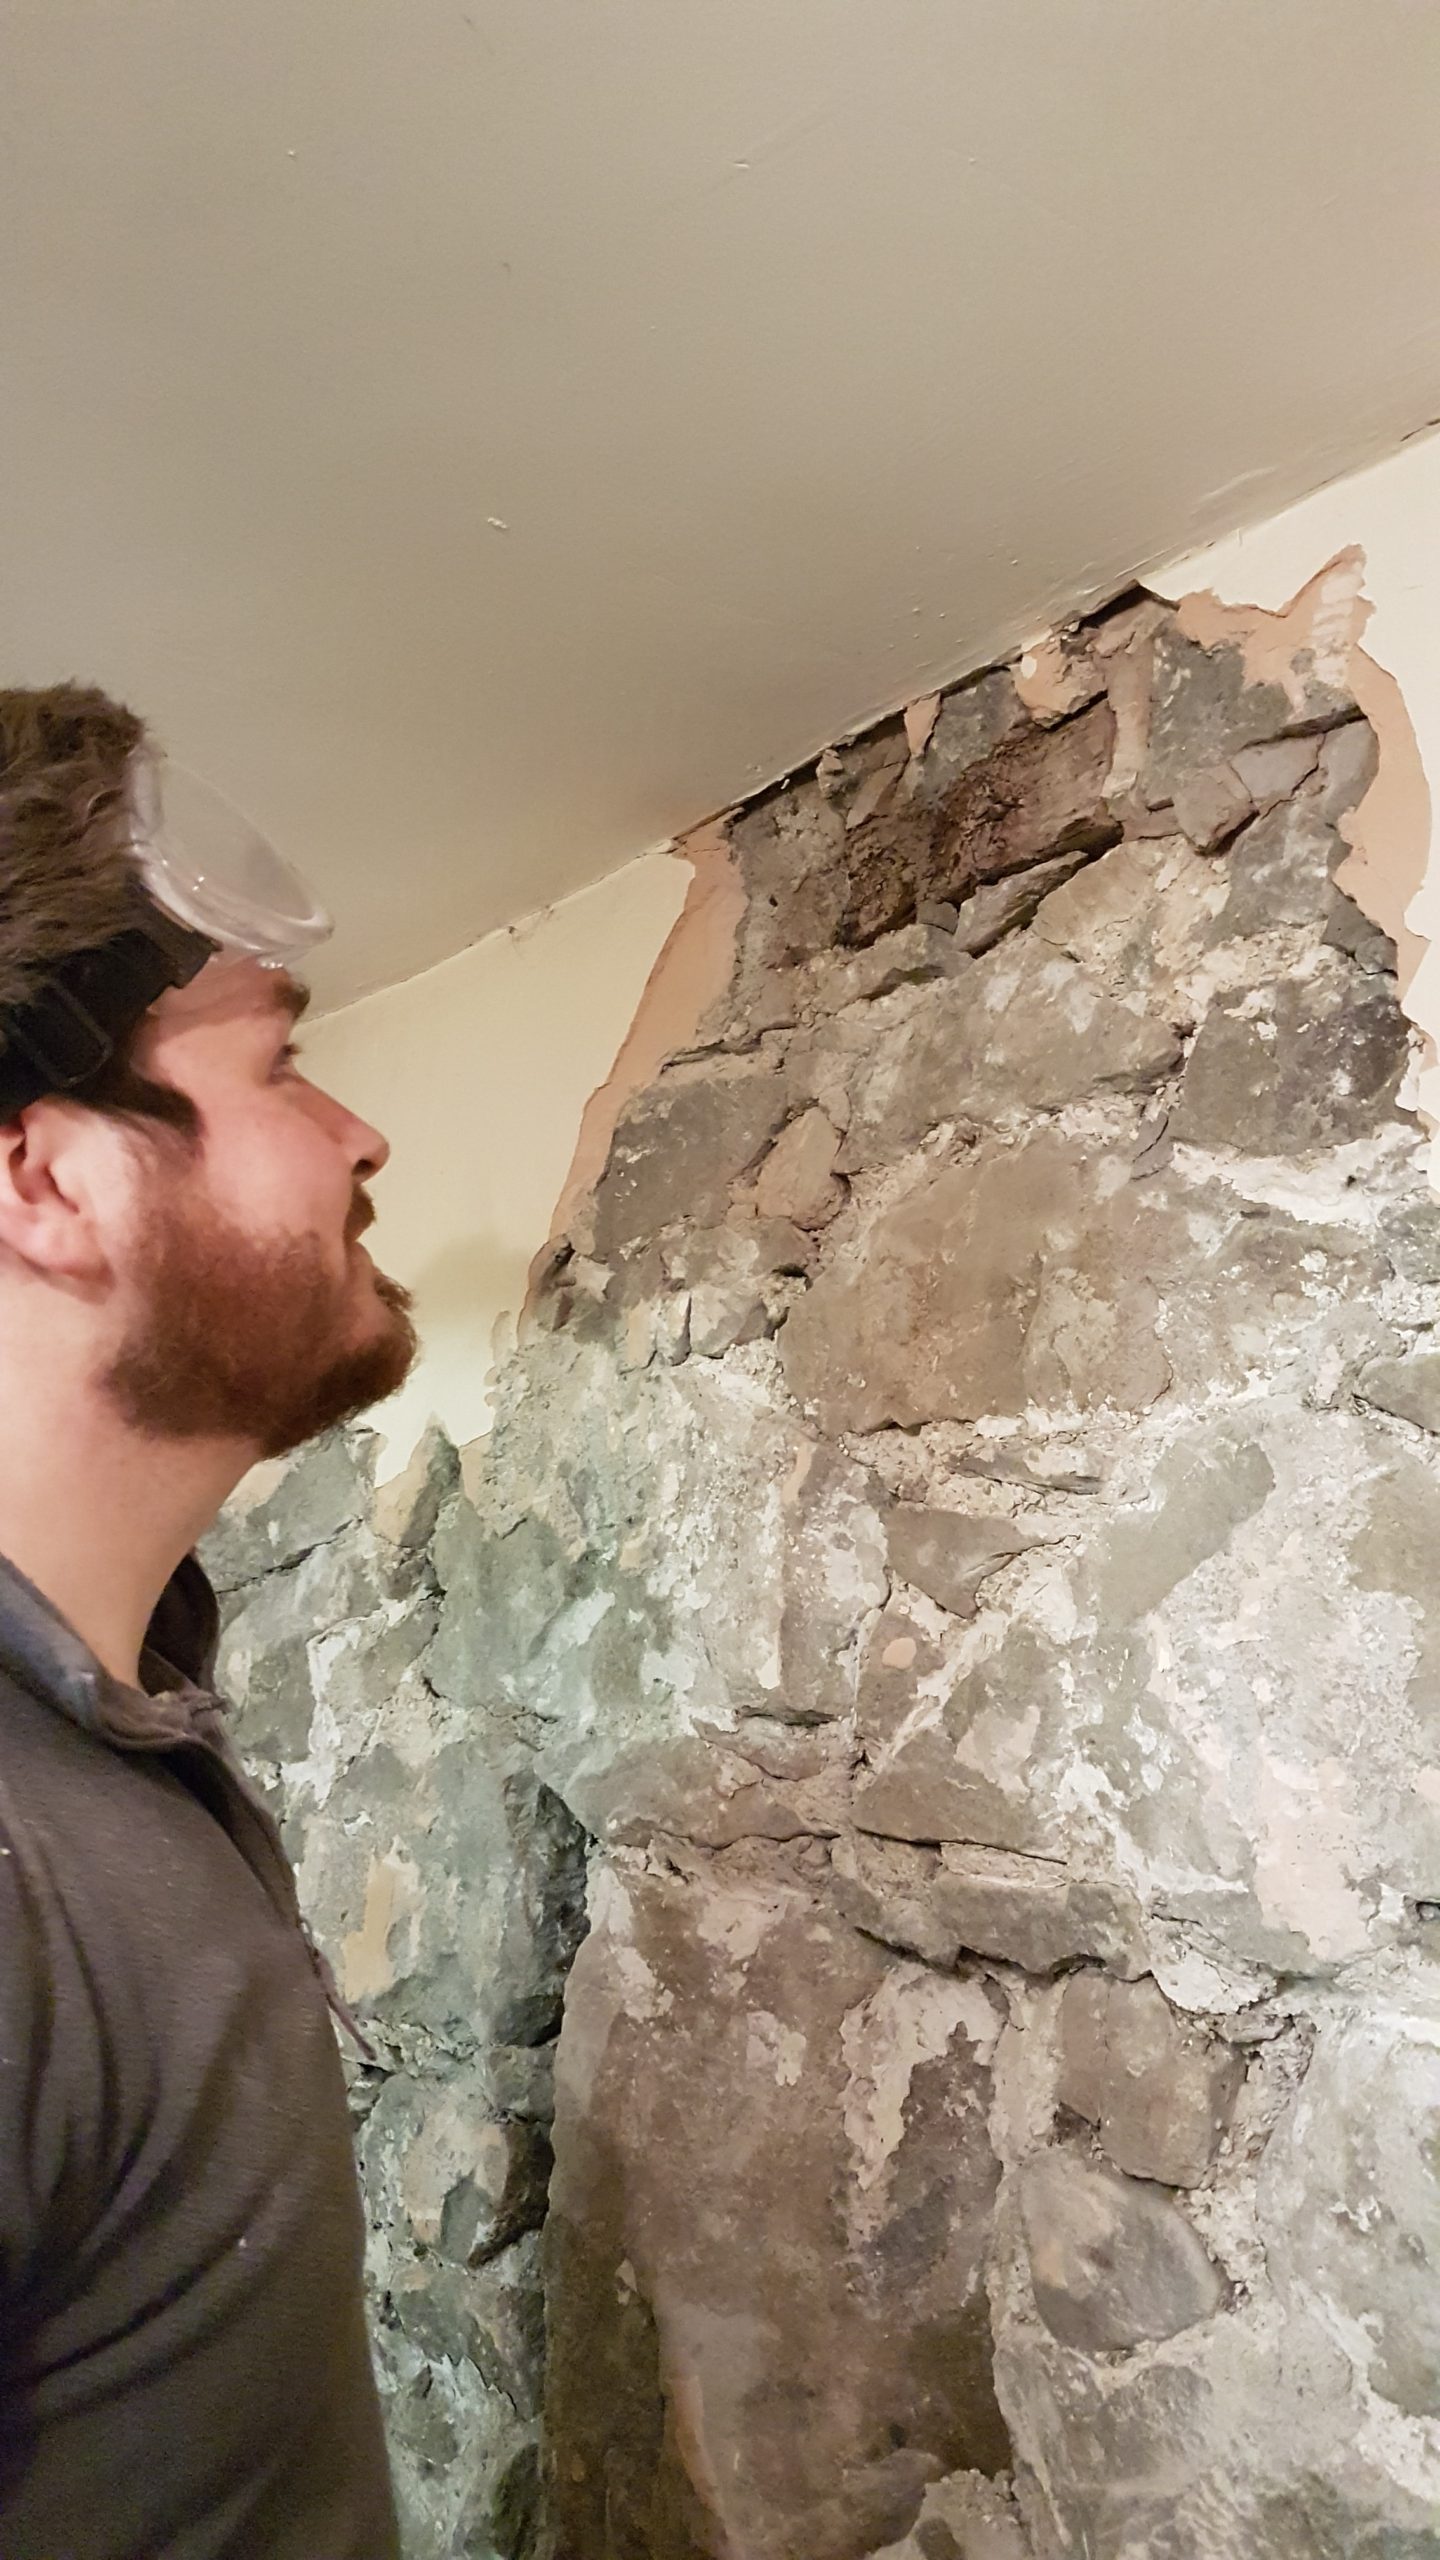
In the past few weeks we have also managed to remove the stone fireplace surround which I’m pretty sure is the most fun Ethan and his Dad have had since this project began. And something I know they had been looking forward to. I, however, stood well back – loud noises and stone throwing are not my favourite. I had my own fun later slowly and quietly chipping cement off of rocks, while keeping things tidy, of course; once the breaker had been unplugged and put far away.

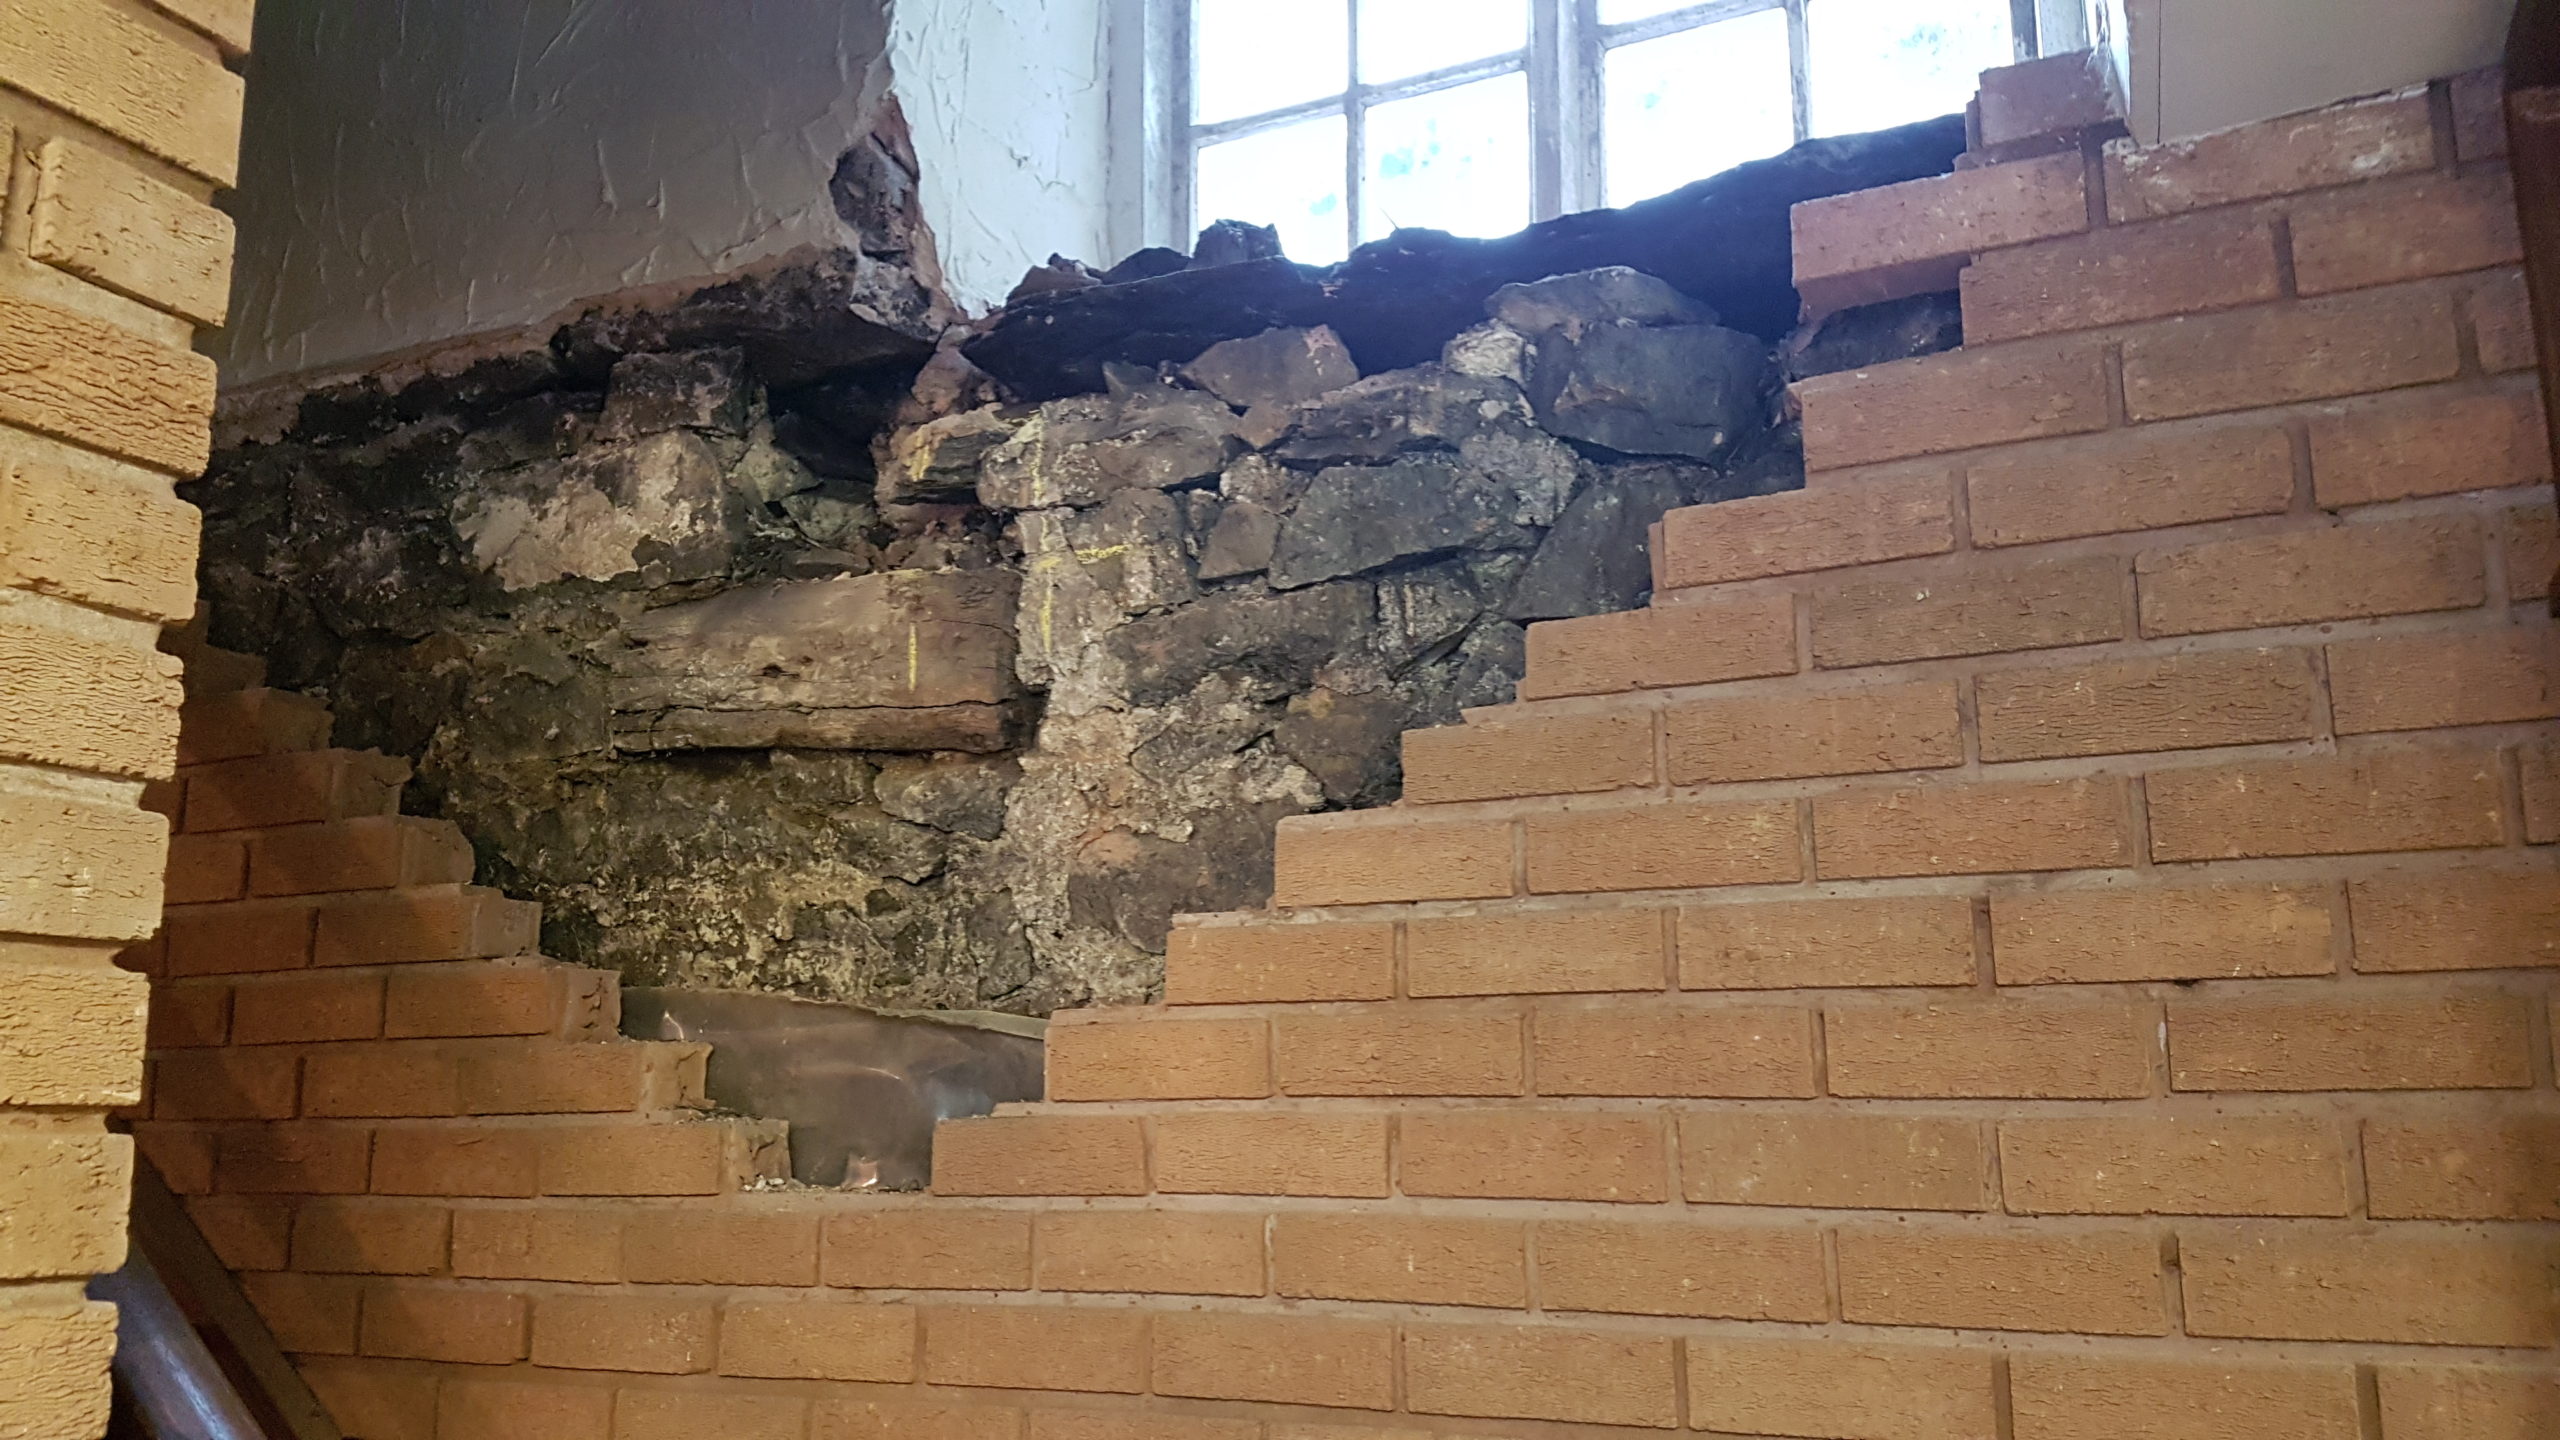
We found that the fireplace wall had been backfilled with a variety of materials: stone, ash, a torn up shirt, and you guessed it – more brick. We did however reveal an alright looking stone wall, with less than a quarter of it having been replaced with the obligatory brick – result! The brick filled hole does somewhat make a decision for us in terms of where we should put the doorway into the garage, so fingers crossed for us that this doesn’t coincide with a beam-supporting pillar on the other side!
Here are some pictures of the additional discoveries we made along the way:
More wood in the stone wall 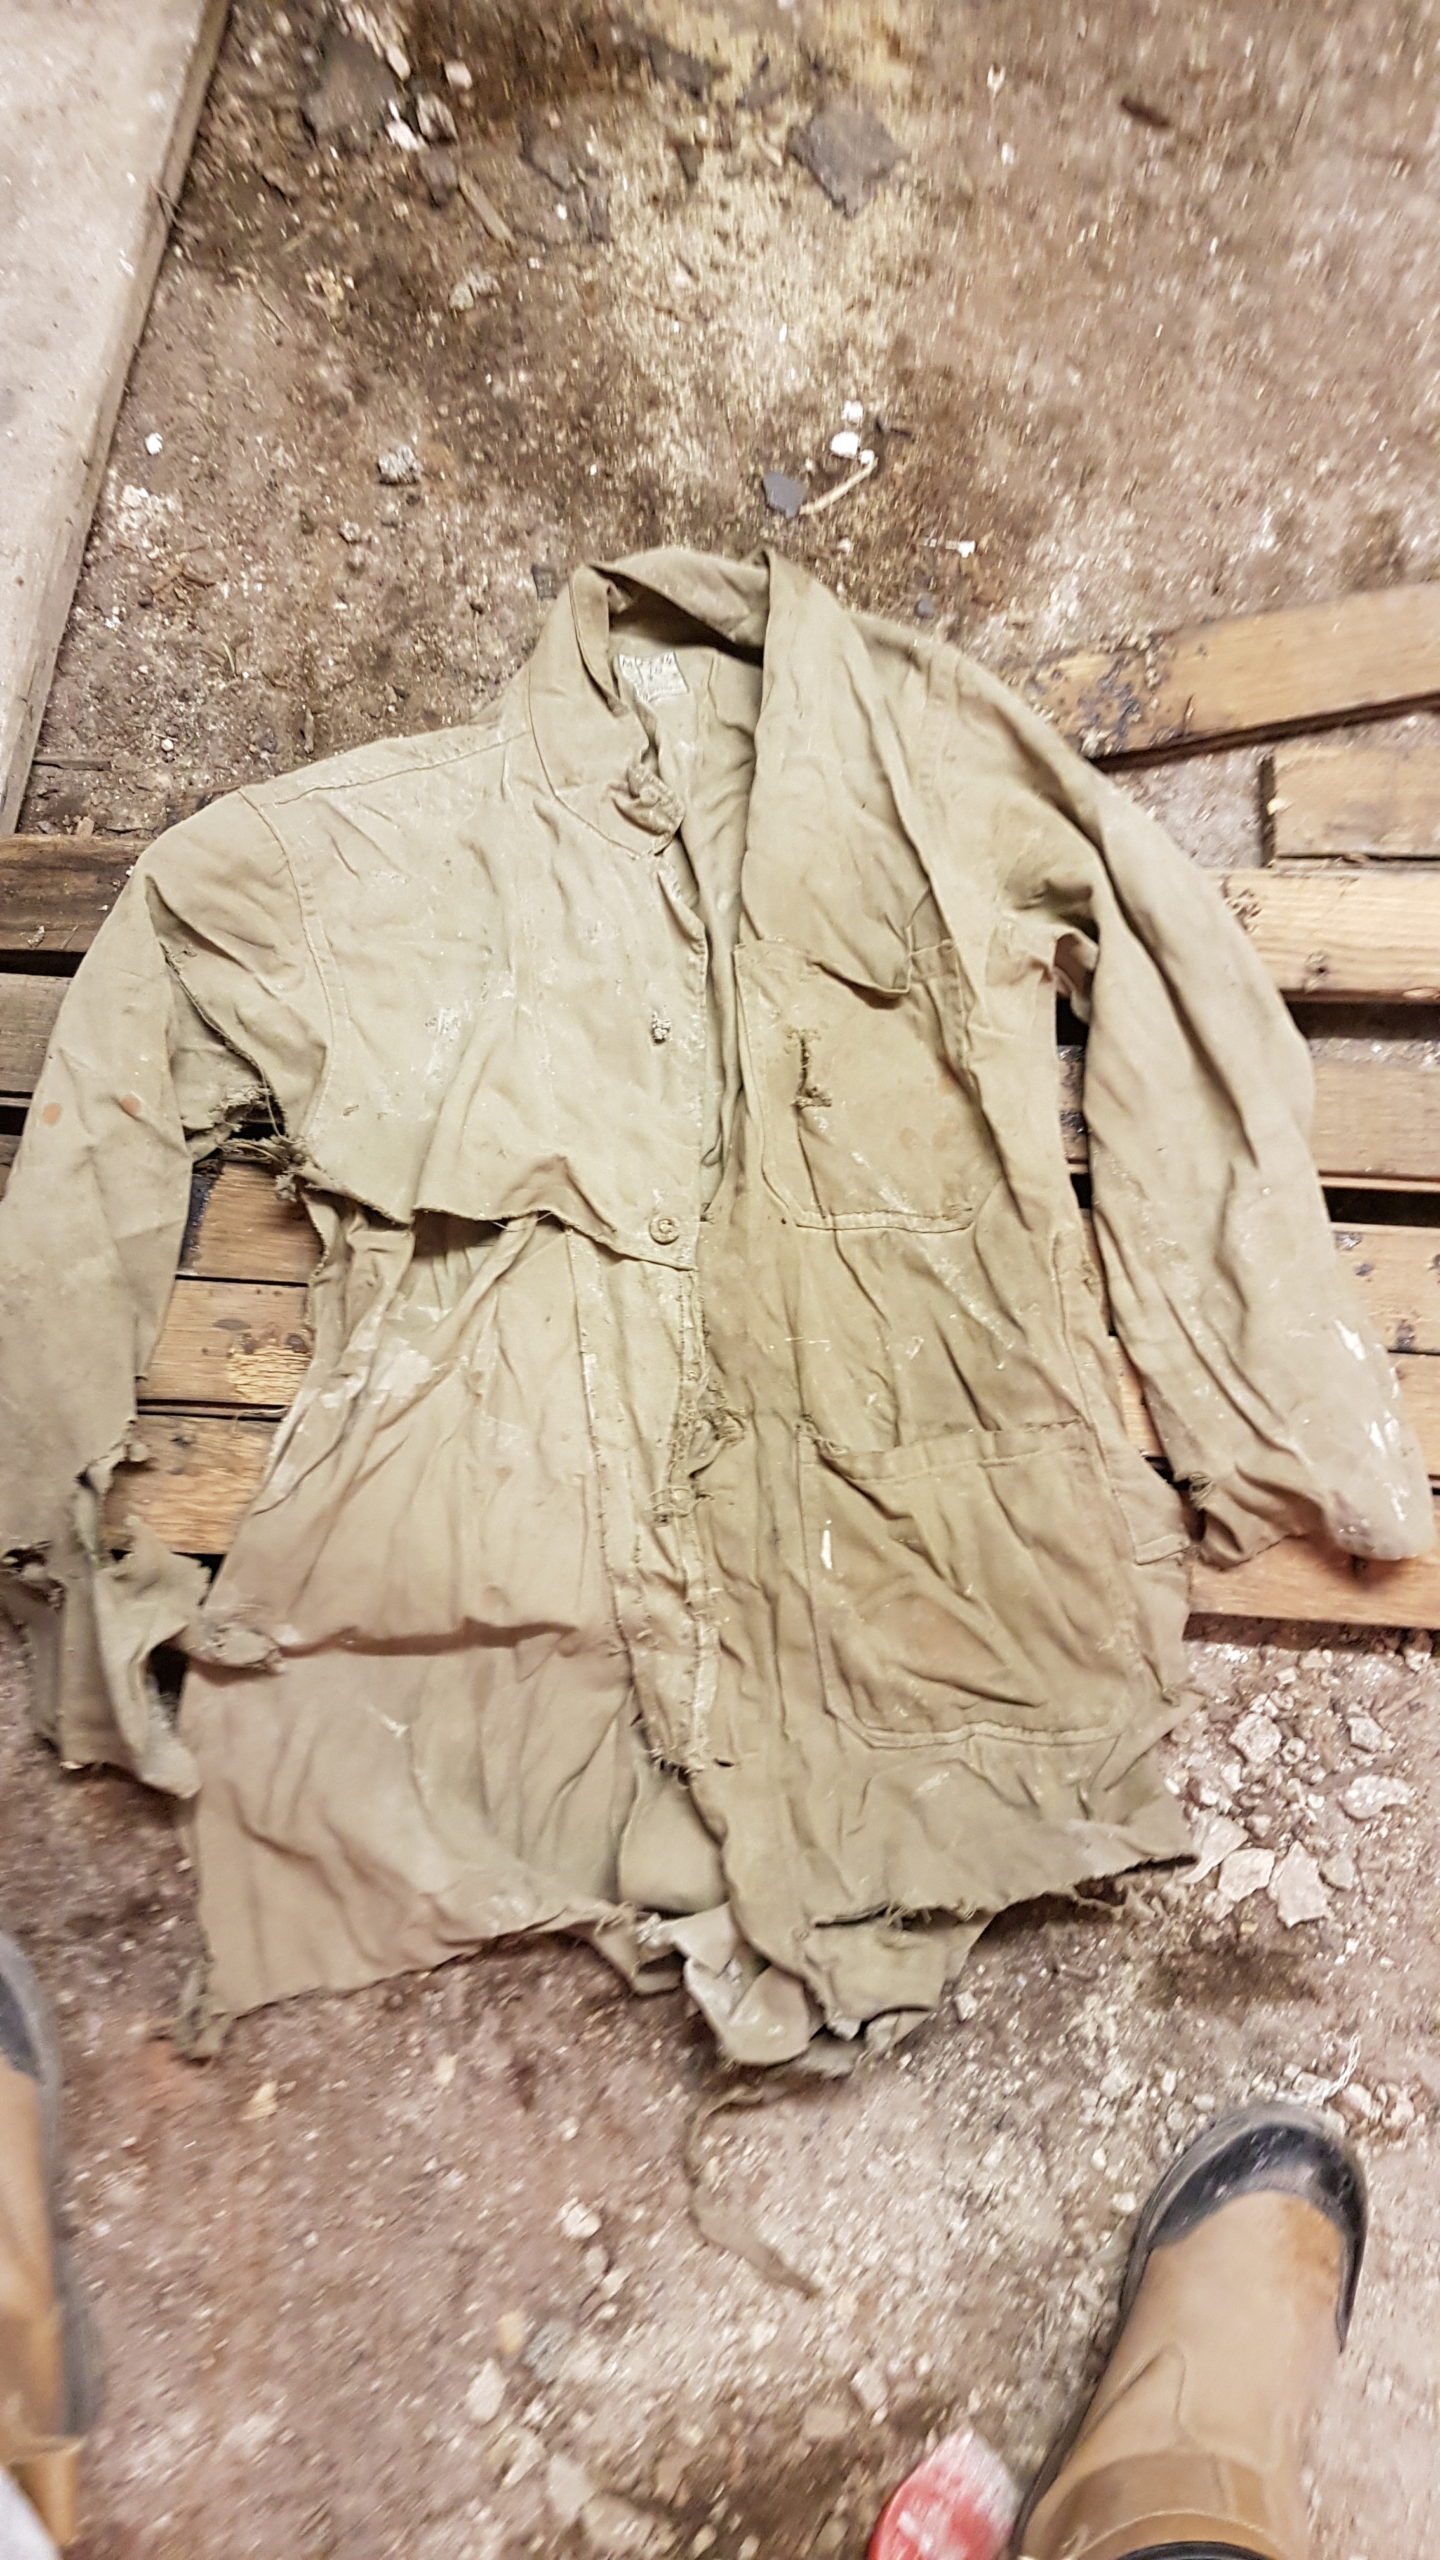
Shirt from the fireplace wall 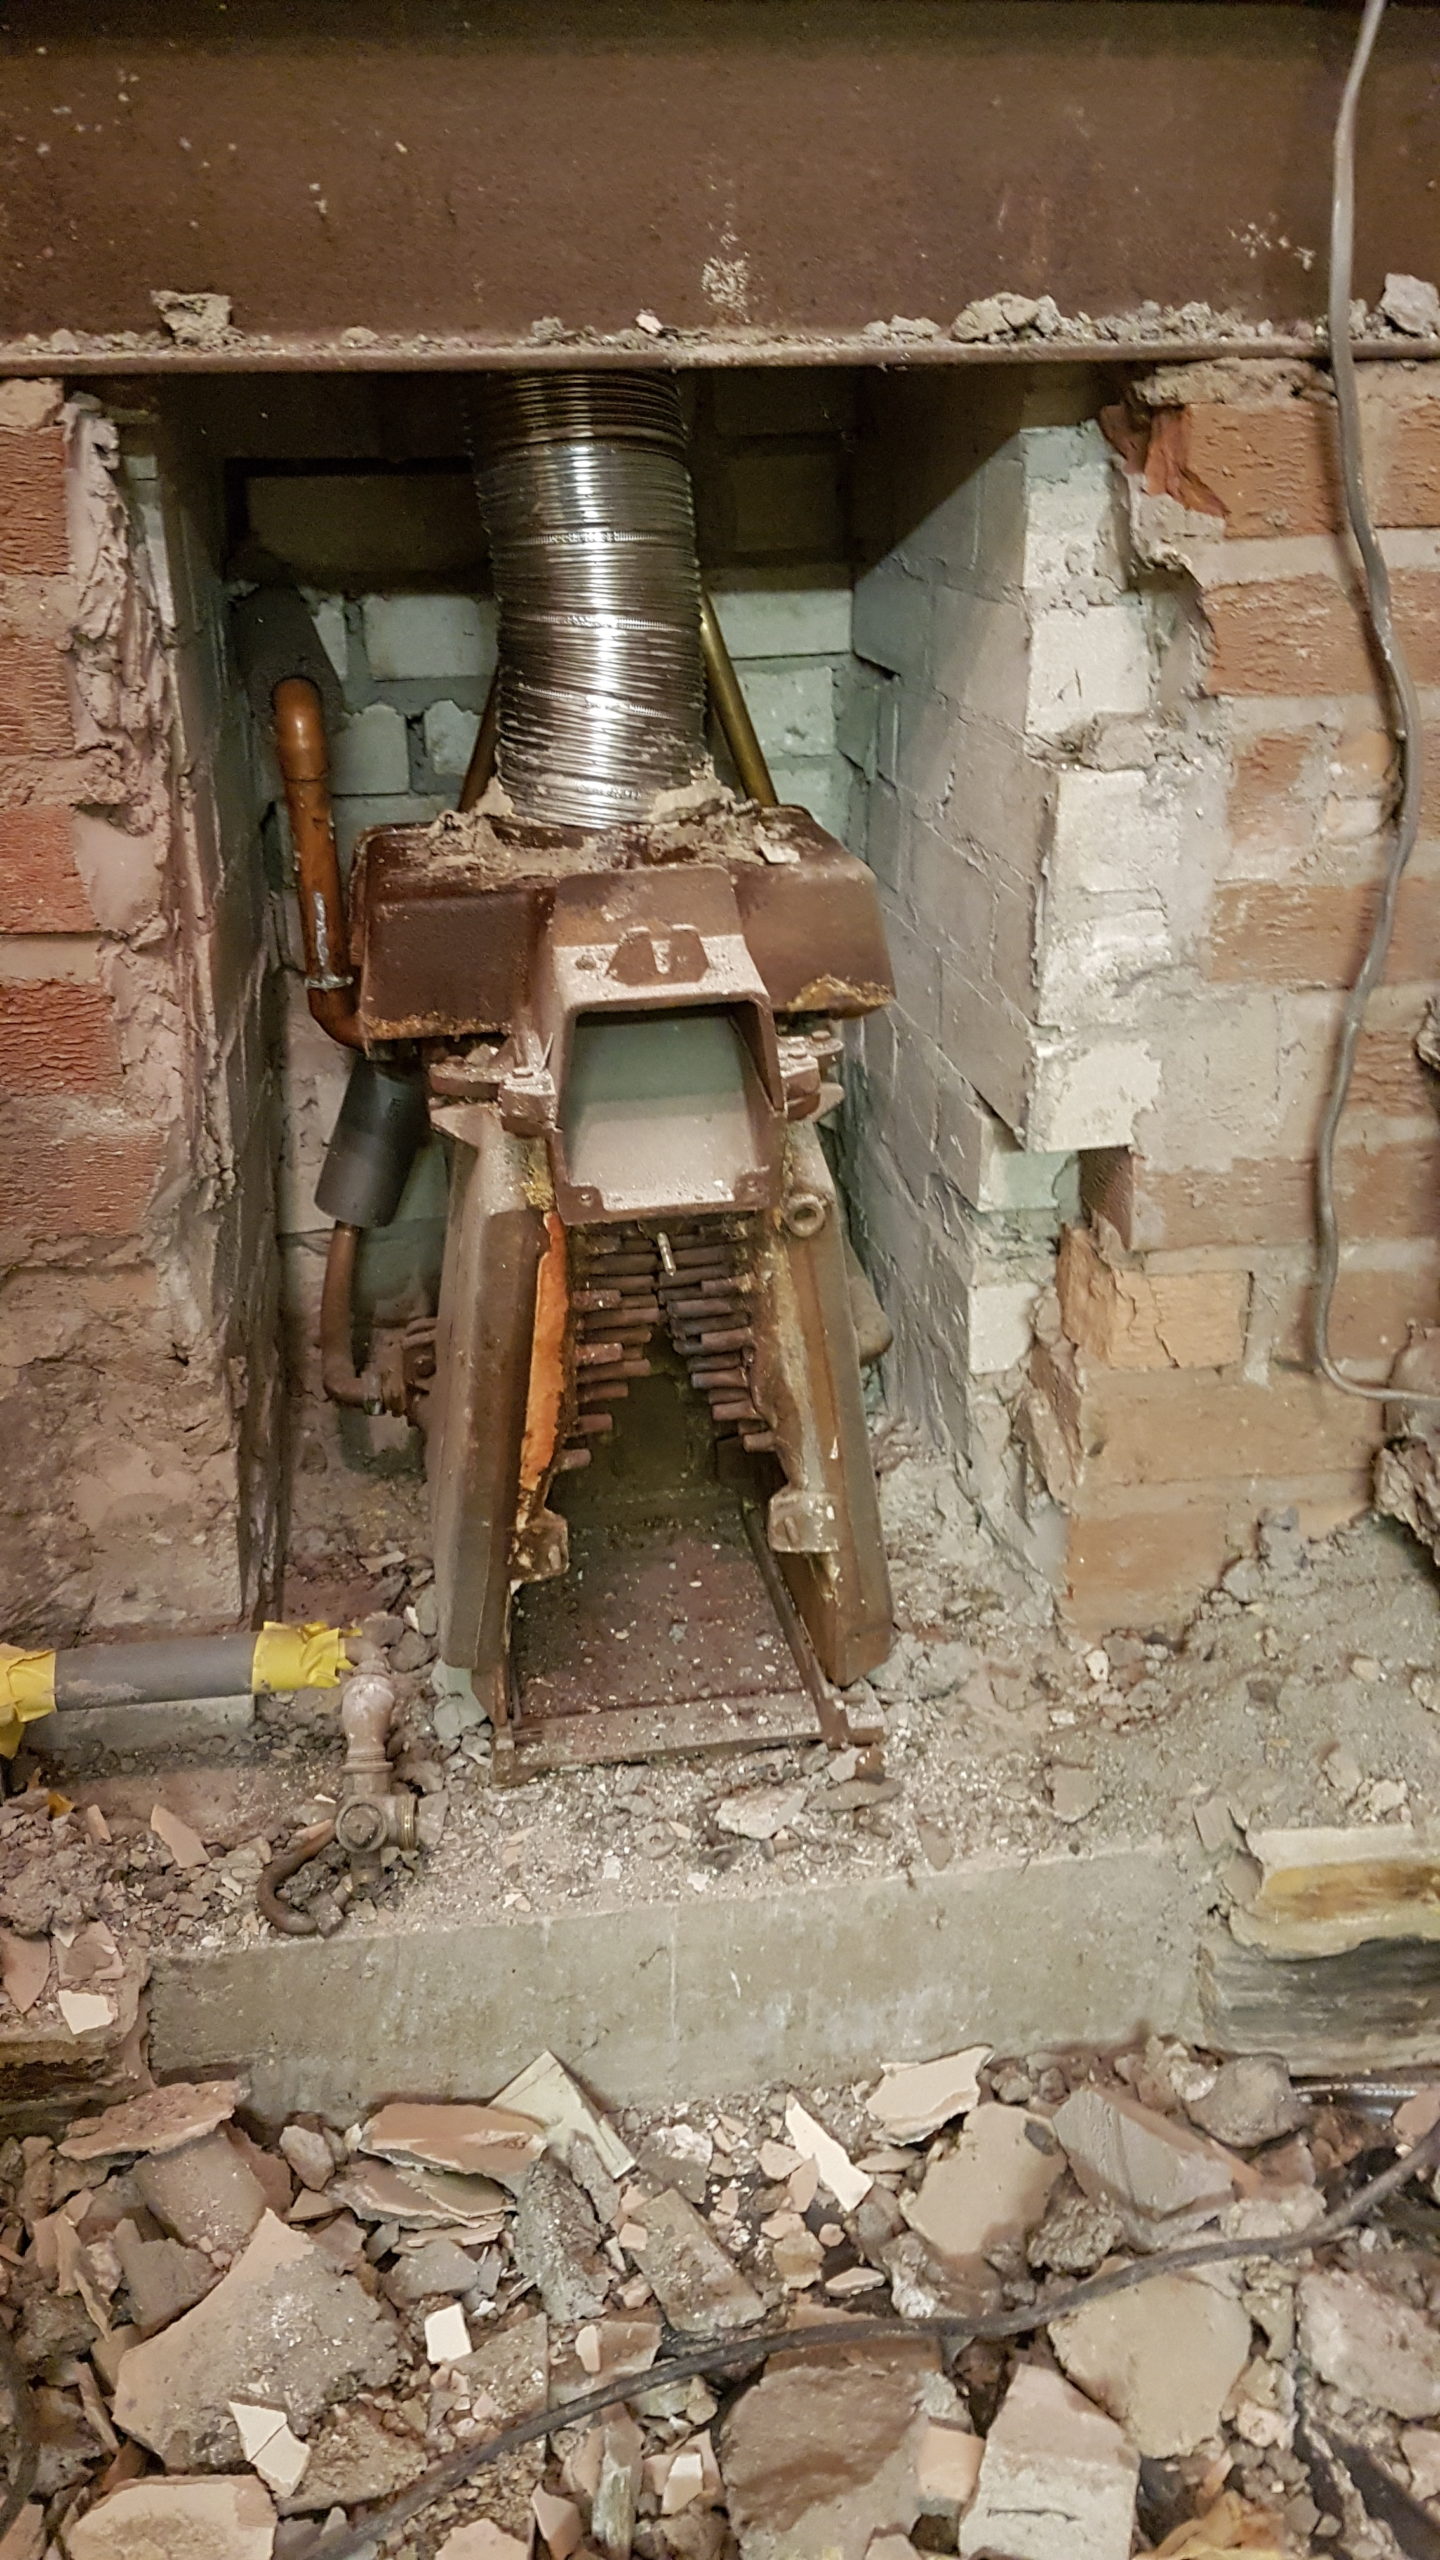
torture device or boiler? – complete with asbestos rope 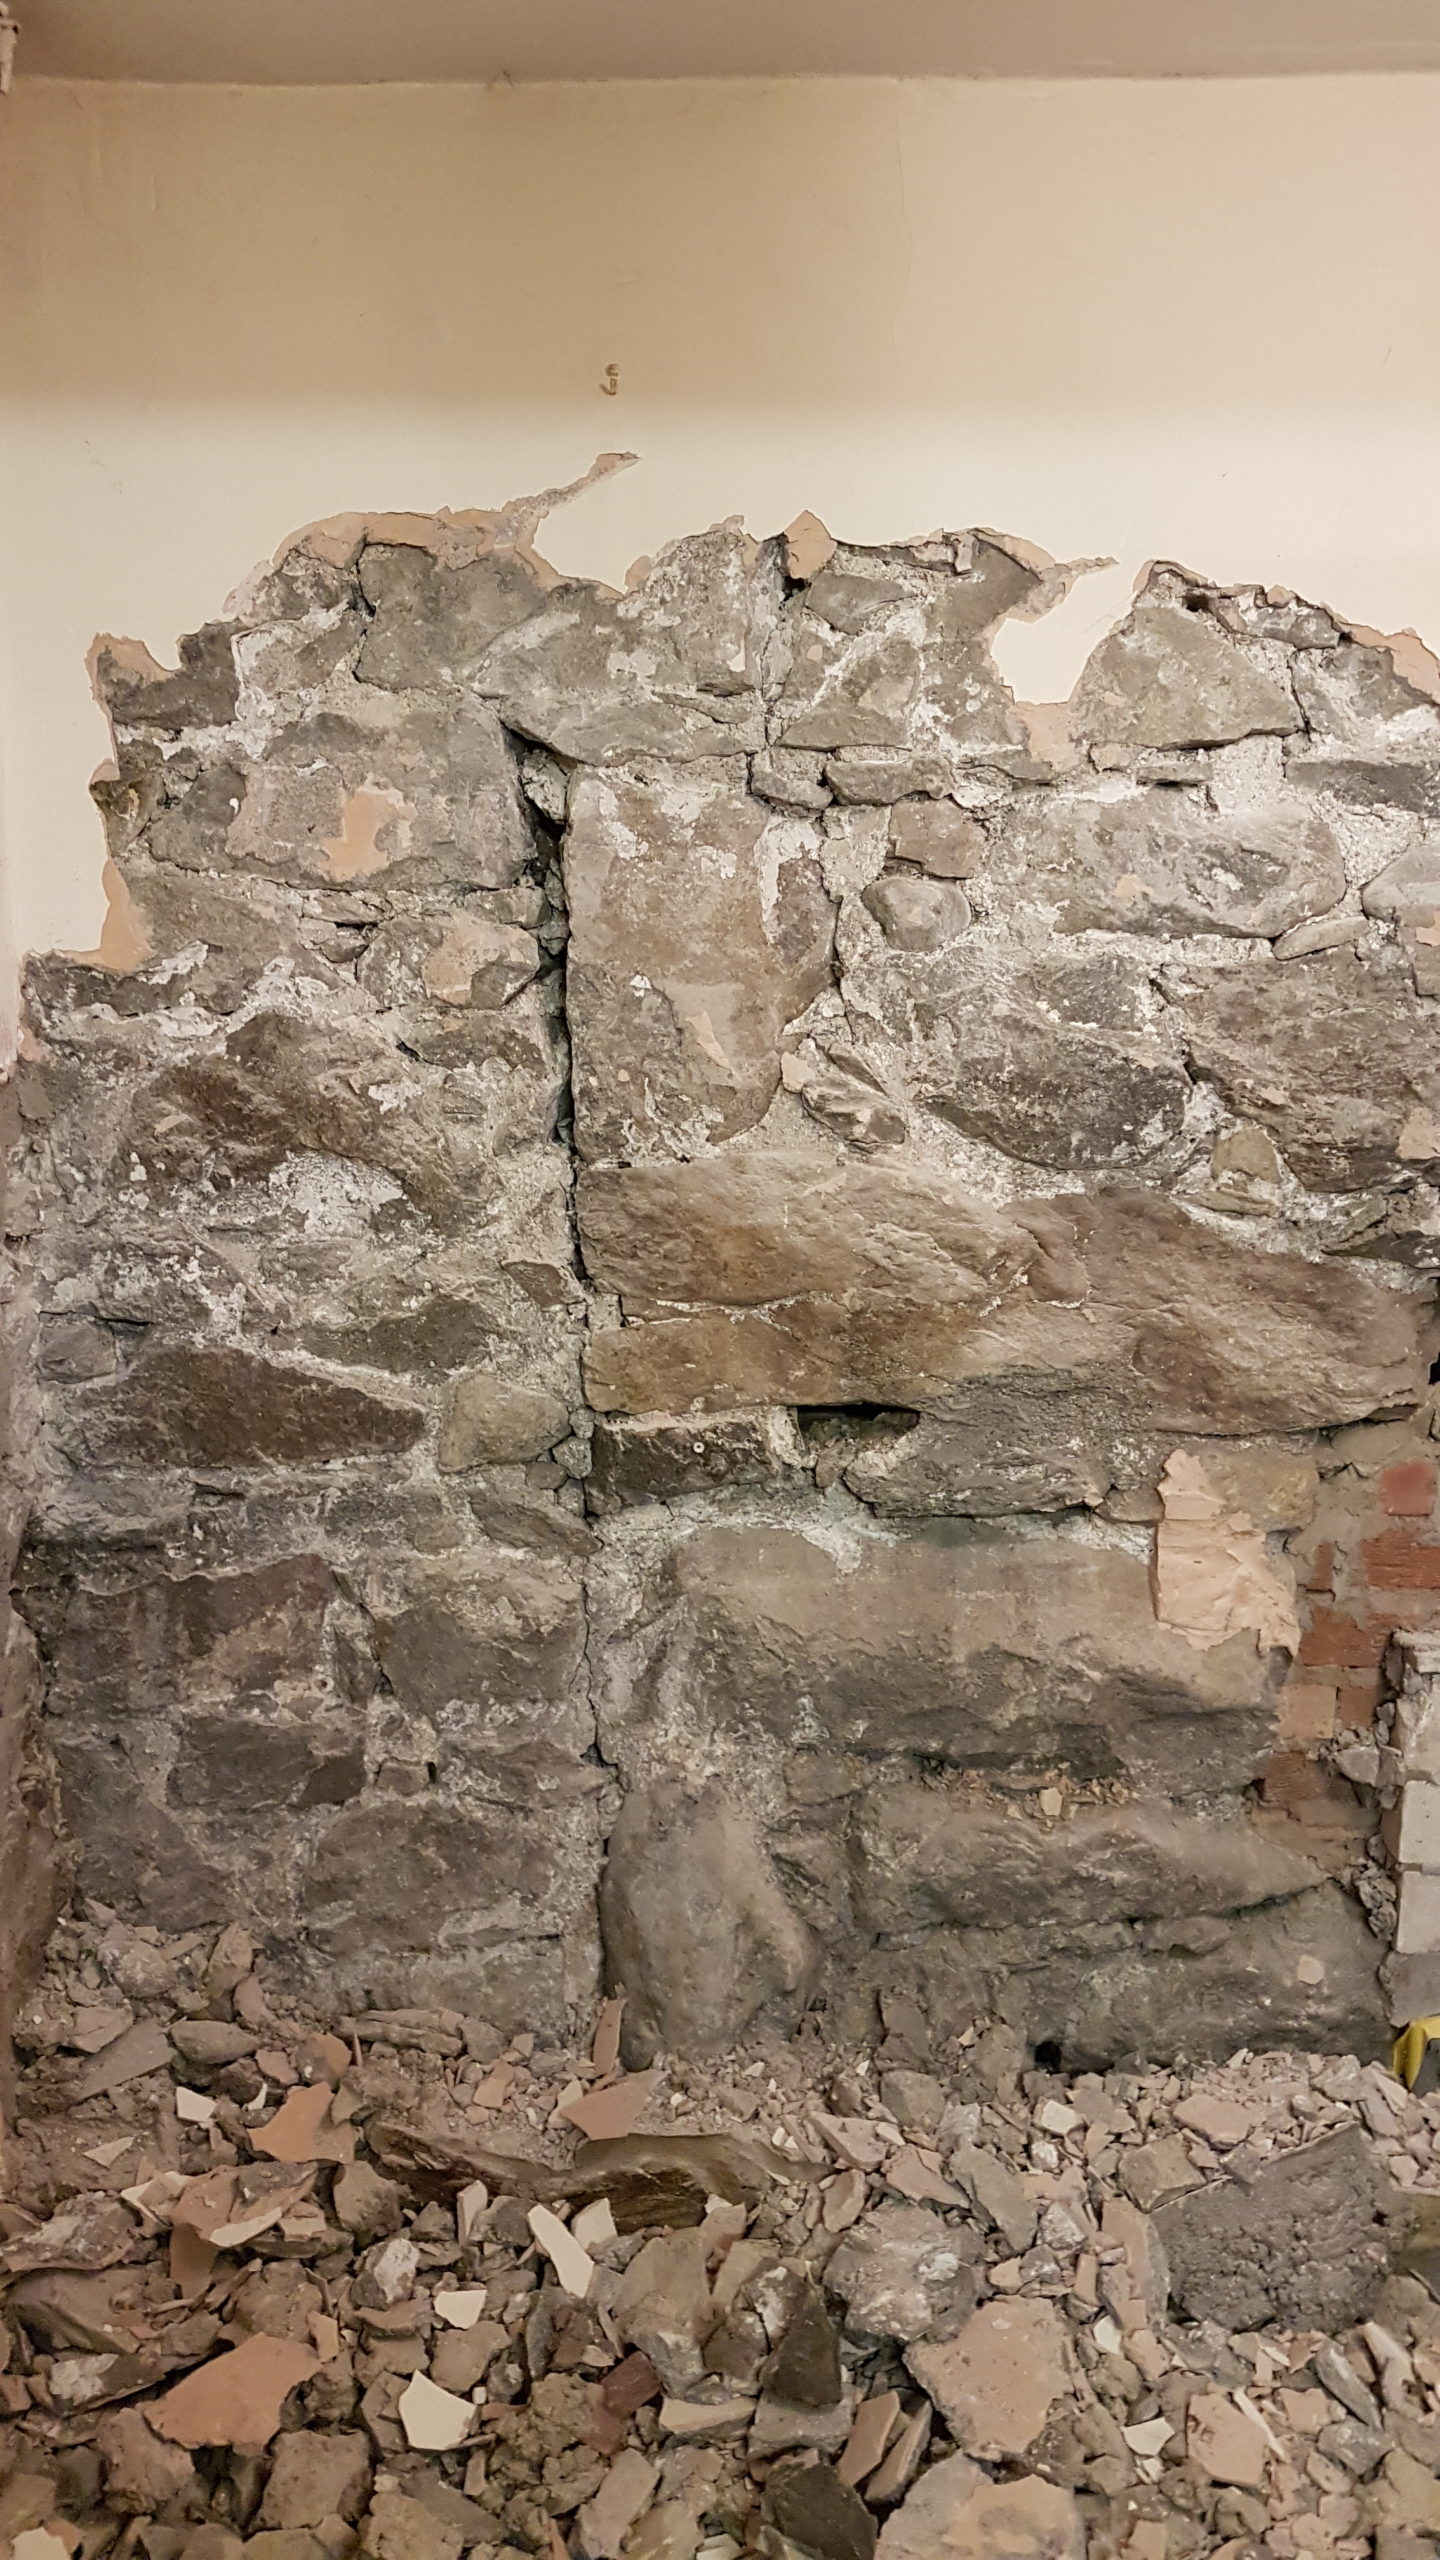
Two walls joined? 
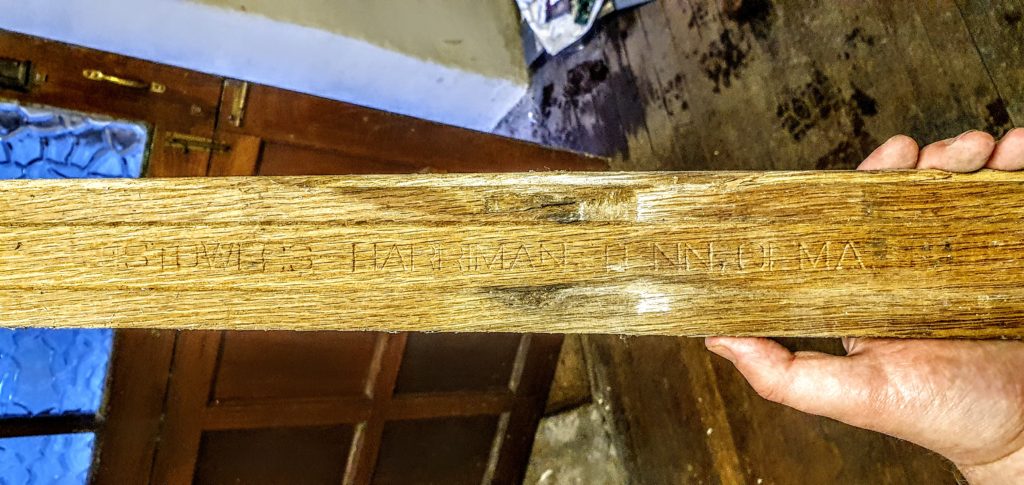
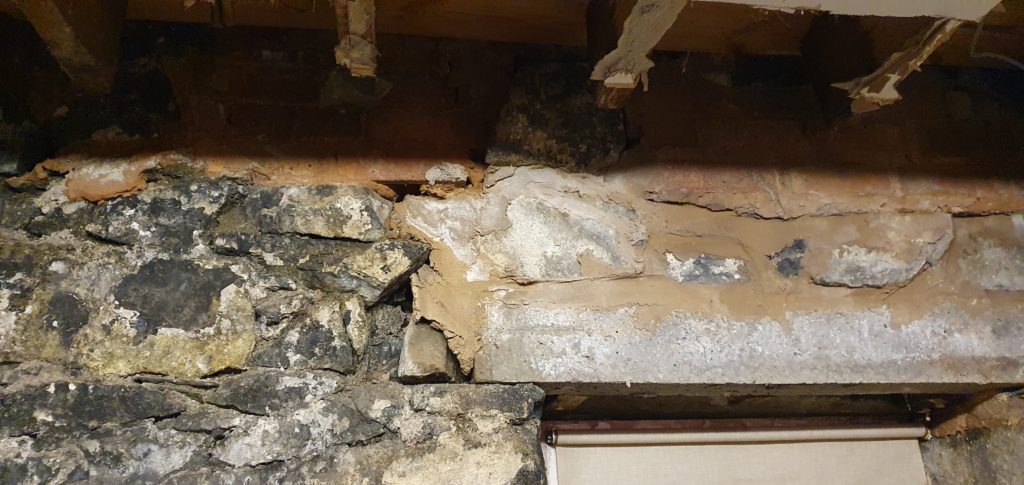
Assorted window and door lintels including rotten wood and… 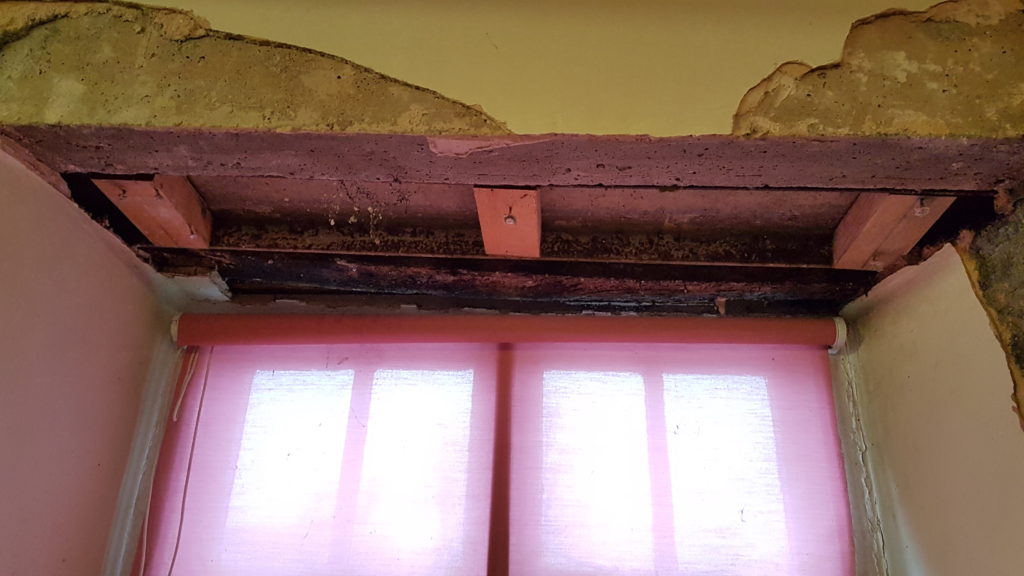
… an I beam on its side? 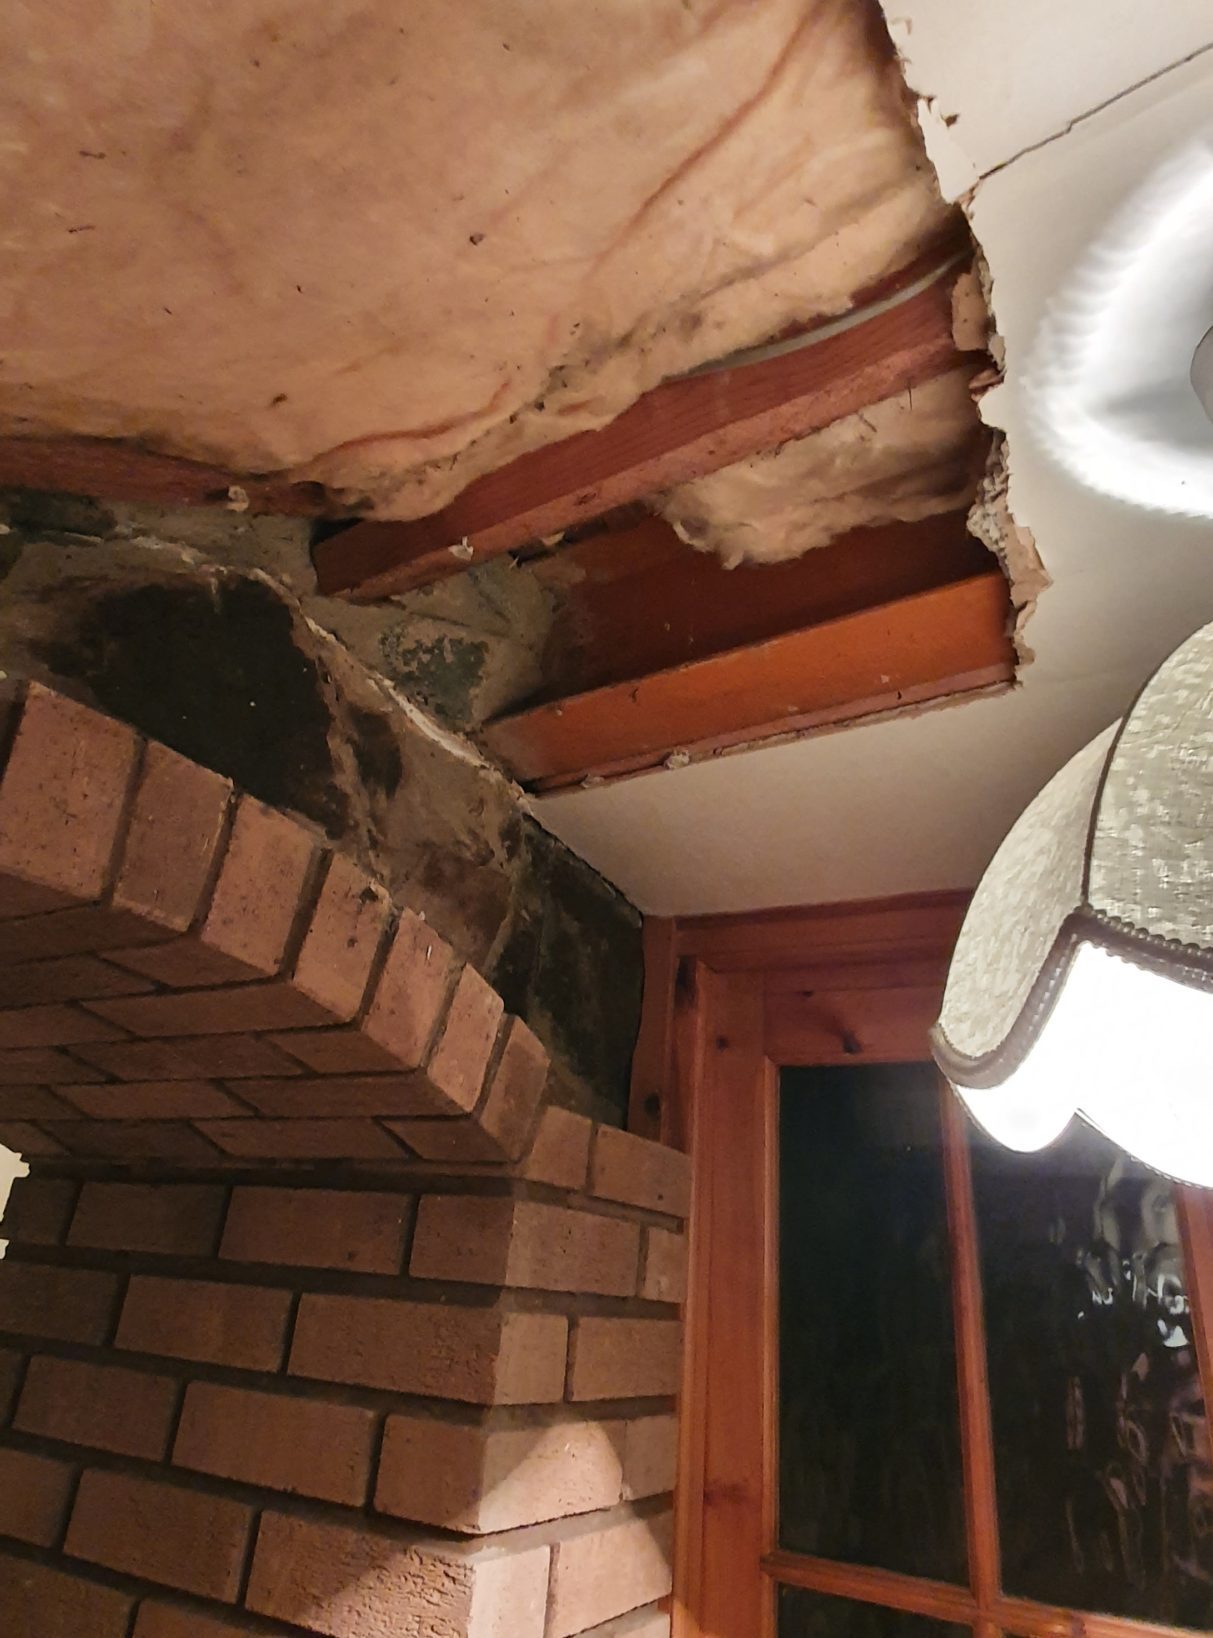
And an RSJ for a purlin, supported by the brick arch – might scupper our plans to remove this beautiful piece of architecture.
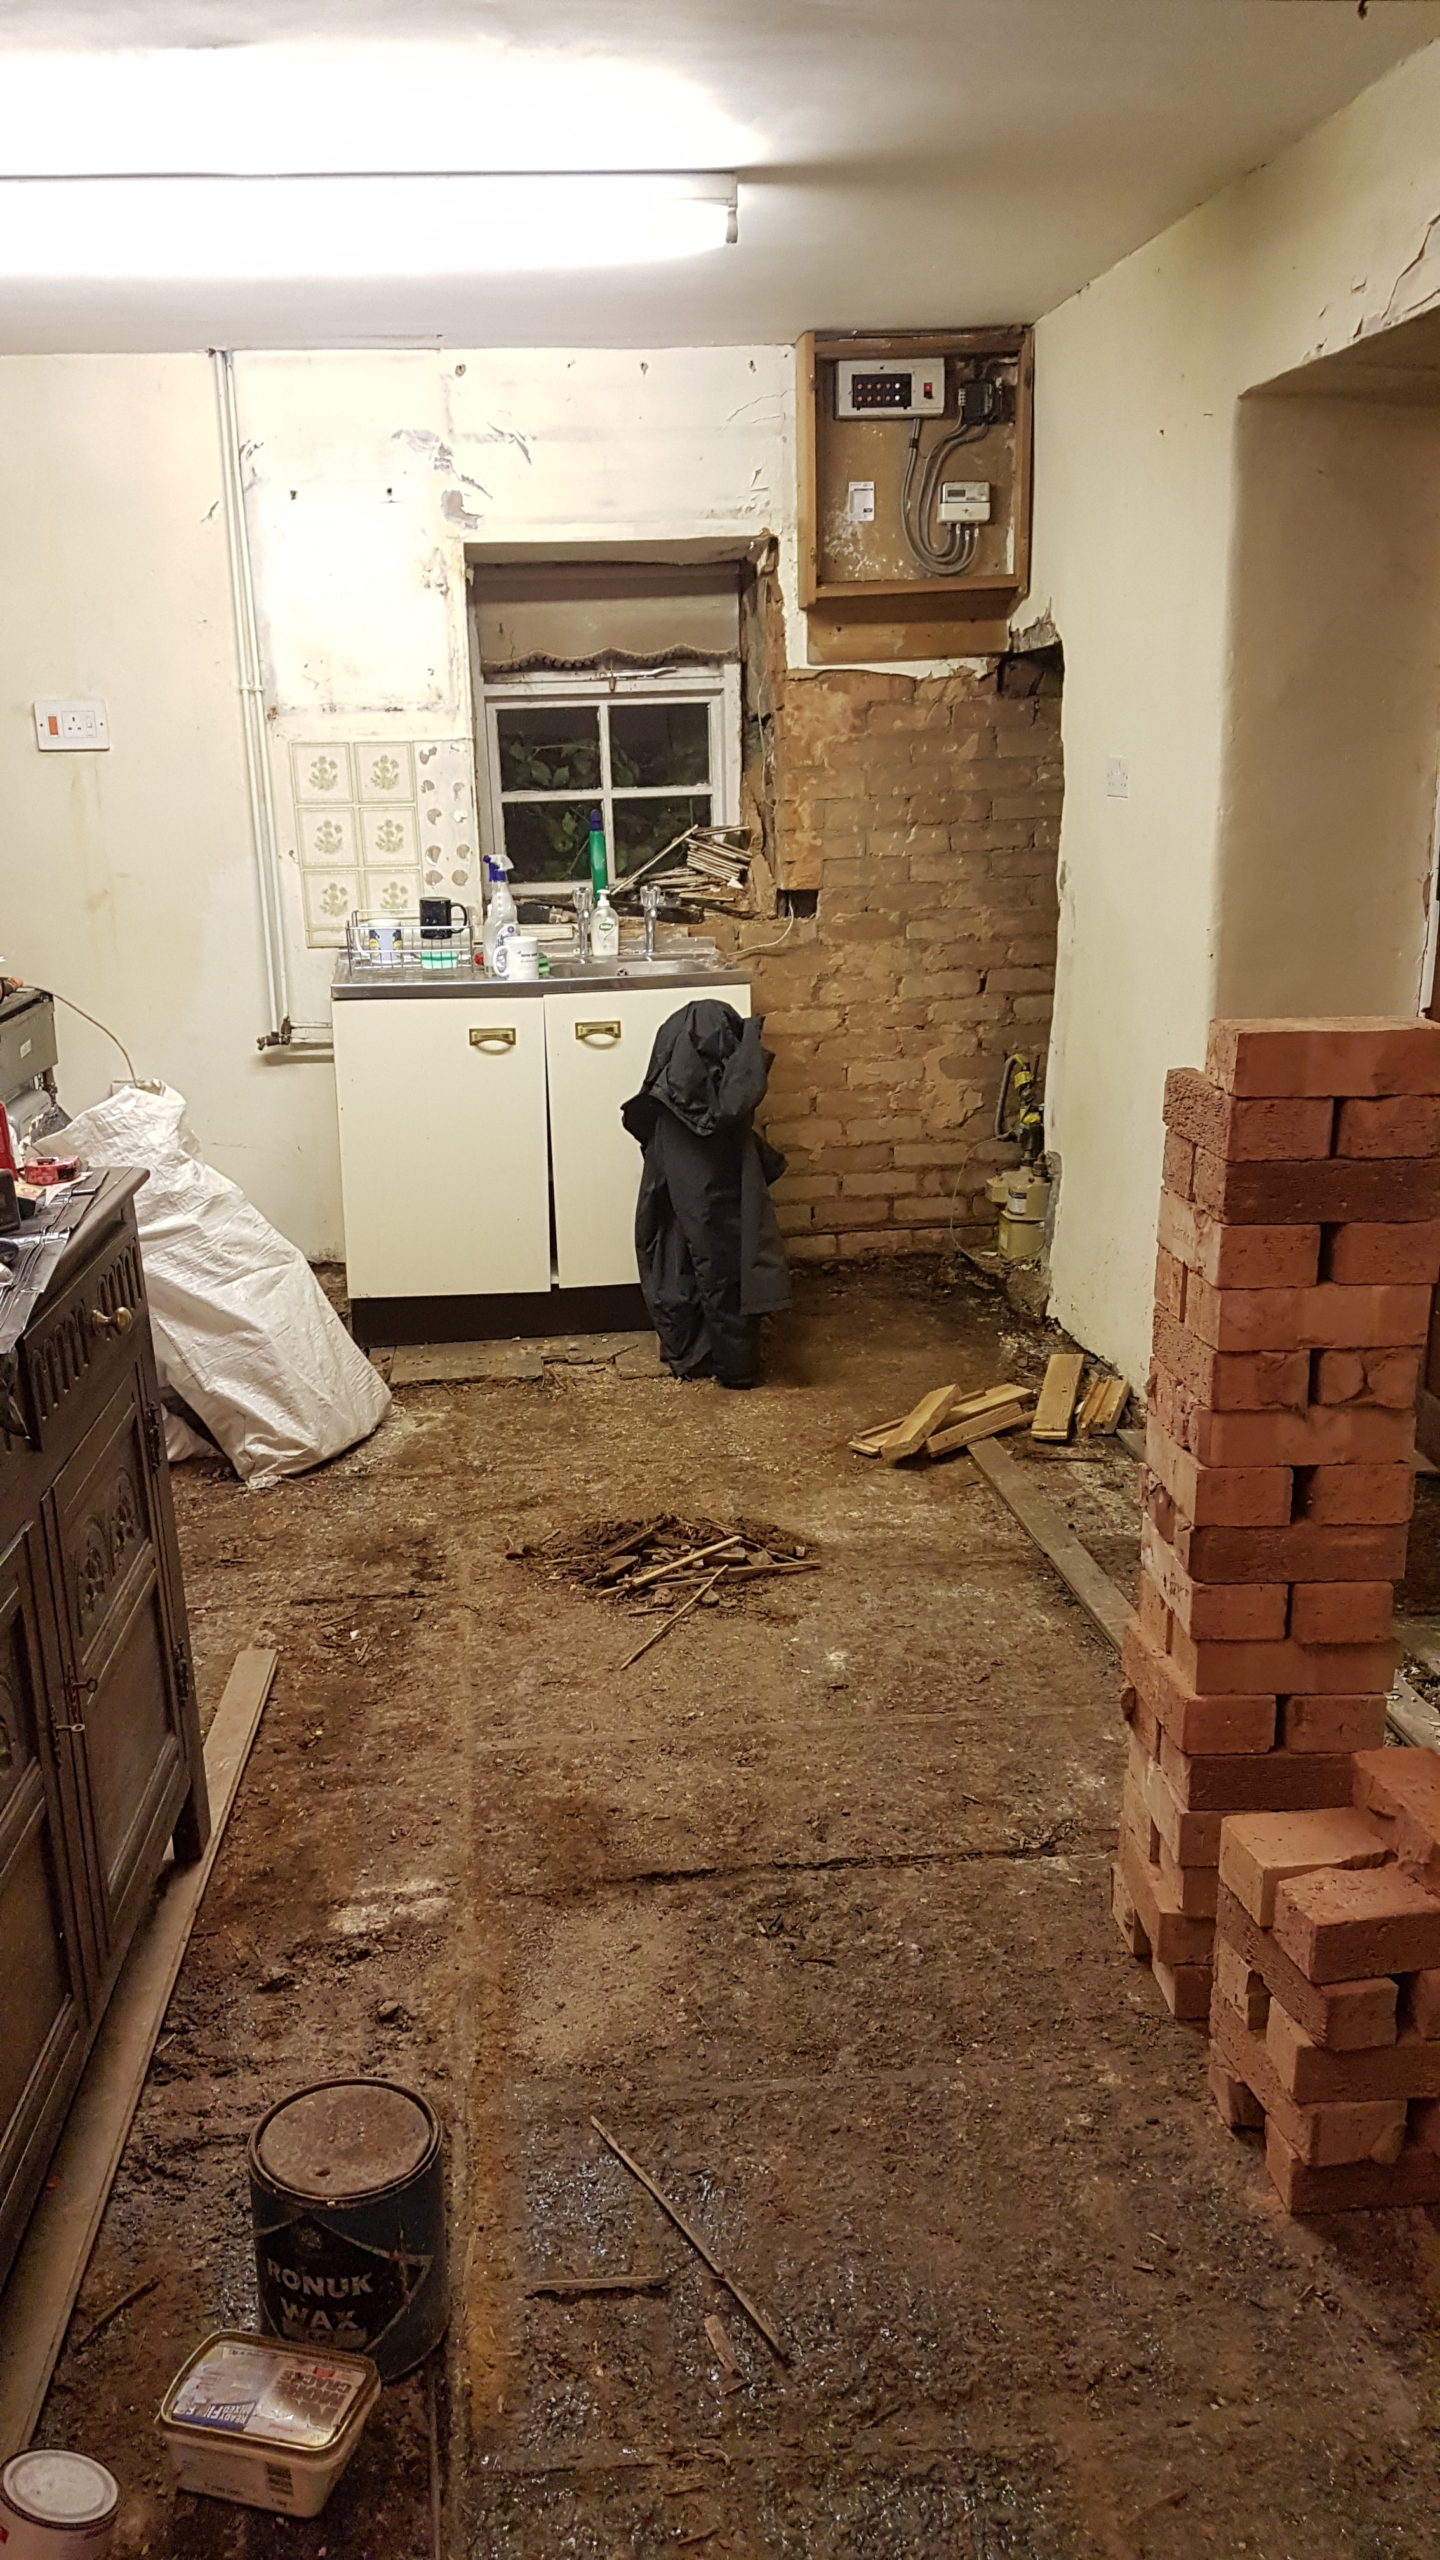
After all that, the moment we had been preparing for was able to happen: removing the brick walls! We knew we would be hiring people to remove the old subfloor and to put new subfloor and supports in, so we thought it best if we hire the same people to prop the floor that they would be working under. Two days later and the brick is gone…
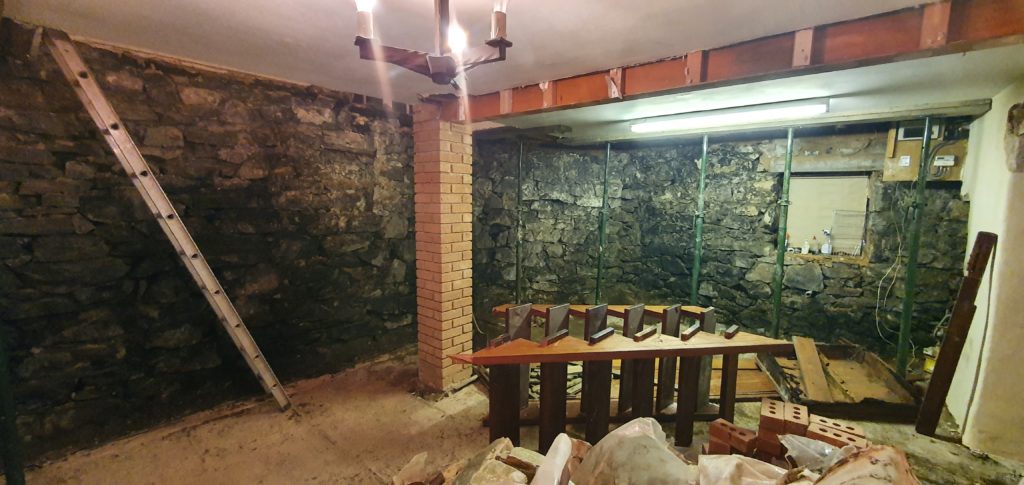
…Or is it?
Brick in the stone wall 
And more.
At this point, what were we expecting? We think these must be to fill the holes where an old 1st floor may have been. I feel like this has to be the last brick reveal, but it will certainly turn up in my nightmares.
It is nice to finally be able to see the stone walls – complete with what appears to be soot from the smithy! It feels like things are moving. Although all we’ve done to ‘build back up’, as it were, is still only adding gutter shoes to the downpipes, this still feels like progress. Any day now we’ll be installing more and more things that are staying.
We may sound alright with this all, now that we’ve had time to process. But believe me, there have already been several times throughout this exploration that one or the other of us were ready to give up. With so many unexpected discoveries, extra dependencies were thrown into an already complicated many-stepped plan. Half the stress of this project seems to be determining what needs to be done before you can start on the job you’d actually like to be doing. And then tracing that back through all the jobs that that relies on, and so on. All so that you can finally start the ‘first’ job and make any kind of progress. Then, 3 weeks later you still haven’t started the job you wanted to be doing!
We’ve tried to create a dependency chart to keep track of all this, but as more things crop up it becomes more and more difficult to find that starting job! Hopefully, as we get back to the house’s bare bones, we can begin to determine our ‘final’ plan and our chart will be a little more realistic and therefore useful. We’re sure there’ll be more discovered along the way, but we can take that as it comes.