Ethan takes great pleasure in wilfully misunderstanding what I am saying. His latest source of amusement – pretending he’s heard ‘beans’ when I’ve used ‘beams’ in a sentence, and visa versa. Very amusing. Very frustrating when you currently have the builders in to install a couple of ‘beans’. Despite Ethan tainting the experience for me with this wholly annoying practice, I am excited to say that we now have a first floor that is no longer supported by bricks or acrow props – PROGRESS!
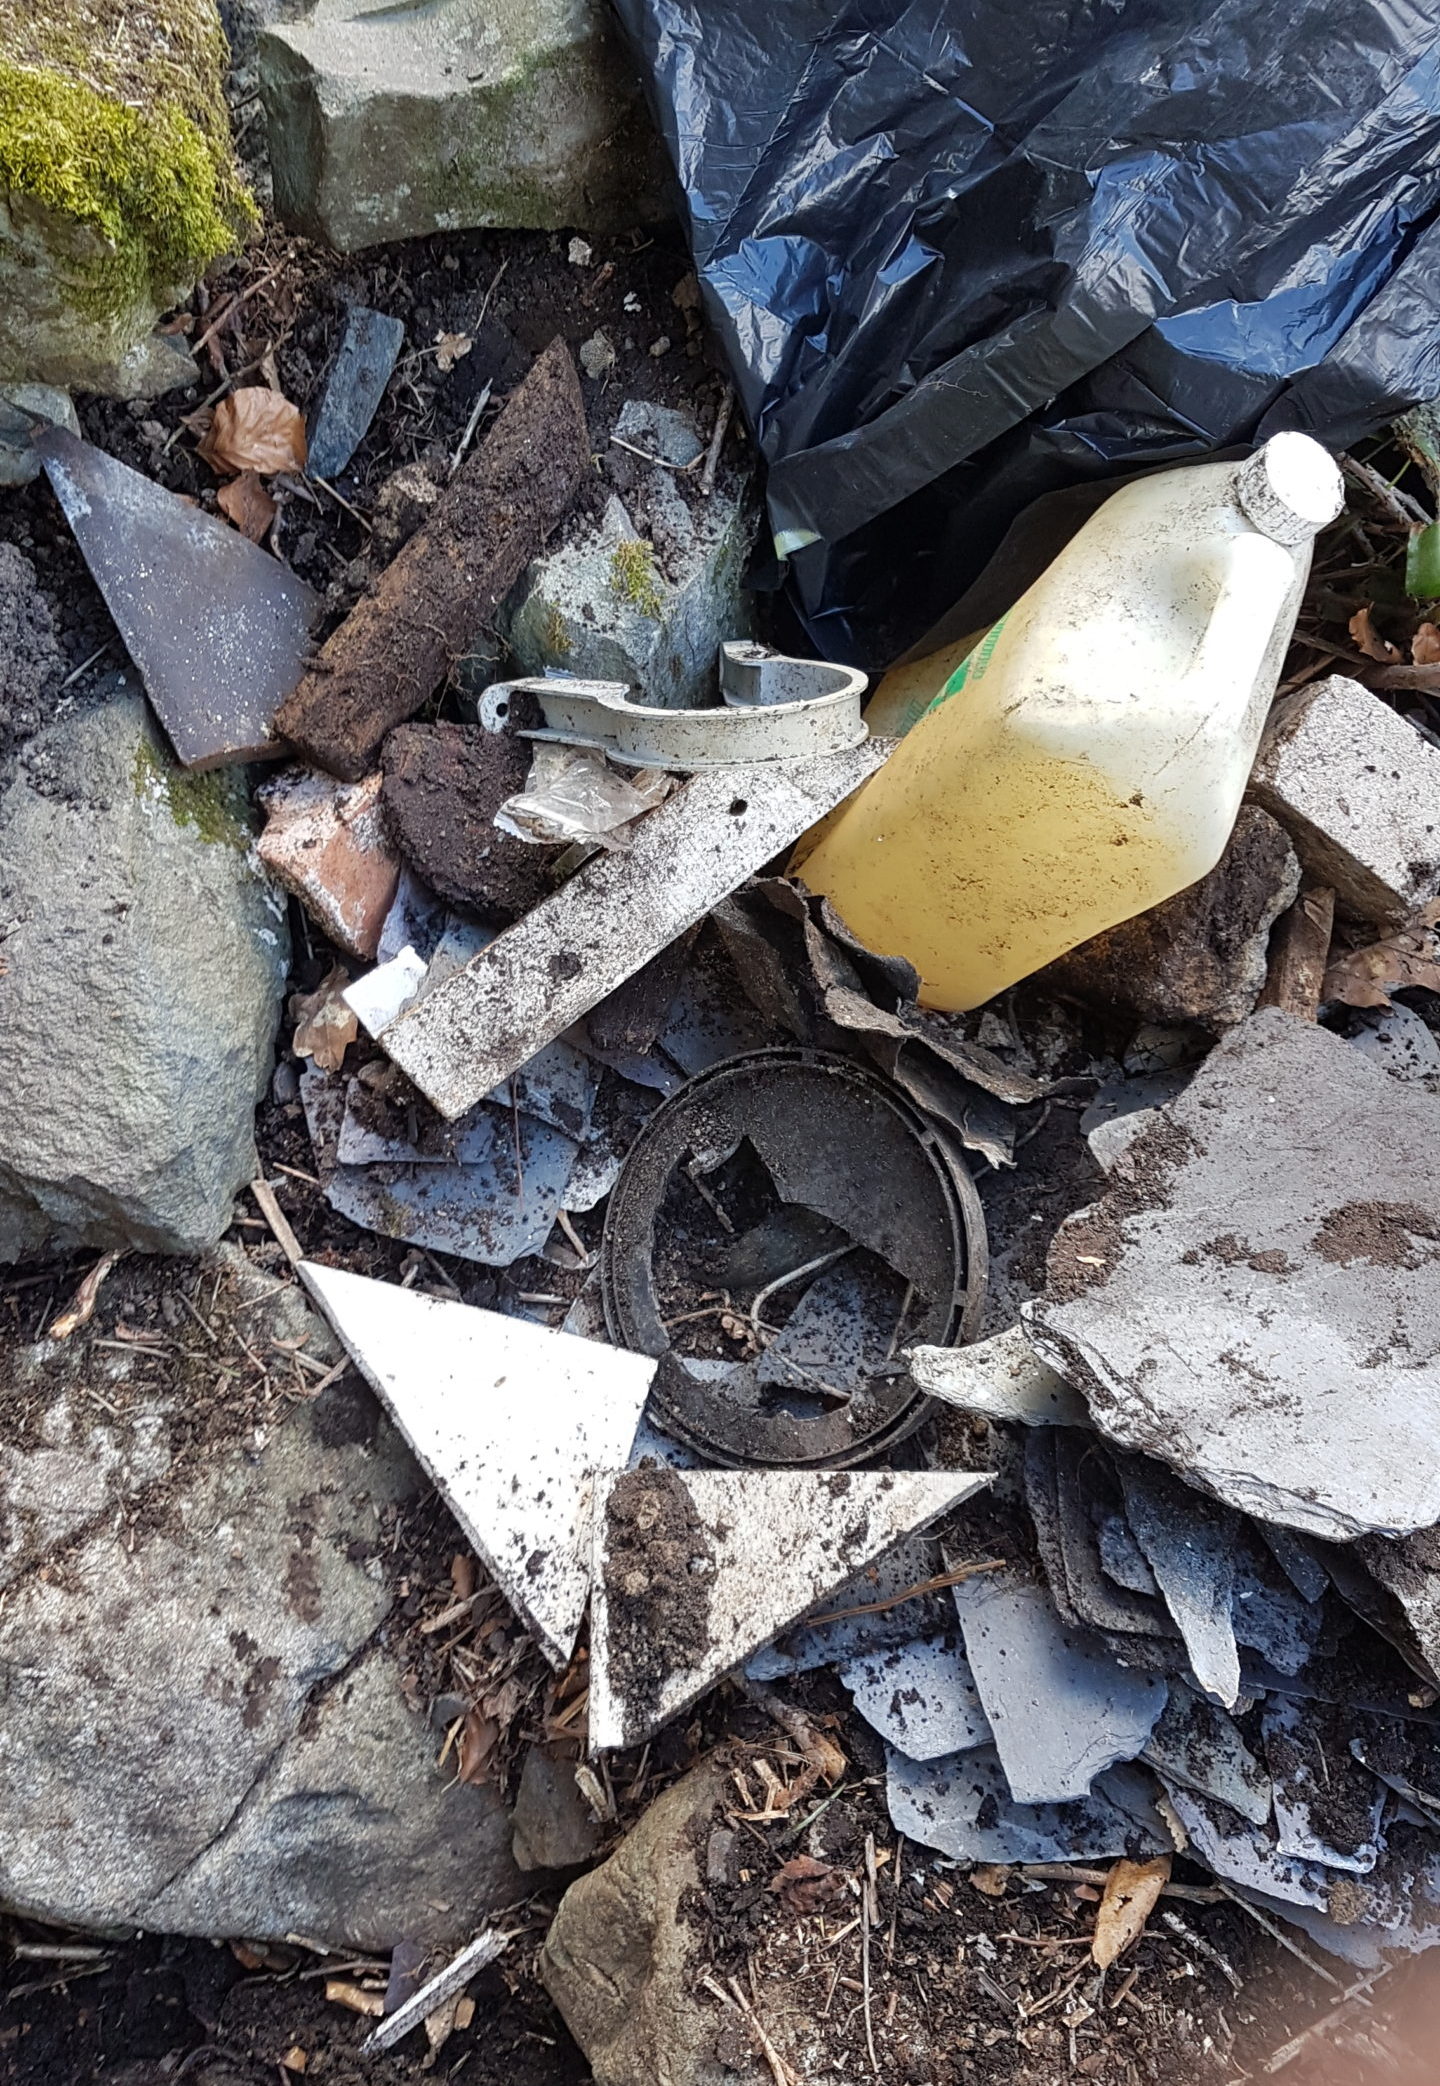
In order to achieve this, we needed several beams installed. Firstly, the rotting piece of wood (pictured) that was previously supporting the stone inner skin had to be replaced with a much sturdier concrete lintel:
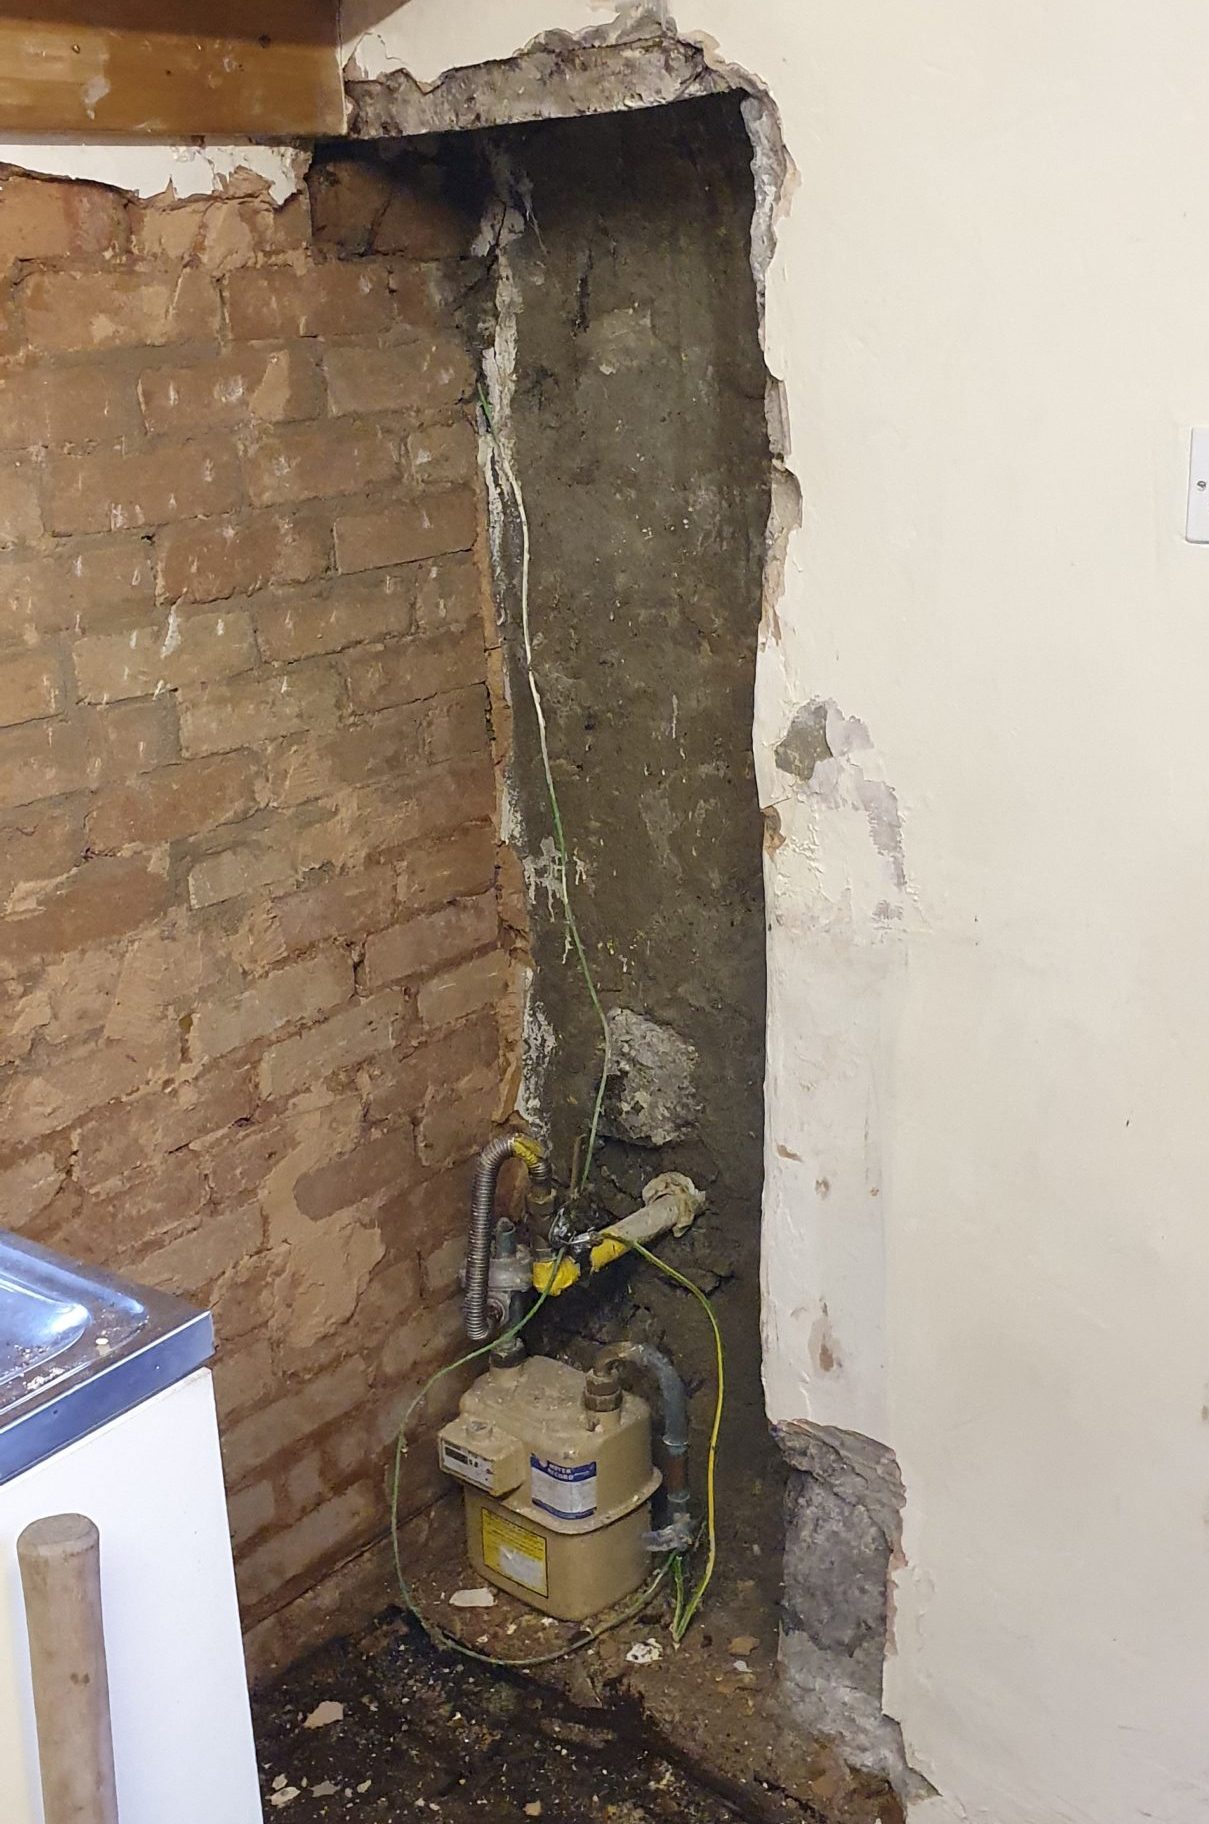

No, the consumer unit isn’t hanging by a cable, its just screwed to the joists at a jaunty angle. “Why” you ask? “Why not”, we reply! Genuinely not sure at this point, ask our builder.
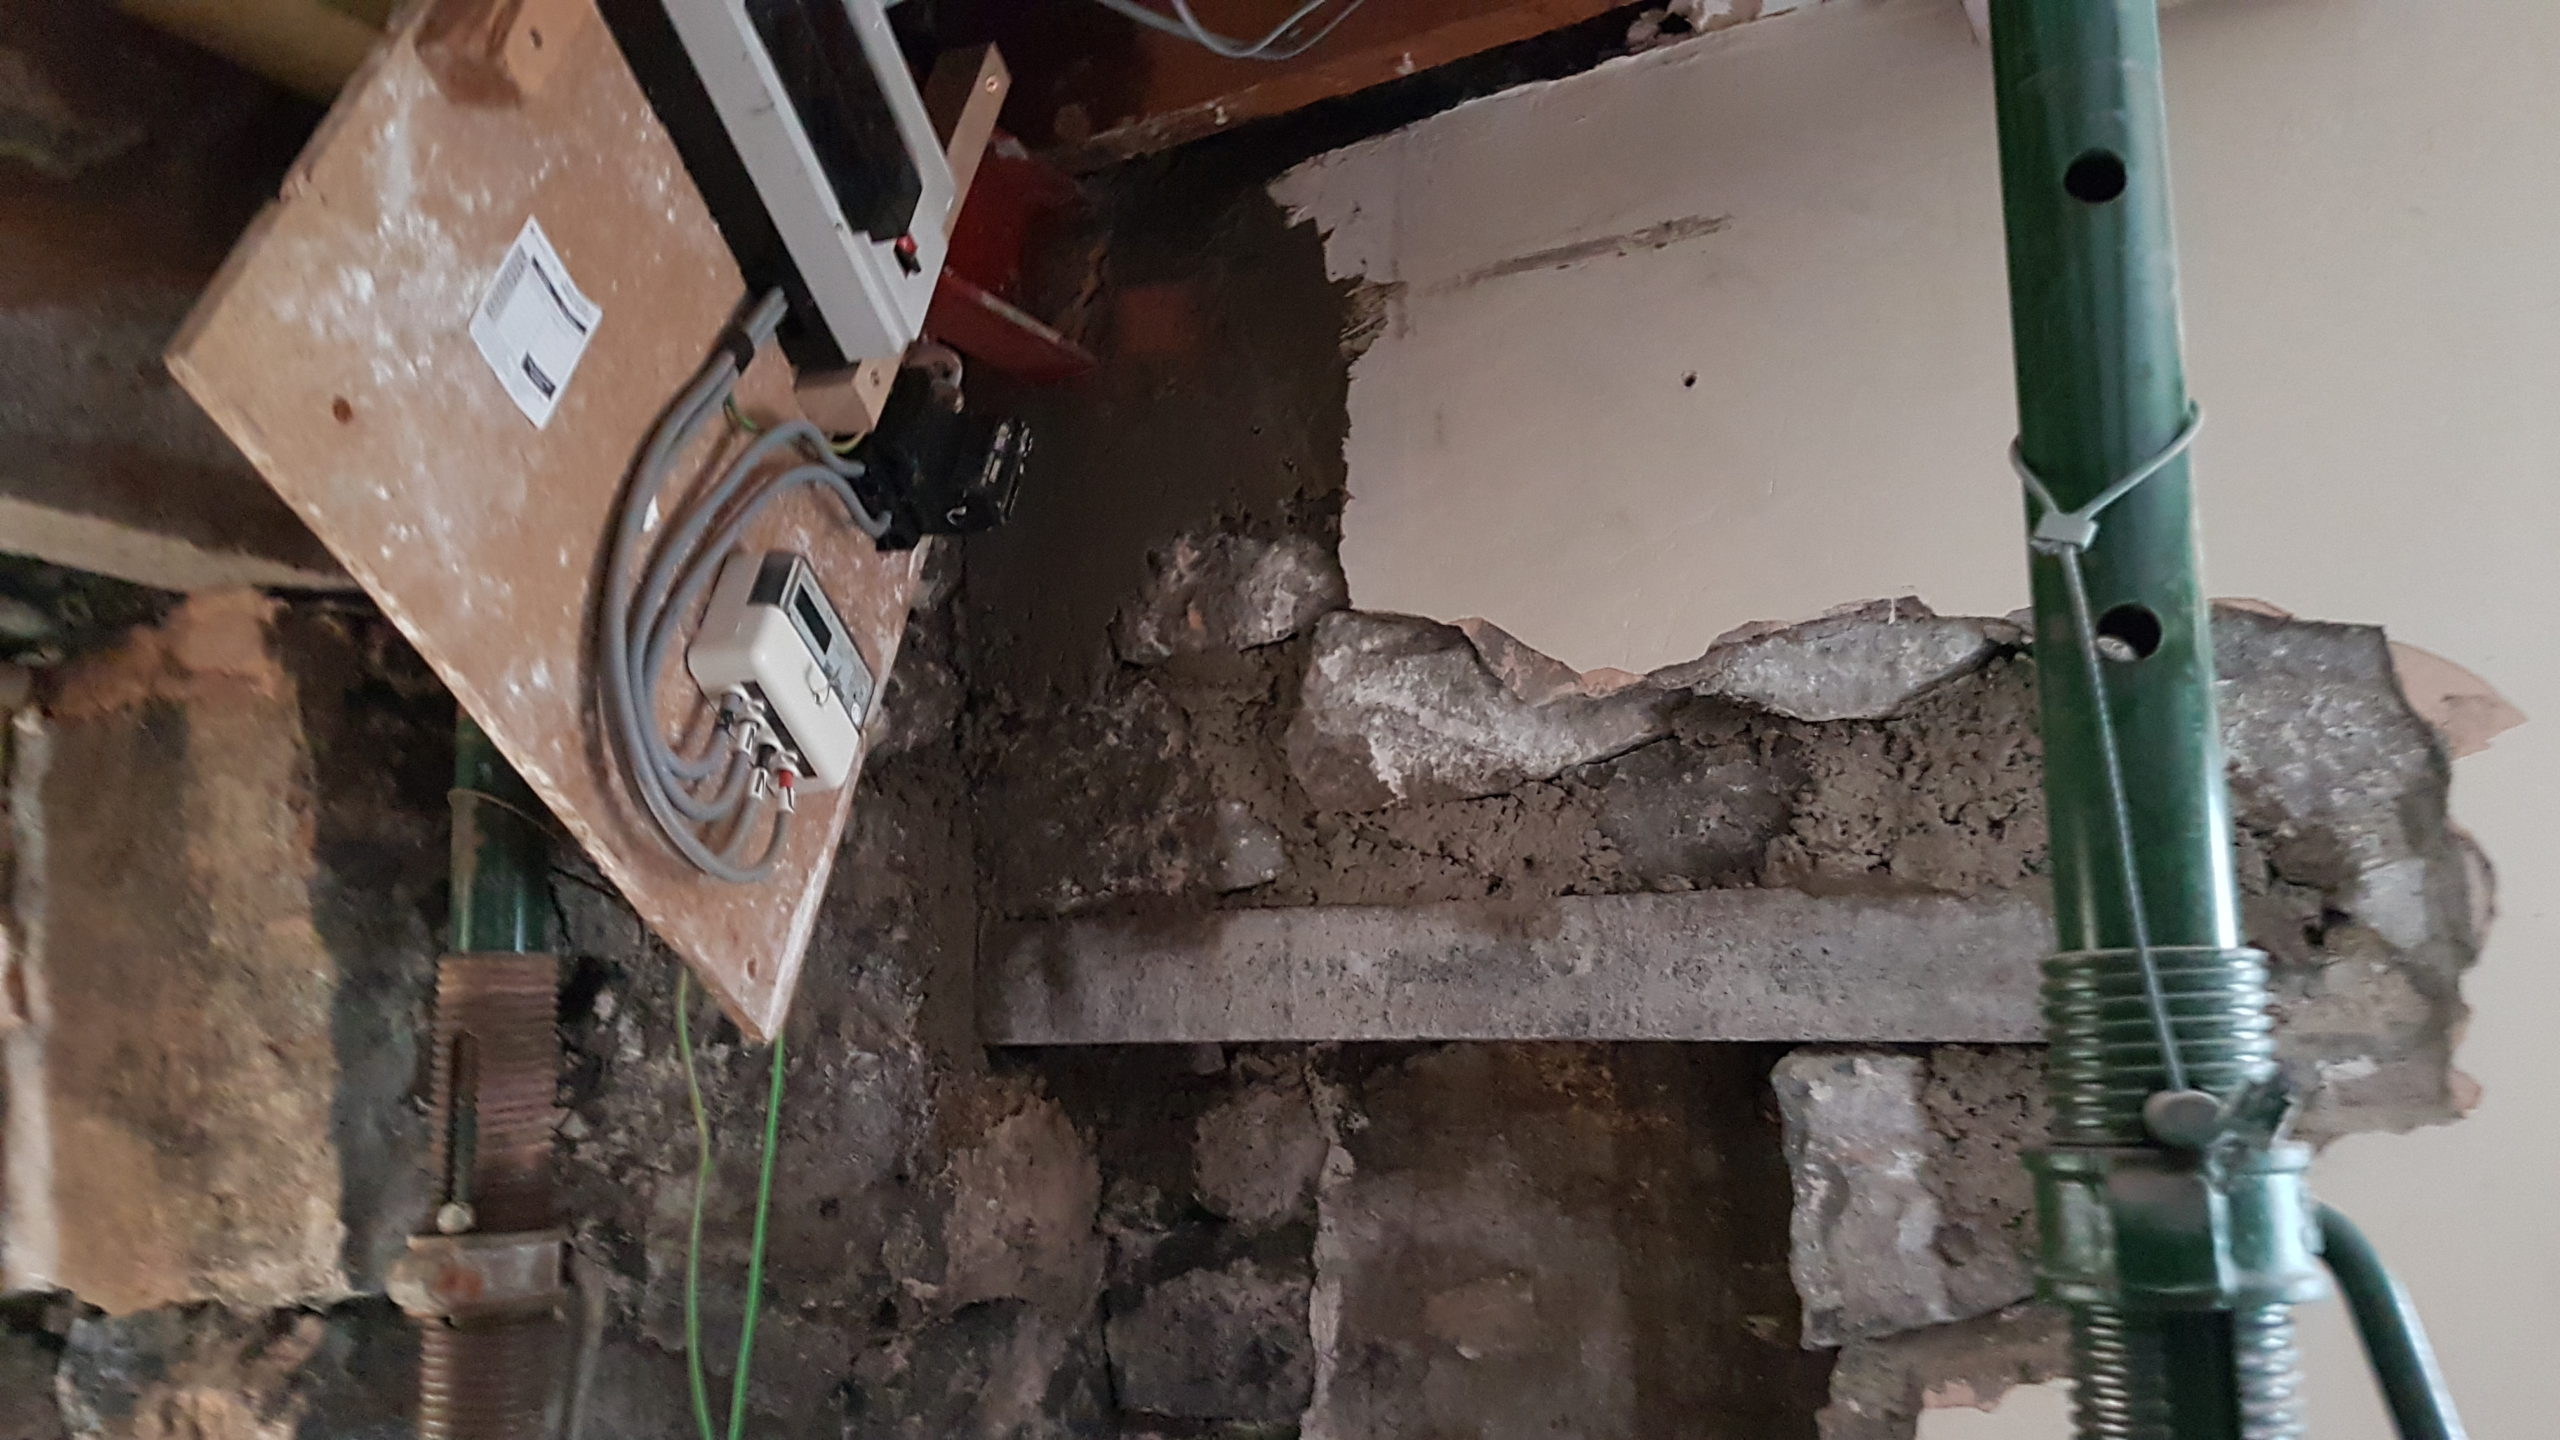
Secondly, a steel C-beam at the top of the wall where the kitchen will be. This holds up the 1st floor joists, in place of the brick wall that used to be there. Thirdly, a large I-beam across the centre of the room. This was put in the same position as the existing beam but is longer, extending all the way to the back wall, rather than resting on a brick pillar. This removes the need for the pillar, creating a little more space.
Fourthly, we had a frankly ENORMOUS timber bearer installed to support one end of the lower landing that will let us access our back door. The other end will be supported by the new, longer central beam.
Even though the main reason behind the new I-beam was so that we could remove that ugly pillar, it took me a good 5 minutes to notice that the pillar was gone after the builders had left for the day. In my defence, I was distracted by the sheer number of acrow props necessary for the beams replacement.
Me hiding in our acrow forest, a master of camouflage:
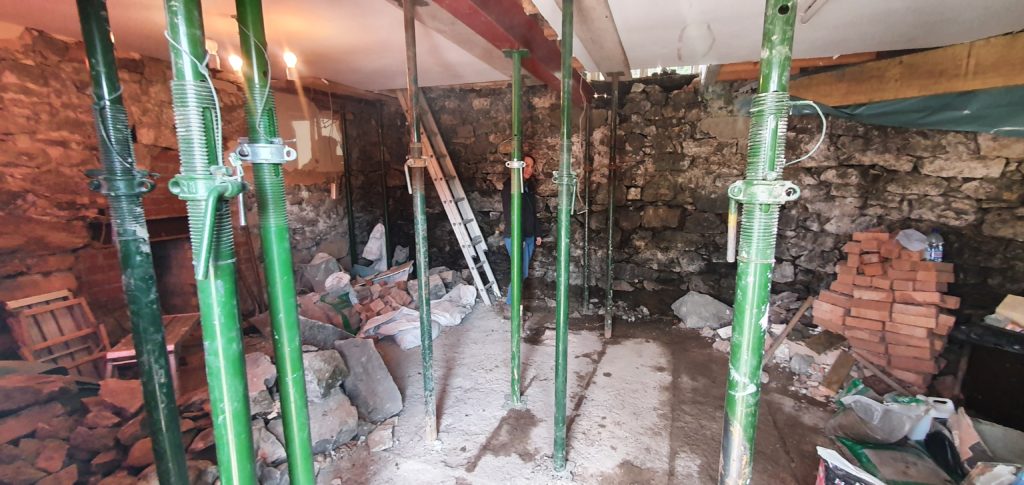

While the front door was open to let out the dust, we noticed plenty of people take a peek inside, see this forest (along with the general state of the place) and laugh – maybe just in relief that it wasn’t them dealing with it.

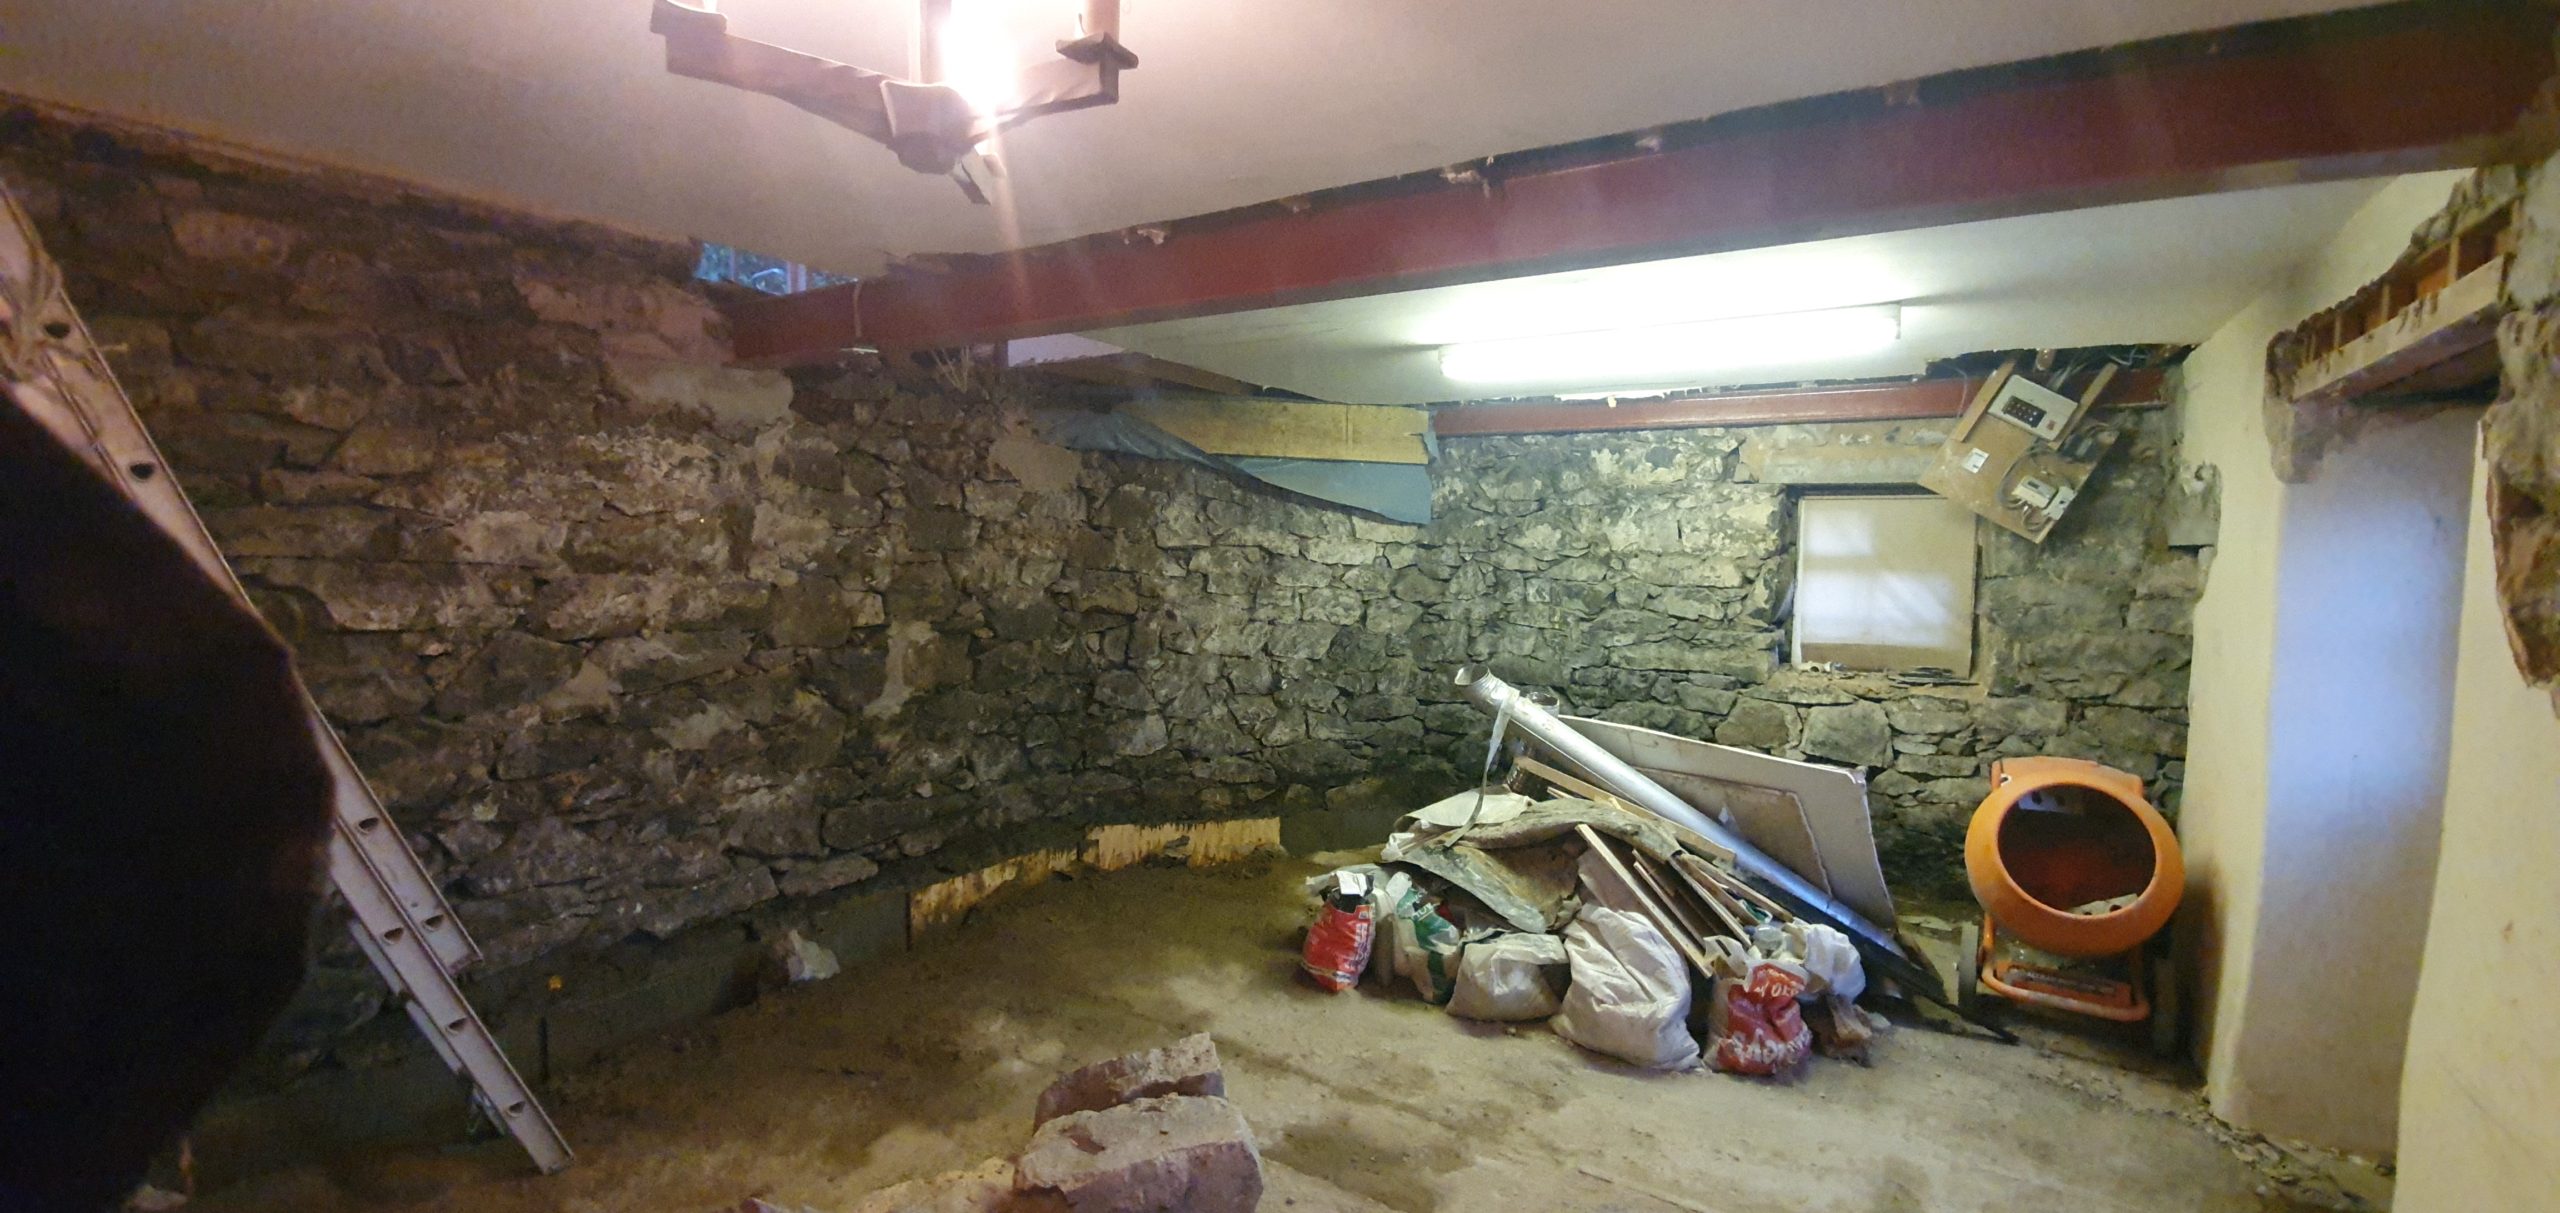
It’s exciting to see something substantial actually complete and the place structurally sound again. And we’re always going to love removing more brick! Now that the pillar is gone, and the acrows have been removed, the space feels so big – it seems a shame we have to bring the walls in with damp proofing and insulation, but hopefully we’ll be left with a good space for kitchen-dining.
Here’s a before and after with a new fun blog tool Ethan found:
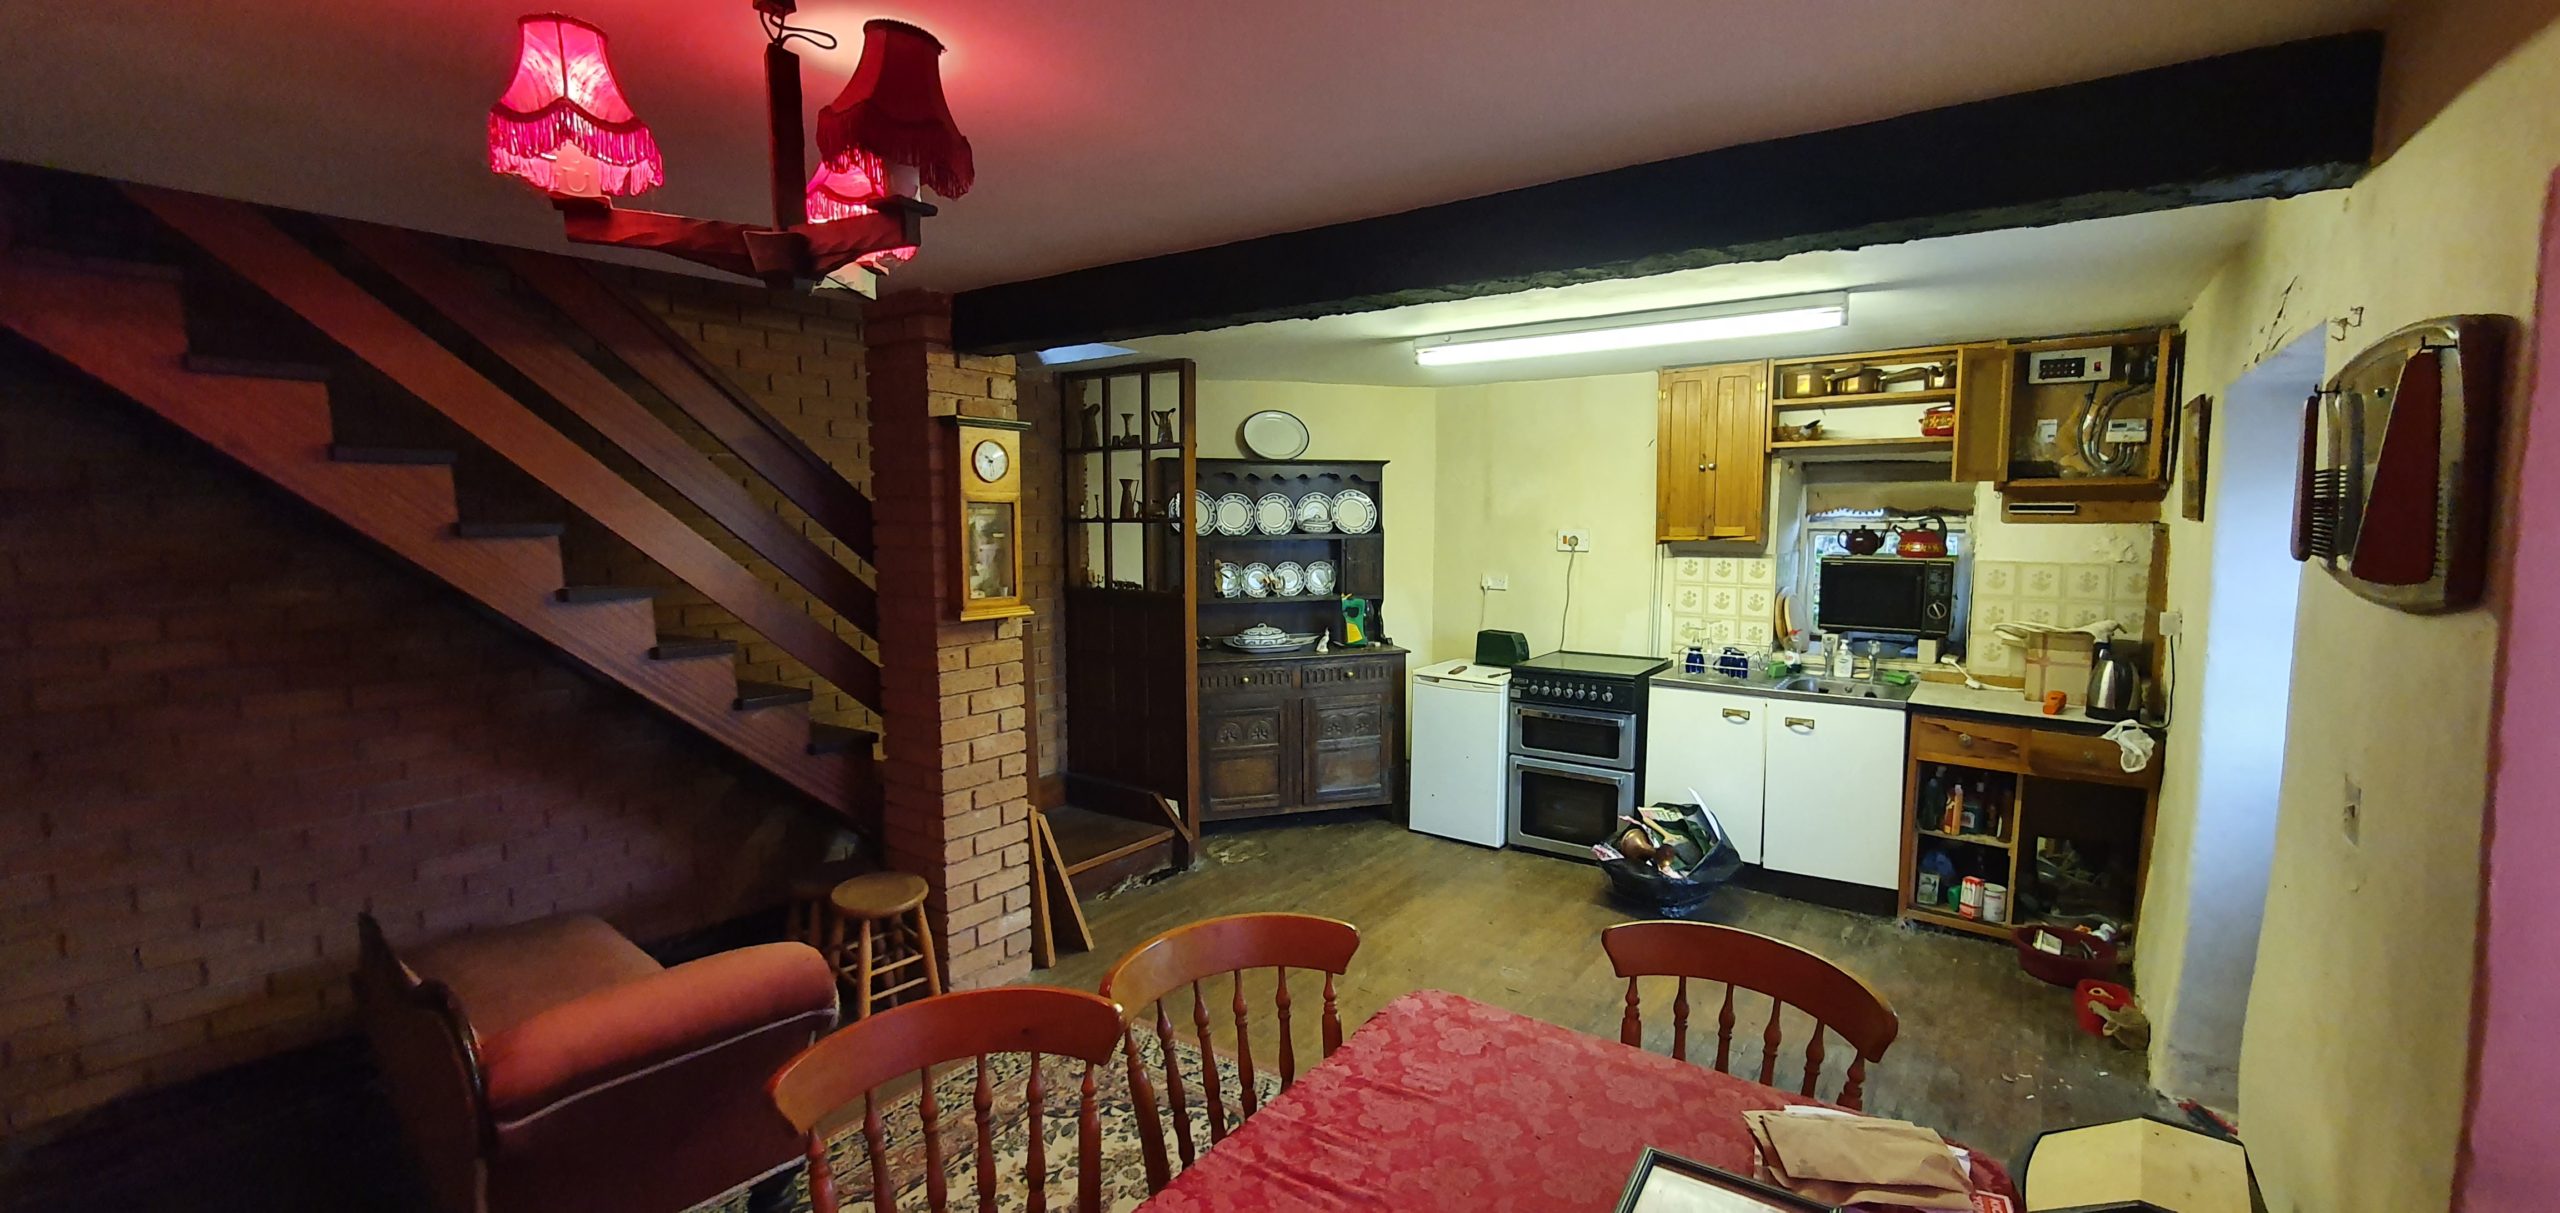
Yes, he knows the front door doesn’t line up, and don’t worry, its irritating him way more than it is you.
The before and afters at this stage are somewhat upsetting. Definitely should be called before and “durings”. It does look like we’ve make it less inhabitable after 3 months of work – which I suppose, technically, we have. However, we could not have improved the house without taking it back to its skeleton. Of course, we could have just redecorated and put down some new flooring; but that would have very shortly ended up being ruined by damp walls and floors, and we would be living in a very cold and unpleasant building.
You may have noticed in the after picture that there is something going on at the bottom of the walls – you can see the ongoing underpinning, which is finally happening! We’ll talk more about that another time…