So far, our “renovation” blog has been entirely house clearance, demolition and whining about damp. No longer! We built a thing.
To have enough space for stairs and a landing in front of our new back door, we need to turn the stairs around. This means we need to remove a small piece of landing, to provide headroom. The trouble is, this small piece of landing currently provides the only access through the previously-pictured brick archway to the bathroom and master bedroom. So we will need to reposition the opening currently provided by the archway. We were hoping to simply remove the brick archway and the stone above, and open up the wall next to it. Unfortunately, the house thwarted our plans again; on exploring the loft we found an RSJ, acting as a roof purlin, resting on the arch. Under advisement from a structural engineer, we have now built a wall to fill the archway with concrete blocks. I say ‘we’; I know nothing of wall building, and struggle to carry small things up the ladder, let alone 20 kg concrete blocks. So while I tried my best to help where I could, Ethan’s dad built the wall, and Ethan transported and cut the blocks. I did use a mixer for the first time, and make my first ever mortar (I can’t yet be trusted with adding the water though)!

First we had to pour a concrete cap on the stone wall under the archway, for the new concrete wall to sit on – stone walls are too irregular to just start building on top of. Of course, this archway, being the only current gap in the stone wall between the two halves of the house, is where some electrics and pipes cross between the halves. More concerningly, the water main enters the house through the outside leg of the archway. So within this concrete cap we created two channels: one using a piece of rigid pipe to contain the wires, and another using a 22mm flexible pipe to contain the 15mm water main pipe. We had to cut back joists that support the small piece of landing we eventually want to remove, so more acrow props were employed. Cutting these joists back revealed that half the brick archway was just hanging in the air; a good proportion of the first layer of bricks were resting on nothing. Not entirely sure how they achieved this, but it was was reassuring that we would be pouring concrete underneath to give it something to rest on.

We built some shuttering to stop the wet concrete falling off the wall, using pieces of wood from the removed stairs. Next, we hoovered off the worst of the dust, loose stones and broken glass (why wouldn’t there be broken glass under the floor here?). The wall was ready for concrete. We found a suitable ‘tray’ in the shed for concrete mixing and Ethan got to work.
After waiting a week for the concrete to dry, wall building could begin. We did half one week, so that we could leave the mortar to set and still be able to climb through to the other side of the wall. And the second week, we blocked ourselves off from the bedroom and bathroom. Eventually we’ll open up a new doorway – but in the meantime, and for wall building we made use of the bathroom window as a convenient and easy entrance/exit.

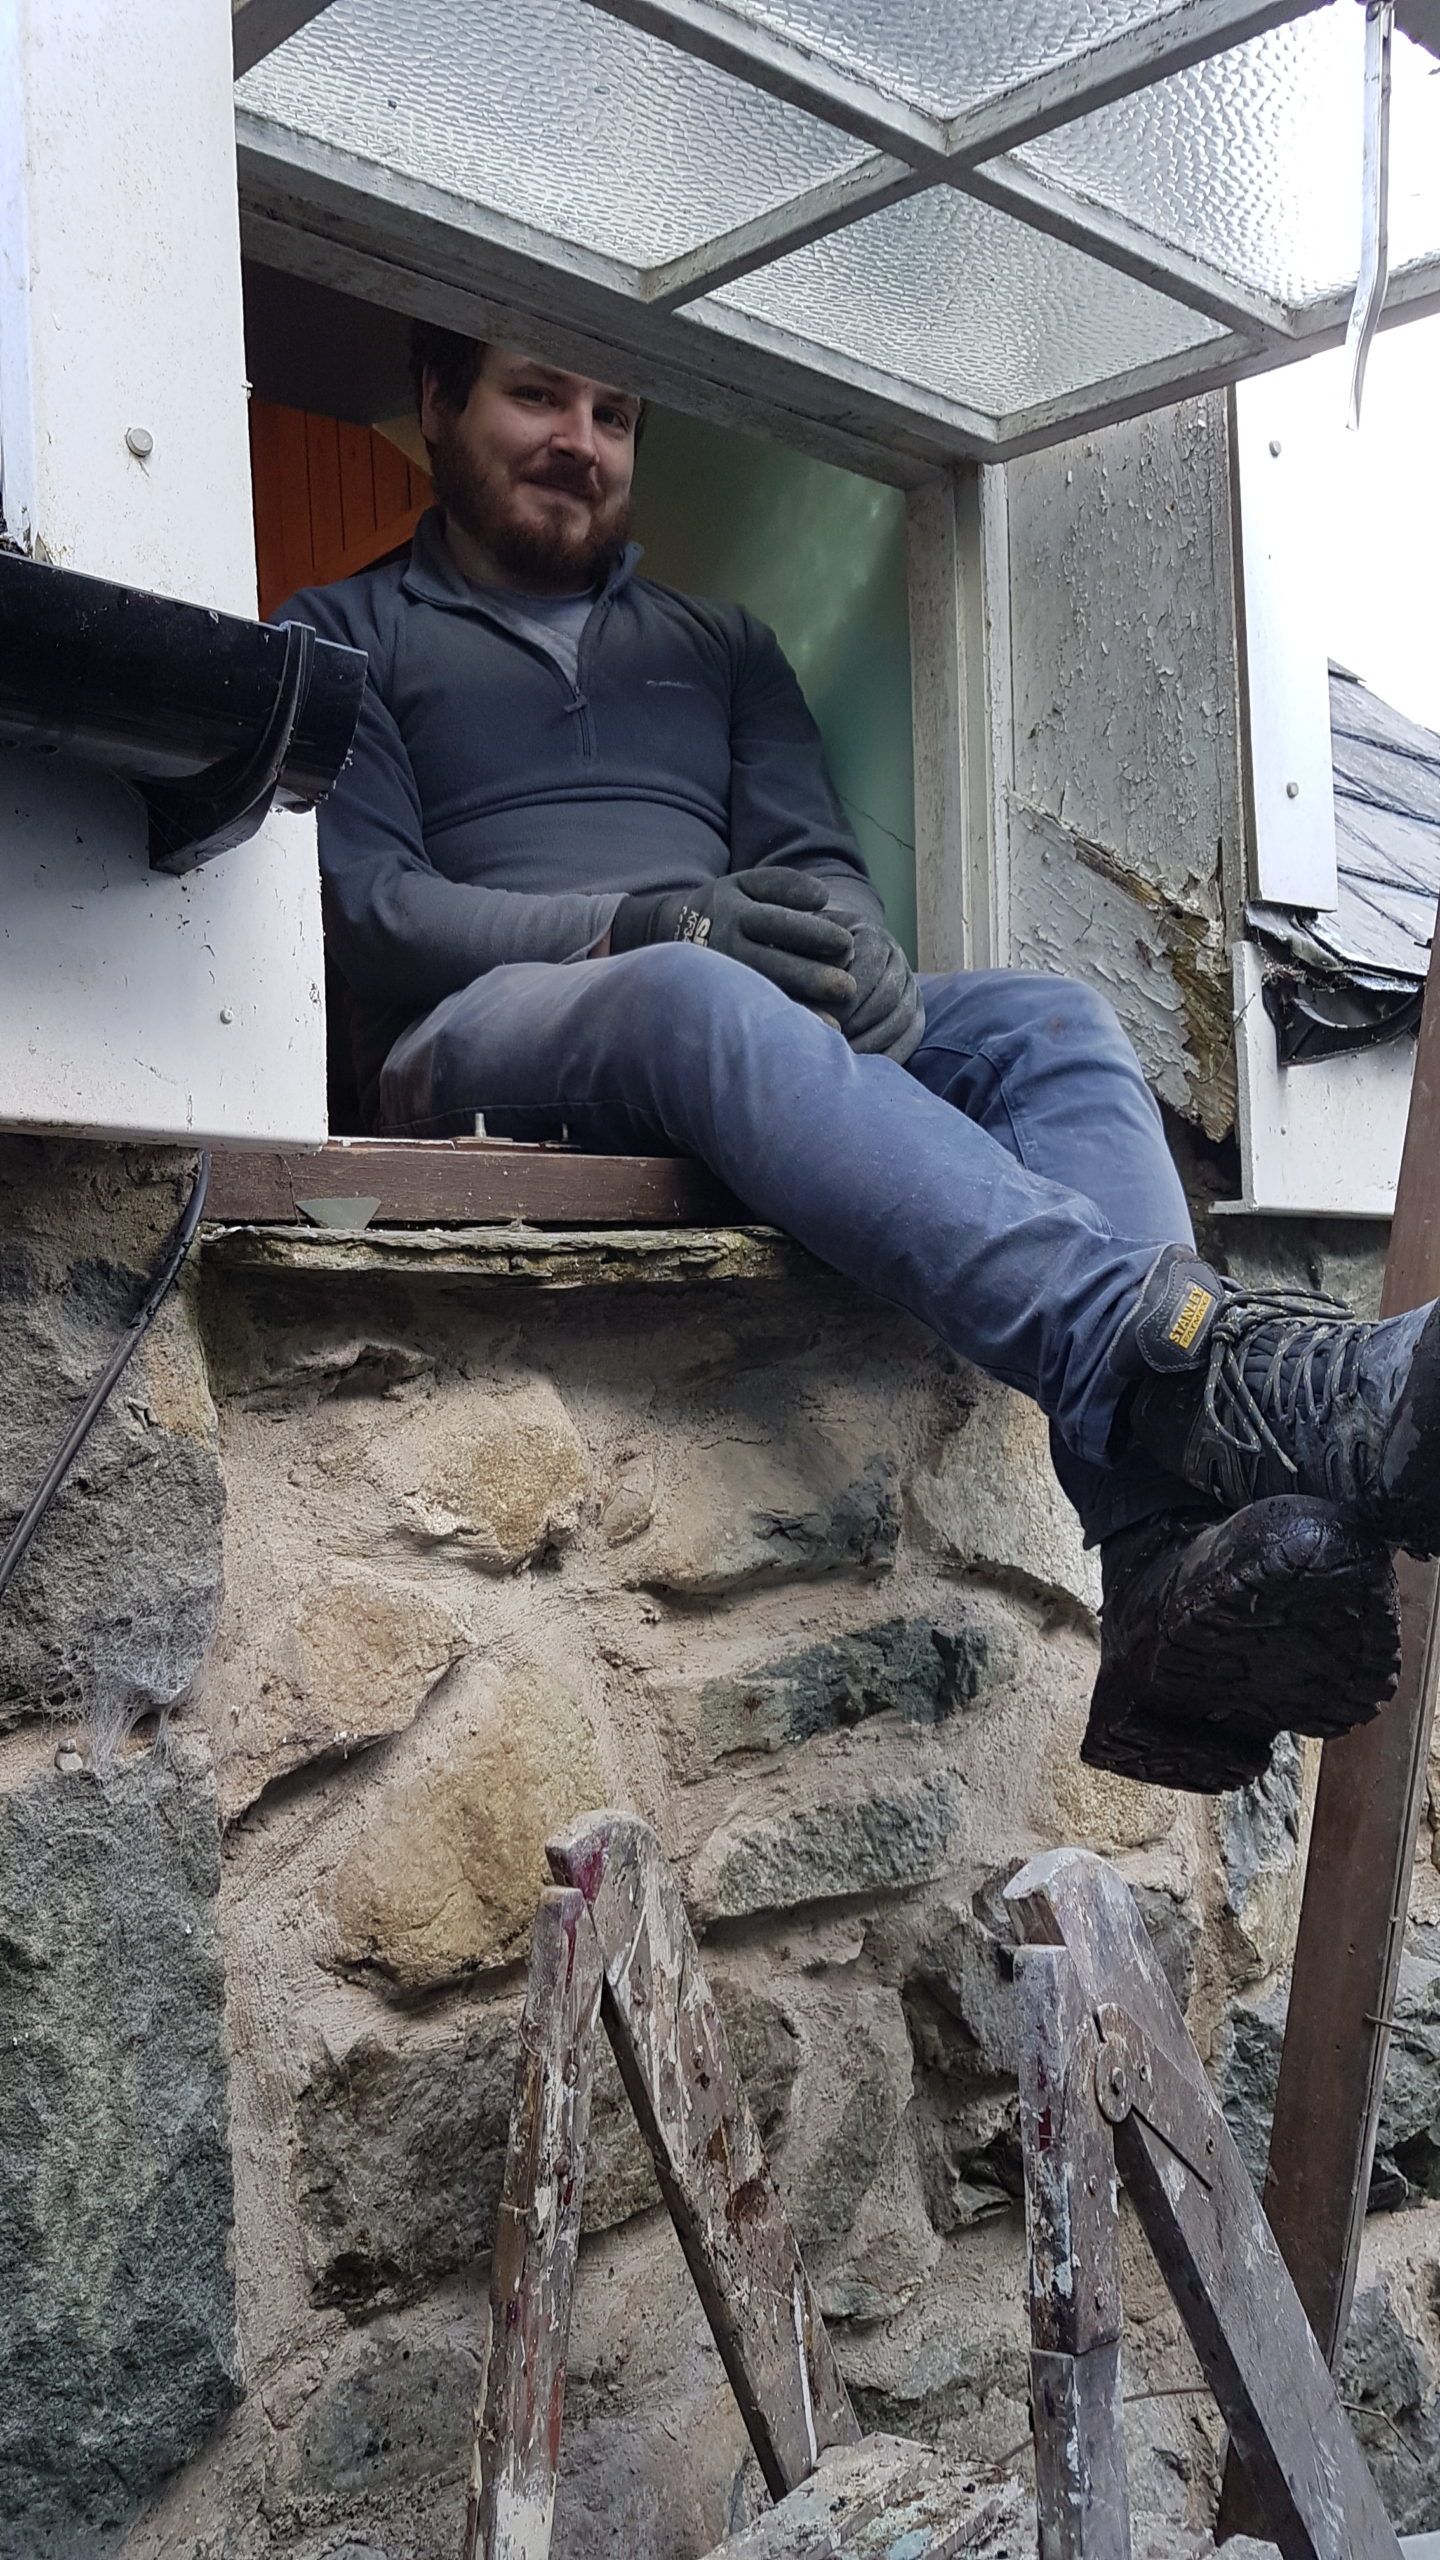
Charlie waiting out a hail storm:
A video of Ethan looking deceptively competent with an angle grinder:
And here, for your viewing pleasure, some wall pictures:


As we were going to have a cavity wall, which will *hopefully* be standing for a long time, we also decided it was a good opportunity for a time capsule. We included this blog so far, a bit of background on us/letter to the future, and some.. coins… we kind of ran out of ideas!
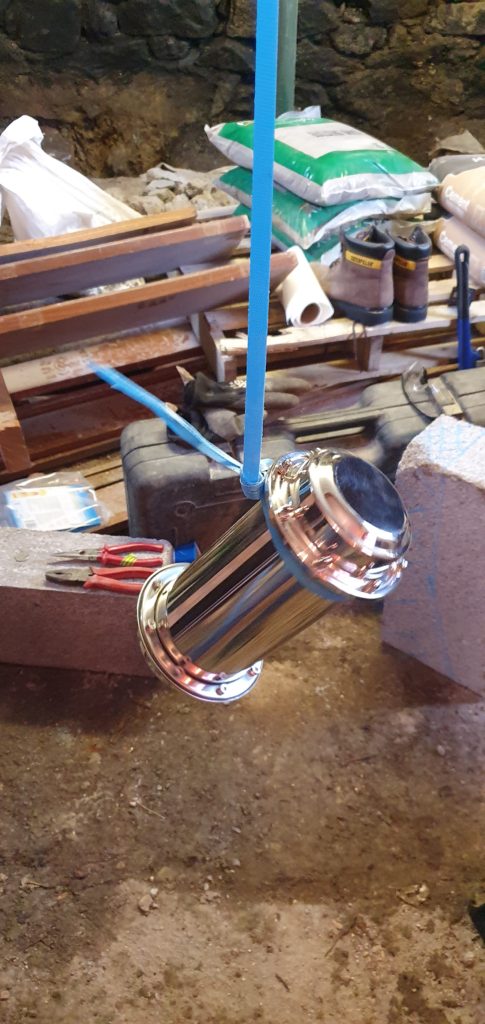
Pictured with our bespoke pallet-wrap lowering mechanism – because we only thought of this when the wall was already mostly done. It’s designed to be buried and survive for 200 years, so hopefully it will last even longer in a nice dry concrete wall (provided we manage to make this house dry).
Having walled off half of the house, it is a little tempting to just… leave it. Definitely shortens the project!

Be First to Comment